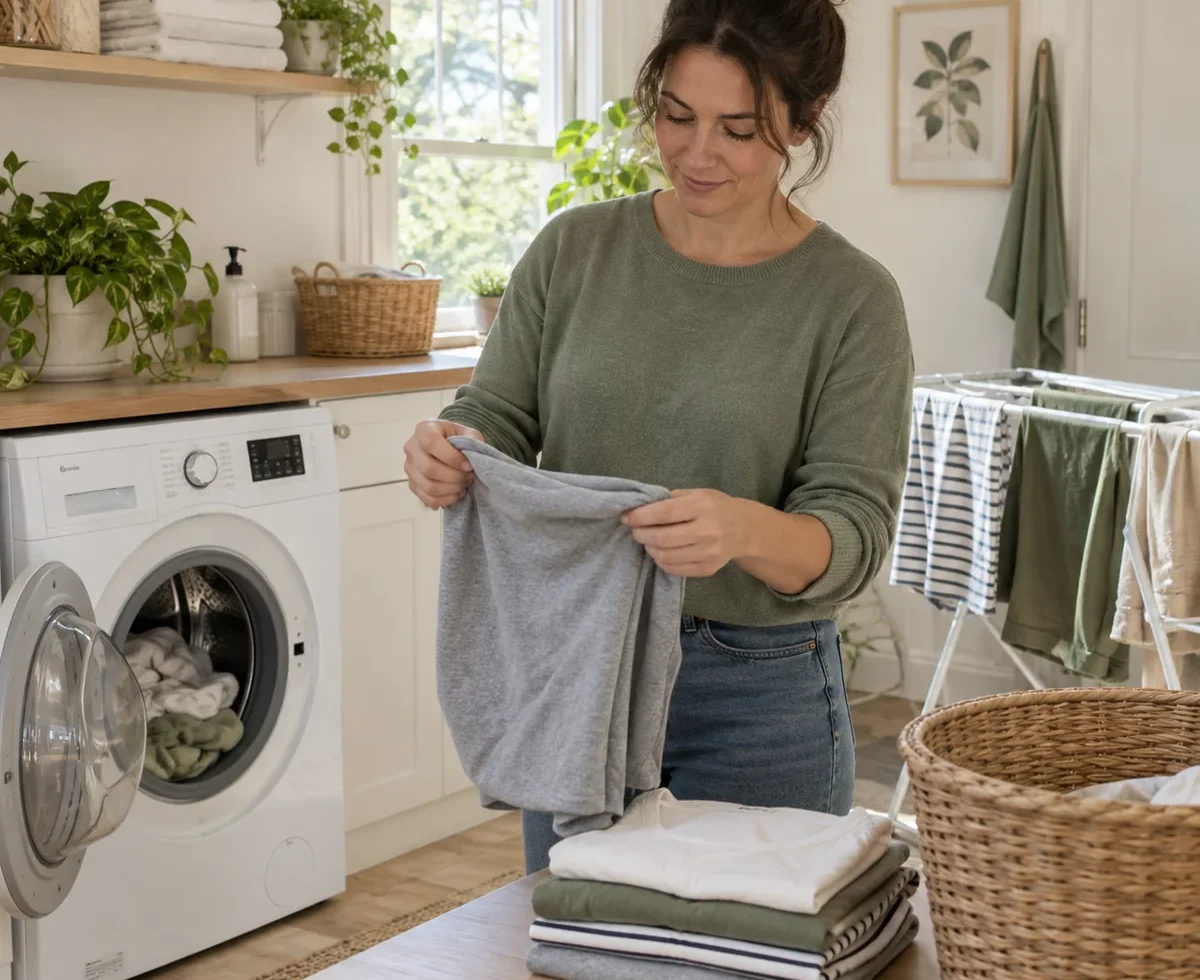
Clothes do not last longer because of one magic wash setting. They last longer when the cleaning method fits the garment: read its care label, sort it with compatible items, deal with stains early, avoid an overloaded machine, and dry it as directed. Those small decisions can also cut unnecessary laundry and energy use.
This guide is for everyday household laundry. Follow garment, machine, and cleaning-product instructions whenever they call for a different method. Heavily contaminated items, illness-related laundry, and work clothing with special hazards may need separate handling; a general low-waste routine is not a substitute for those directions.
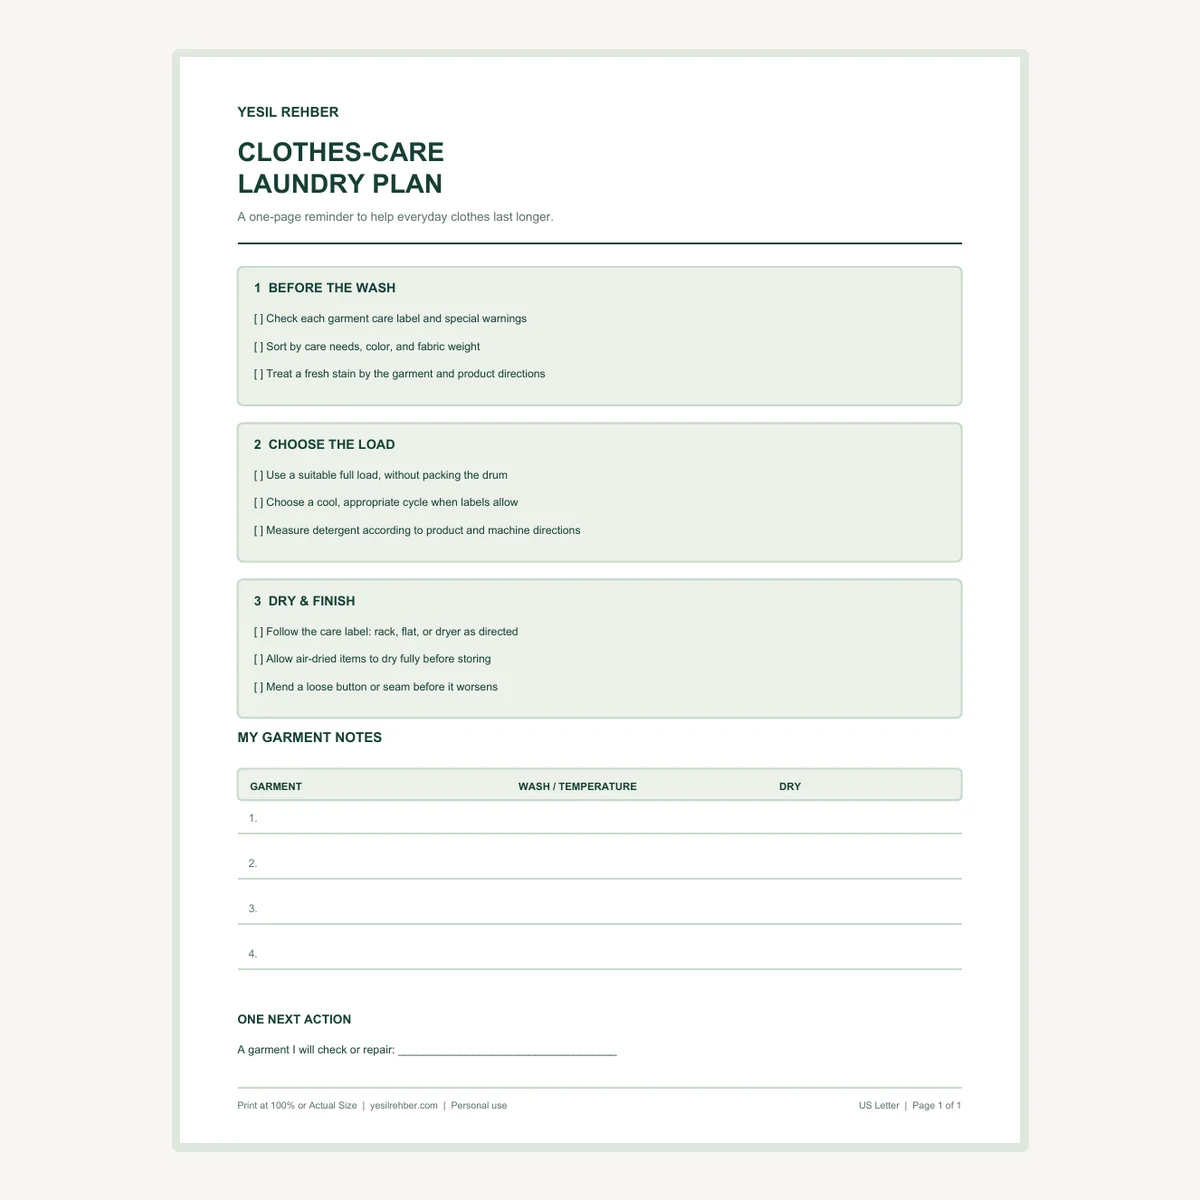
Free Clothes-Care Laundry Plan
The one-page printable walks through the wash and gives you a small record for garments whose care instructions you tend to forget. Choose US Letter or A4 and print at 100% or Actual Size.
The quick routine
- Check: Read the care label, especially on a new or unfamiliar garment.
- Sort: Group by care needs, color, and fabric weight.
- Treat: Blot a fresh stain and use only a treatment suitable for that fabric.
- Wash: Choose an appropriate full load and a cool setting when labels allow.
- Dry: Follow the label; use a rack or low-risk dryer setting as appropriate.
Start with the clothes you wear most. You do not need to replace your detergent, washer, or entire wardrobe to make the next load more thoughtful.
1. Let the care label set the boundaries
The label is the best starting point for wash method, water temperature, drying, bleaching, and ironing. The Federal Trade Commission’s Care Labeling Rule requires covered clothing to carry care instructions and relevant warnings. Check for “hand wash,” “dry flat,” “wash separately,” or other limits before putting everything in one standard cycle. A symbol or short phrase can prevent a shrunken sweater or damaged trim.
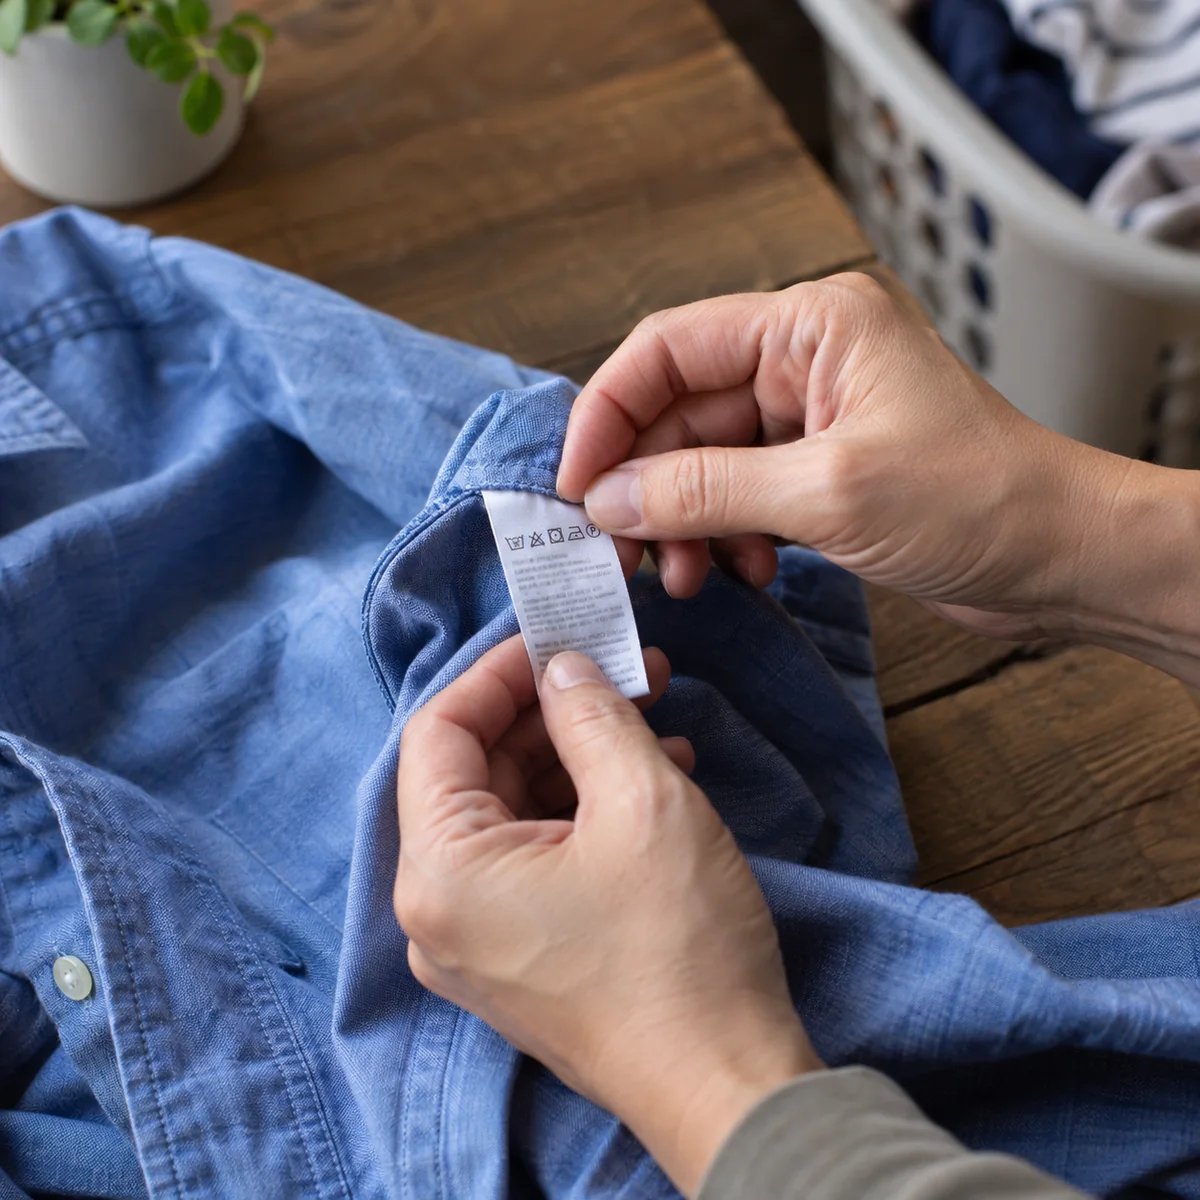
If you cannot read a label, look up the garment’s manufacturer instructions using its style or fabric details. Make a note for the few pieces that need a special routine. Do not assume every cotton blend, knit, or decorated item tolerates the same heat. The label’s instructions cover the whole garment, including linings and trim, not just the main fabric.
2. Sort for care needs, not perfection
Separate items that need different treatments: delicate or dry-flat pieces, heavy towels and denim, items that may bleed dye, and ordinary everyday clothes. Sorting does not require a row of new hampers. A few temporary piles on a clean surface will do. Check pockets, close fasteners when appropriate, and follow any “wash separately” warning.
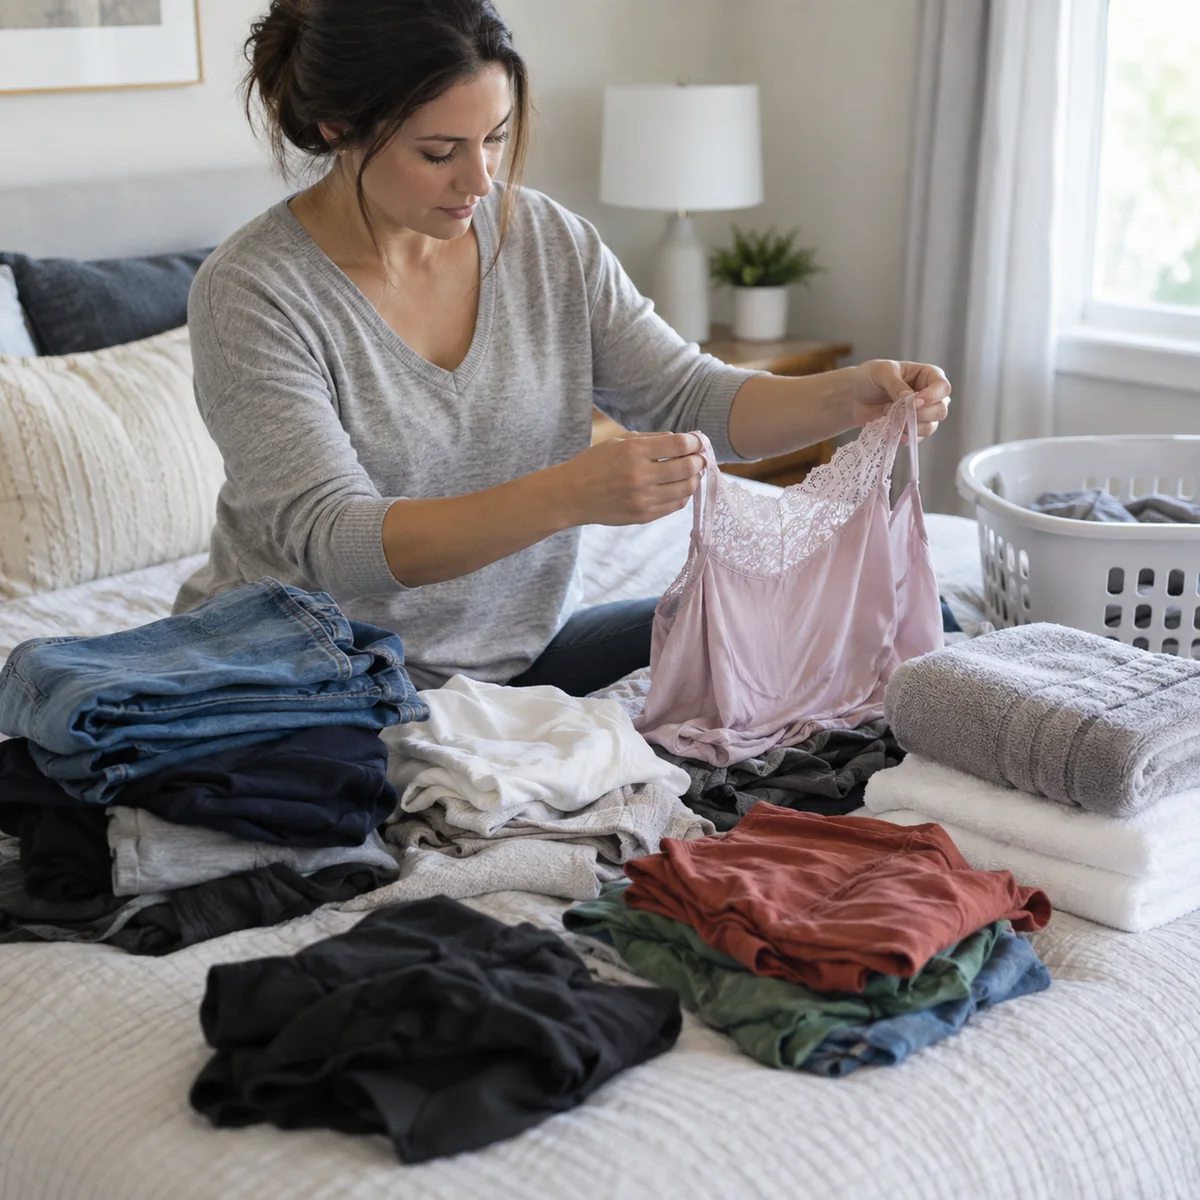
Wash clothes when they need it rather than because the basket contains one lightly worn item. Visible soil, odor, and the garment’s use should guide you; items worn next to the skin or used for exercise may need more frequent cleaning than an outer layer. If a clean-looking garment only needs airing and the care guidance permits it, that may avoid an unnecessary cycle. The U.S. Environmental Protection Agency notes that washing clothing less often can also reduce microfiber release from synthetic fabrics.
Build a load around compatible pieces. ENERGY STAR recommends full washer loads when possible because a washer uses roughly the same amount of energy across load sizes. “Full” does not mean tightly packed: leave enough room for the washer to operate as its manual describes.
3. Treat a fresh stain before it sets
Check the fabric’s care label and identify the stain if you can. The American Cleaning Institute advises blotting a stain instead of rubbing, which can spread it or damage the fabric. Use a clean cloth and a treatment suitable for the garment. Test a product on an inconspicuous area as its instructions direct, especially on dyed or delicate fabric.

After washing, check whether the stain remains before using a heated dryer. Heat may make some stains harder to remove. If it remains, use a fabric-appropriate next step rather than repeatedly running the whole load. Do not mix stain-removal chemicals or use bleach where the label warns against it. A single saved shirt is more useful than a collection of specialty products you rarely need.
4. Choose a suitable wash, then measure detergent
When the label and soil level allow, choose a cool-water cycle. ENERGY STAR says water heating accounts for a large share of a washer’s energy use and that cold water generally cleans many everyday loads well. Oily stains or particular hygiene needs may call for a different temperature; use the garment label, detergent directions, and the machine manual to decide. Do not treat “cold” as a rule for every item.
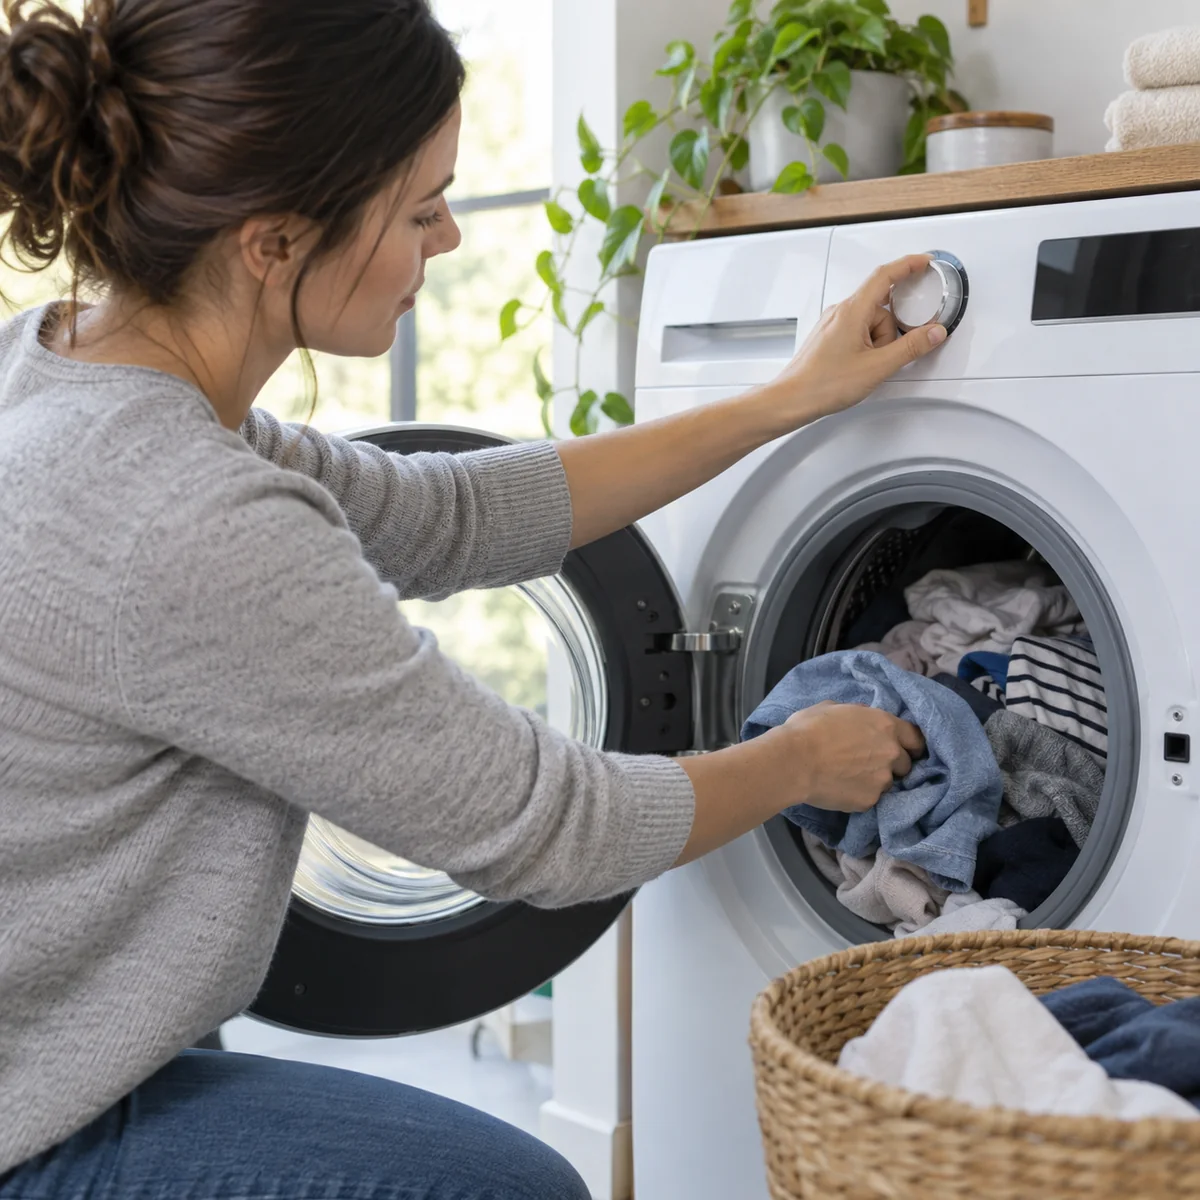
Measure detergent using the product’s instructions and your washer’s guidance. More detergent is not automatically better; excess can leave residue and prompt another rinse or wash. If your washer has a shorter cycle that is appropriate for lightly soiled clothes, it may be a practical choice. The EPA’s microfiber guidance notes that cooler, shorter cycles and full loads can help reduce shedding of synthetic fibers. Let cleaning needs and garment instructions determine the final setting.
Before starting, make sure the load can move freely and that the machine is not beyond its stated capacity. A careful cycle cannot compensate for a drum crammed so full that garments do not wash properly.
5. Dry according to the garment, and stop when dry
Some clothes can be hung, some should dry flat, and some can go into a dryer. The care label tells you which method is suitable. Where practical, ENERGY STAR recommends air-drying to save energy and help clothes last longer. Provide space and airflow, and let items dry completely before storing them. Lay a garment flat if its label says to do so; hanging a heavy wet knit can stretch it.

When using a dryer, avoid running it long after clothes are dry. ENERGY STAR says moisture sensors can reduce over-drying and garment wear. Clean the lint filter as the manufacturer directs, and select a heat setting appropriate for the load. Pairing items of similar weight can make it easier to finish them at the same time. Remove them promptly and check that seams and thicker areas are dry before folding.
Repair small problems before the next wash
A loose button, open seam, or snag is easier to handle before it gets worse in the washer. Set a small mending task aside when you fold laundry, and record it on the printable. Do not pull a loose thread hard or wash a delicate tear with heavy items. If the garment is beyond a repair you can do, a local alteration service may be an option for a piece you still wear.
A care routine supports the clothes you already own. If you want to get more use from the rest of your wardrobe, see how to build a capsule wardrobe from clothes you already own. For a simple weekly household rhythm, use our weekly low-waste home reset.
Common mistakes that shorten a garment’s useful life
- Ignoring “dry flat” or “wash separately”: one default cycle may damage a special piece or affect other items.
- Scrubbing every stain hard: start with gentle blotting and fabric-appropriate treatment.
- Stuffing the machine: clothing needs room to move within the machine’s rated load.
- Using the hottest setting by habit: choose temperature for the garment and cleaning task.
- Over-drying: stop the dryer when the load is dry, or air-dry where the label allows.
- Putting away damp clothes: dry them completely before storage.
Download the clothes-care plan
Use the US Letter PDF (8.5 × 11 inches) or the A4 PDF (210 × 297 mm). Print at 100% or Actual Size. Record the care needs of four garments you often hesitate to wash, then use those notes on the next laundry day.
Sources
- Federal Trade Commission, Clothes Captioning: Complying with the Care Labeling Rule.
- ENERGY STAR, Clothes Washers and Clothes Dryers.
- U.S. Environmental Protection Agency, How You Can Help Reduce Microfiber Pollution.
- American Cleaning Institute, Laundry Basics.