A small closet can feel full even when you own fewer clothes than you think. The problem is often the route to the clothes: the shirt you wear twice a week is behind a coat you wear twice a year, shoes hide under hanging hems, and little accessories have no obvious home. Before you buy a rack or another set of bins, try changing what lives in the easiest-to-reach space.
This guide shows you how to organize a small closet without buying organizers. Work on one section, decide what stays, use the shelf and containers you already have, and give outgoing items an actual destination. The goal is a closet you can use on an ordinary weekday, not a perfectly styled photo.
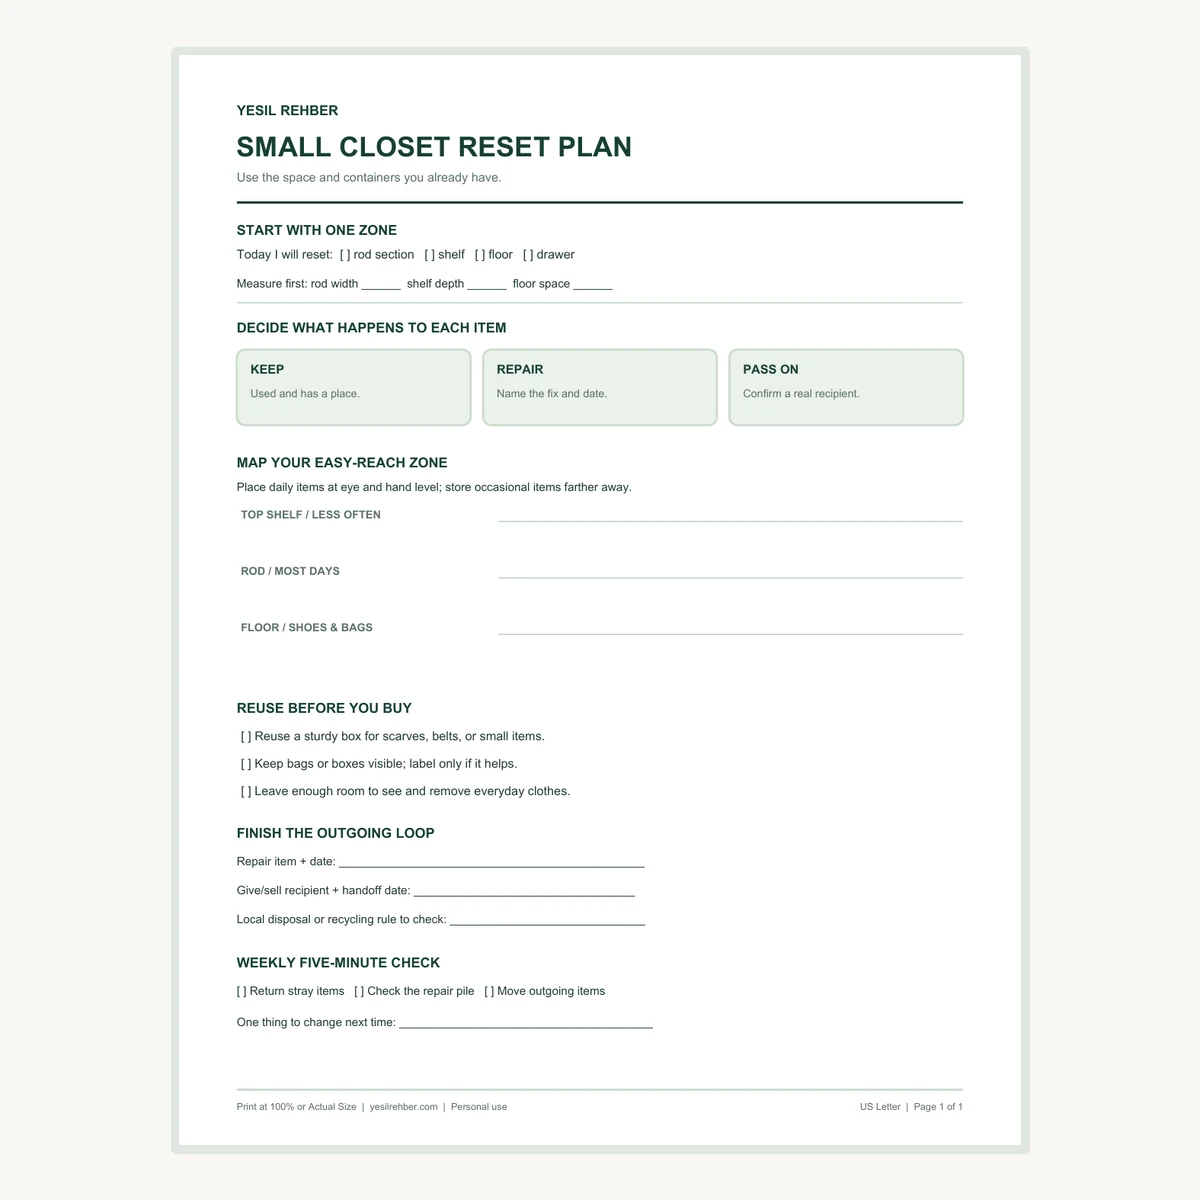
Free Small Closet Reset Plan Printable
Use this one-page worksheet to choose a section, map your easy-reach zones, and finish repair or pass-on decisions. Choose your paper size and print at 100% or Actual Size.
The quick answer: make the closet work from the middle out
Put the things you use most often where your hands naturally reach. Move occasional items to higher shelves or the far end of the rod. Keep shoes and bags visible instead of stacking them behind one another. Give small items a shallow box you already own. Leave enough open space to take out one item without disturbing the rest. That simple order matters more than matching hangers or purchased dividers.
Do not empty the whole room unless you have time to finish it. A crowded closet is easier to improve in small, complete sections: one rod span, one shelf, or the floor. Finish that section before starting another so you can still get dressed if the project is interrupted.
Step 1: measure the space and choose one section
Take a quick look at the available rod width, shelf depth, and floor area. Measure if you are considering moving a box or basket from elsewhere in your home. A box that fits the shelf but blocks the door or hangs over the edge will make the closet harder to use. Note any awkward corner, sloped ceiling, or door swing before you rearrange anything.
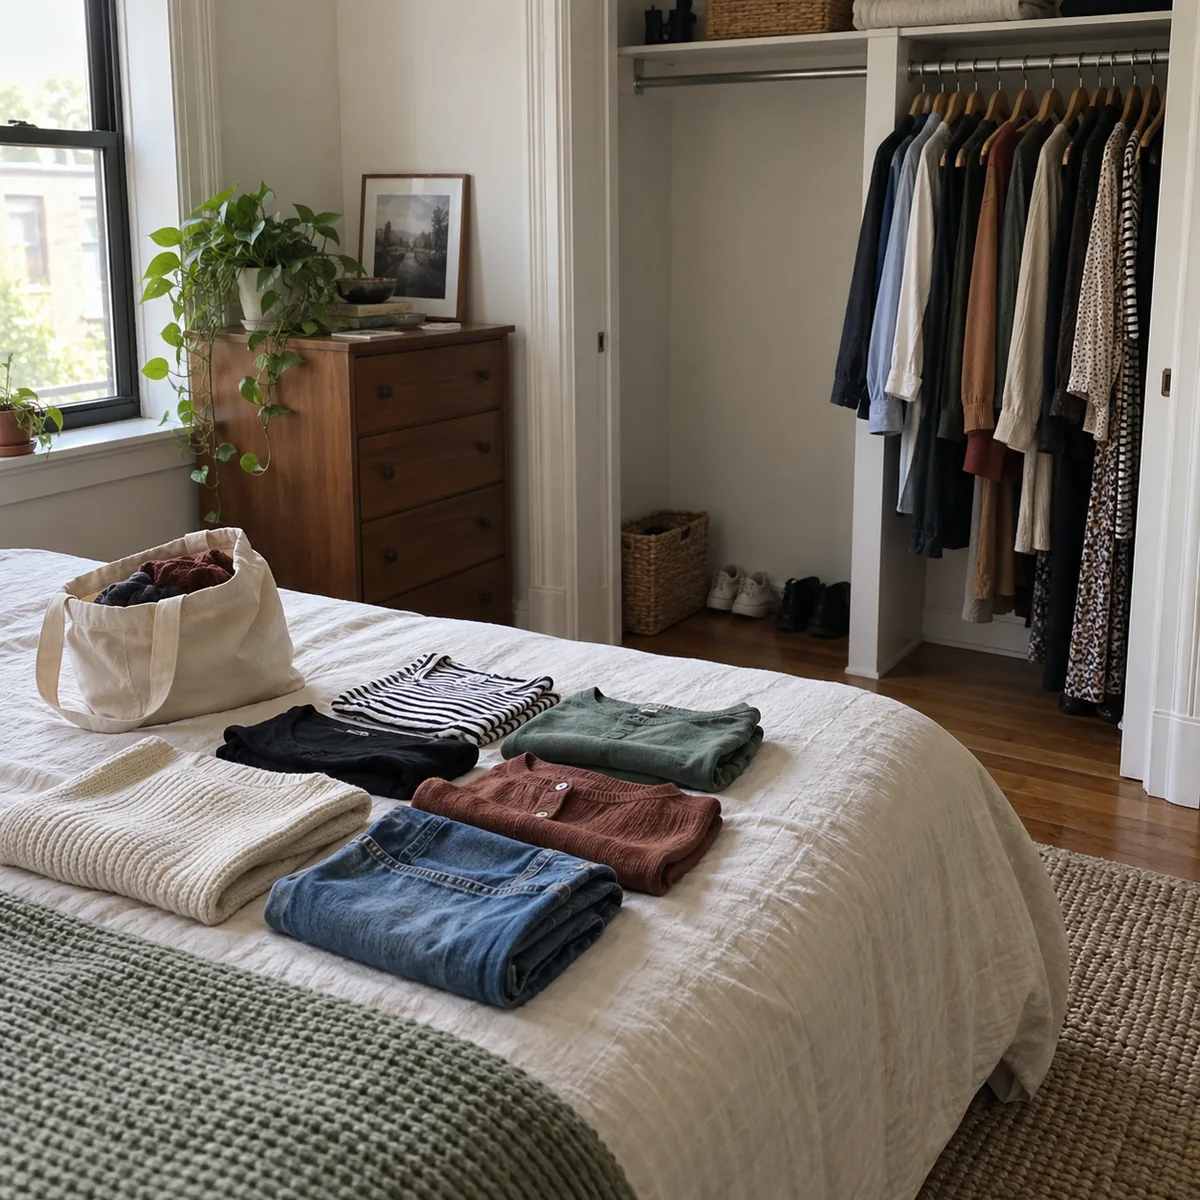
Choose the section that slows you down most often. If you cannot find work shirts, start with that part of the rod. If shoes block the door, begin with the floor. Take only those items out and wipe the bare surface if needed. Keep a small space nearby for items to return, items needing a repair, and items that may leave your home. This is a working sort, not permission to make three permanent piles.
Step 2: make a decision before an item goes back
Handle each item once and ask: Do I use it, does it fit my life now, and can I see where it belongs? Put a useful item back in a specific spot. For a repairable item, name the fix and set a date; “repair someday” often becomes another hidden pile. For an item you no longer need, decide whether you will give, sell, or responsibly dispose of it based on condition and local options.
You do not have to force a decision on sentimental or seasonal pieces in the same session. Put uncertain items in one clearly marked review spot and choose when to revisit them. The space for that spot should be limited. If the entire closet becomes a “maybe” area, the everyday clothes will still be inaccessible. Our low-waste decluttering guide walks through repair, reuse, and pass-on choices in more detail.
Step 3: give everyday clothes the easiest reach
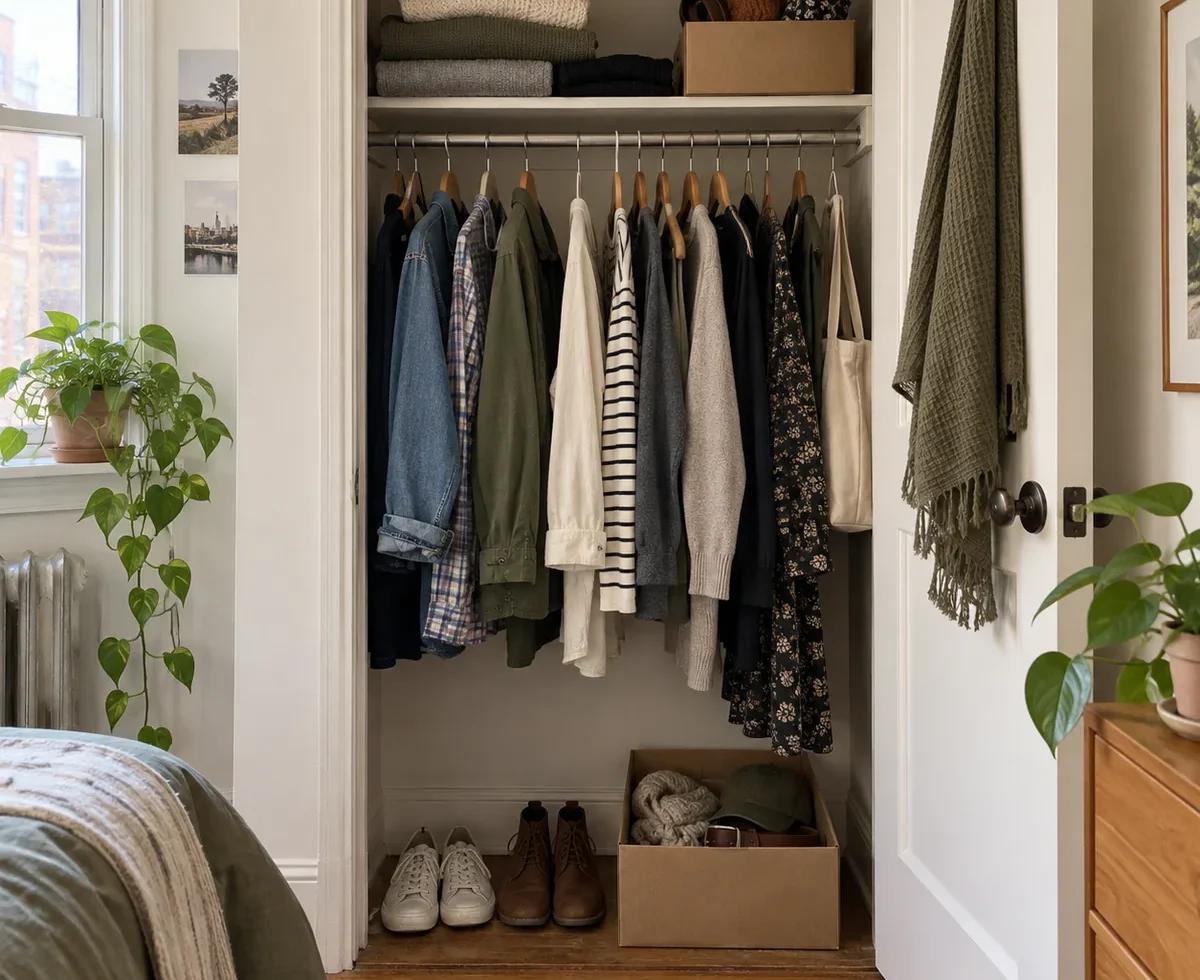
Return the clothes you wear most to the central, comfortable part of the rod. Put less frequently used pieces toward one side or on a higher shelf. Grouping by use is often more practical than grouping by color: work clothes together, casual layers together, and special-occasion garments farther away. If the rod is crowded, a little breathing room makes it possible to see and remove a garment without pulling several others down.
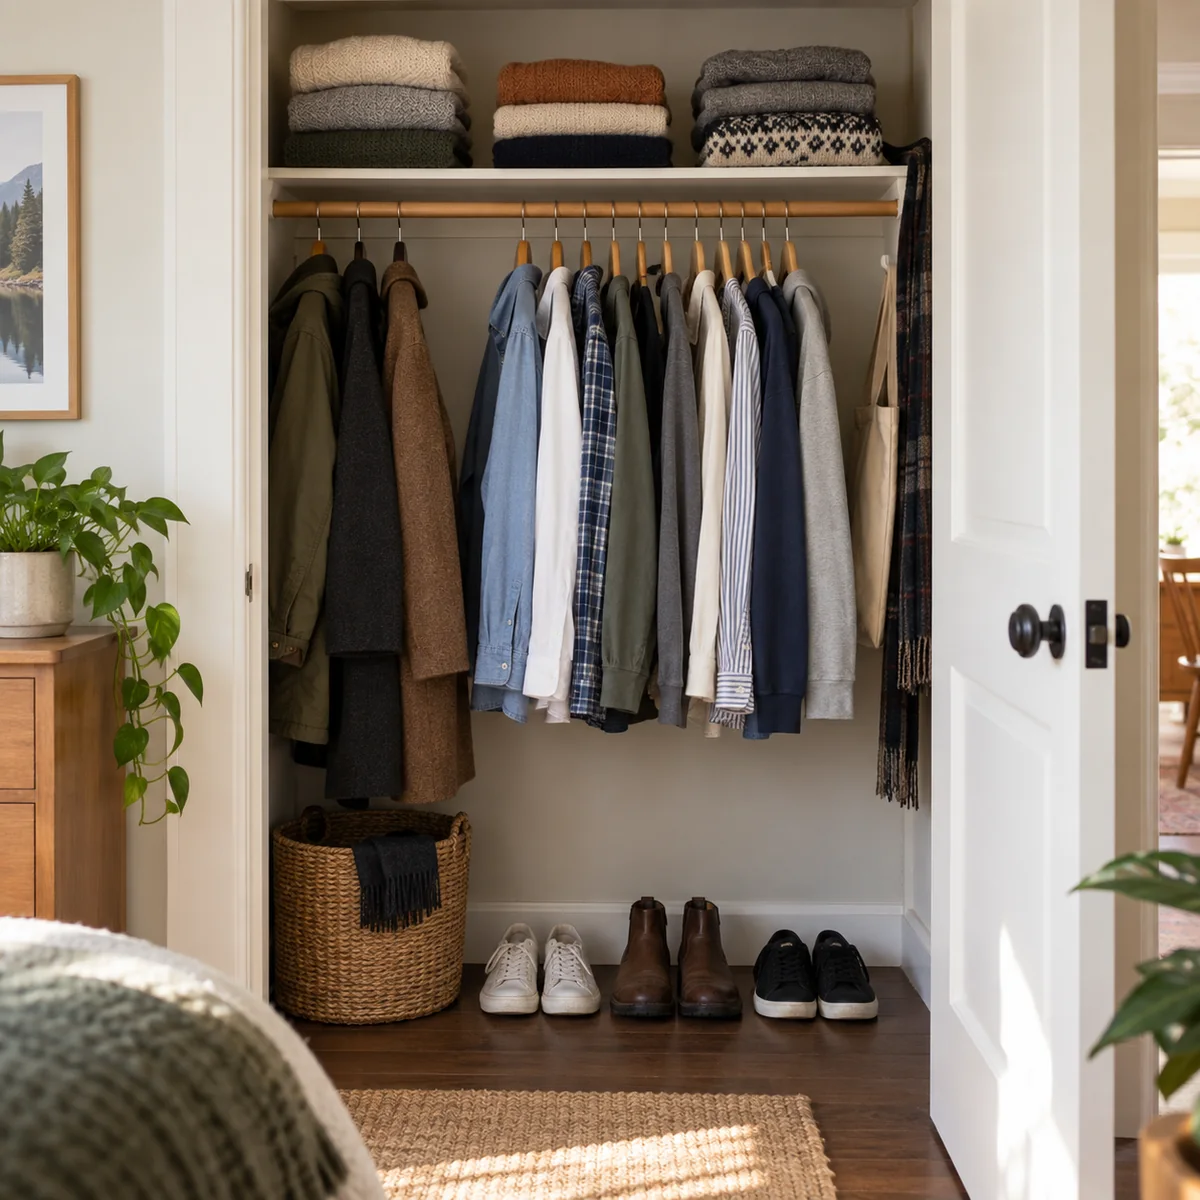
Fold heavy sweaters on an existing shelf so they do not stretch on hangers. Keep a frequently used bag near the door rather than buried under rarely used shoes. If long garments cover the floor, move shorter clothes together to create one clear patch underneath. Use that patch for shoes or a bag you actually use, not as a new landing zone for everything that lacks a place.
Step 4: reuse one container for the small things
Small loose items can make a usable shelf look chaotic. Try a sturdy shoebox, gift box, or shallow tray you already have for belts, scarves, or accessories. Keep one category per container when possible. A lid can sit underneath the box as a tray. Choose a container low enough that you can see what is inside and strong enough to lift without spilling it.
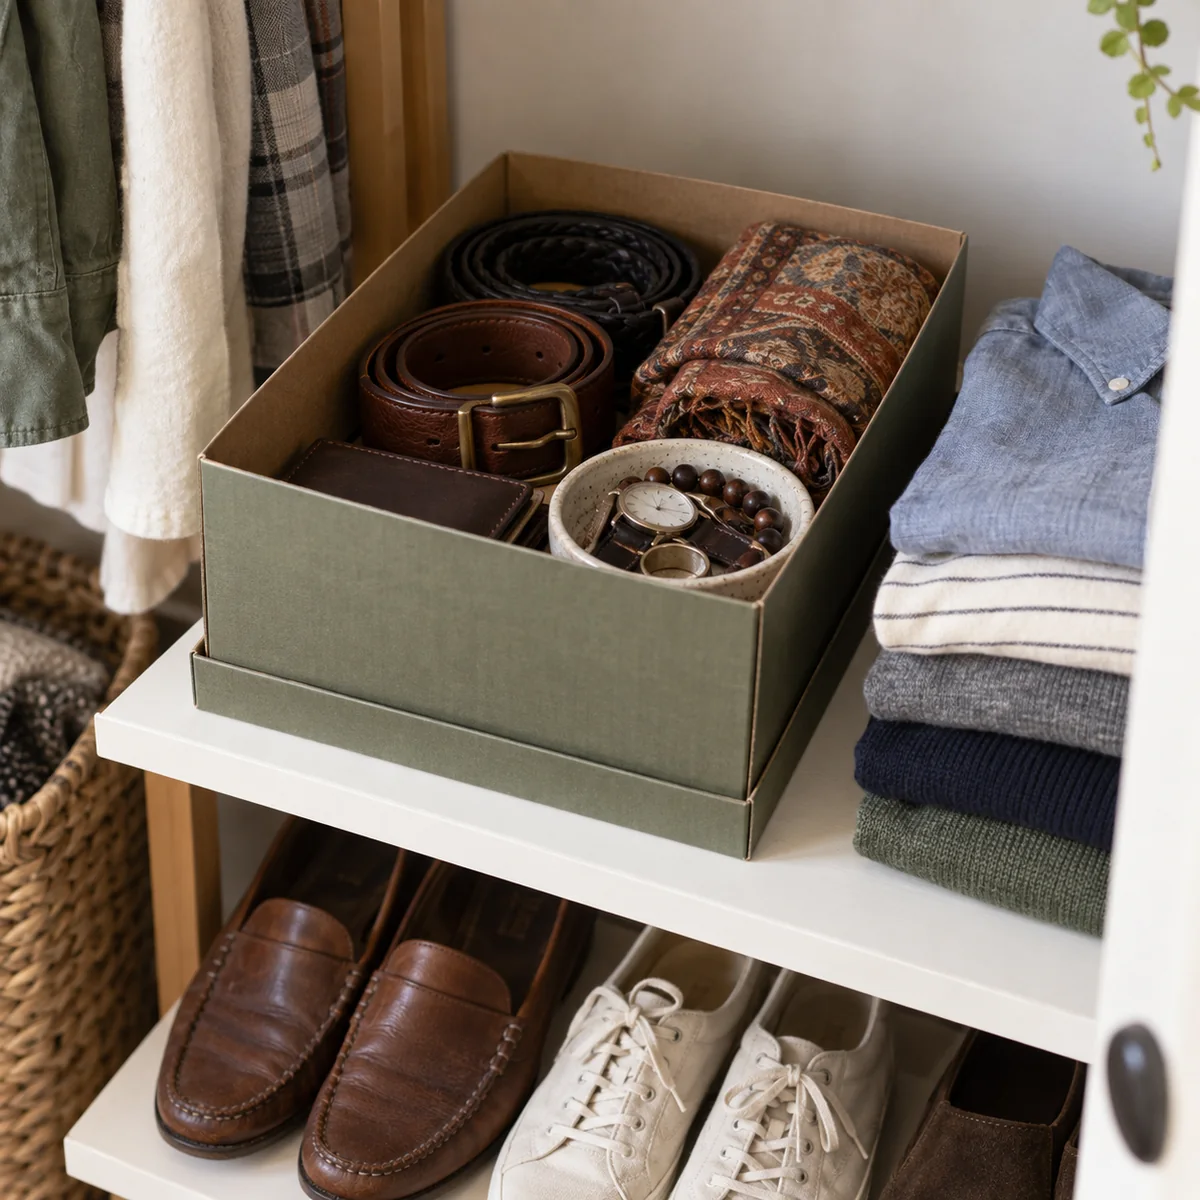
Do not add containers just to fill a shelf. First make sure the contents are worth keeping and that the box fits the real space. If the box is opaque, a simple handwritten label may help. If it stays open and visible, no label may be needed. The U.S. Environmental Protection Agency recommends reusing and repairing items when practical; using an existing box here is a small example of that approach.
Step 5: finish the repair and pass-on decisions
Choose a real next step for each outgoing item. Sew the missing button on a date you will remember, or place the item where you keep repair tools. If you plan to give something away, identify a person or local organization that accepts it and set a handoff date. Check the recipient’s current guidelines first: donation acceptance varies by location and condition. Goodwill, for example, directs donors to their local organization for specific acceptance information.
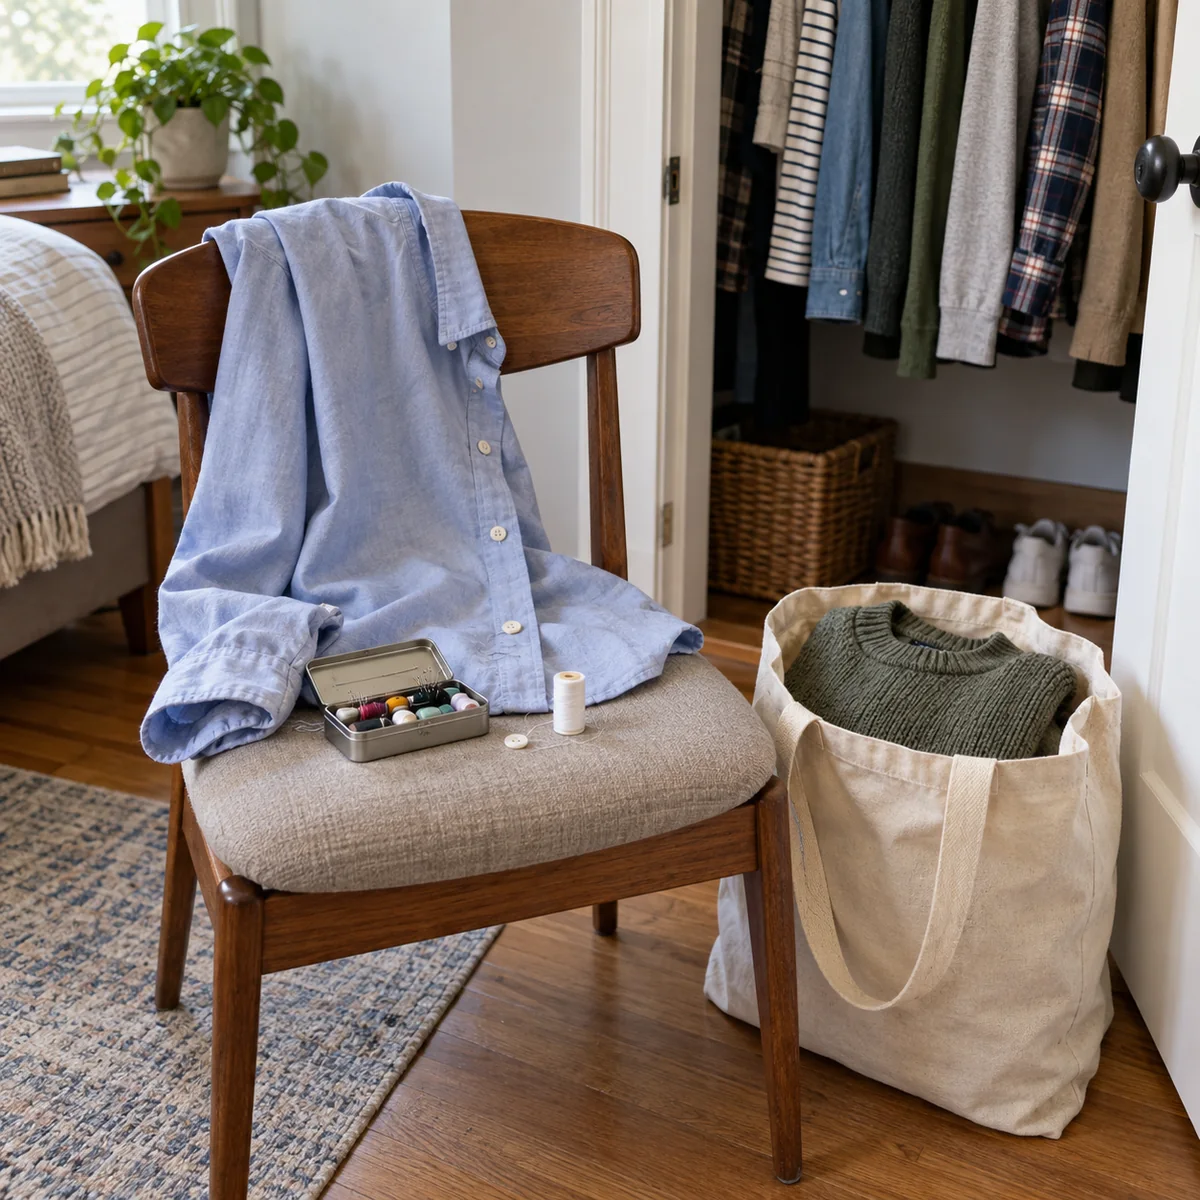
Keep the outgoing bag separate from clothes that are staying, and avoid leaving it in the closet for months. Do not donate broken or unsafe items simply to move the problem elsewhere. For textiles that cannot be worn or repaired, check local textile collection rules; services and accepted materials differ by area. The EPA’s waste guidance favors reducing, reusing, and repairing before disposal when those choices are practical.
What if the closet still does not fit everything?
Check the arrangement before shopping. Are seasonal coats occupying the daily-use section? Could an underused shelf hold folded pieces? Is a box taking more room than the items inside? Once you have used the existing space deliberately, write down the exact problem that remains: for example, “four pairs of shoes need a visible place on a 20-inch-wide floor.” Measure again before considering a product, and look for a suitable item you already own or can obtain used.
If you add a freestanding shelf or dresser near the closet, follow its manufacturer instructions and appropriate anchoring guidance. The U.S. Consumer Product Safety Commission advises anchoring furniture with drawers, doors, or shelves to help prevent tip-overs, and keeping heavy items low. A closet reset should not trade clutter for an unstable stack.
A 20-minute session you can repeat
- Minutes 0–3: Pick one section and take a quick “before” photo for your own reference if useful.
- Minutes 3–8: Remove only the items from that section and clean the shelf or floor.
- Minutes 8–14: Decide keep, repair, or pass on. Put uncertain items in one limited review place.
- Minutes 14–18: Return daily-use items first, then occasional items. Try one reused box for small pieces.
- Minutes 18–20: Write the repair date or handoff plan and take the outgoing bag out of the closet.
The minutes are a planning aid, not a deadline. A closet with many items may take longer. Stop after one finished section if that is all the time you have; a usable shelf is progress you can keep.
Keep the system working through the week
Once a week, return stray clothes to their places and check whether a repair or outgoing bag is still waiting. Notice what repeatedly lands on the floor. That item may need a more convenient home; a system that depends on a long series of tiny steps is unlikely to survive a rushed morning. As seasons change, swap which clothes get the easy-reach space instead of adding another layer in front.
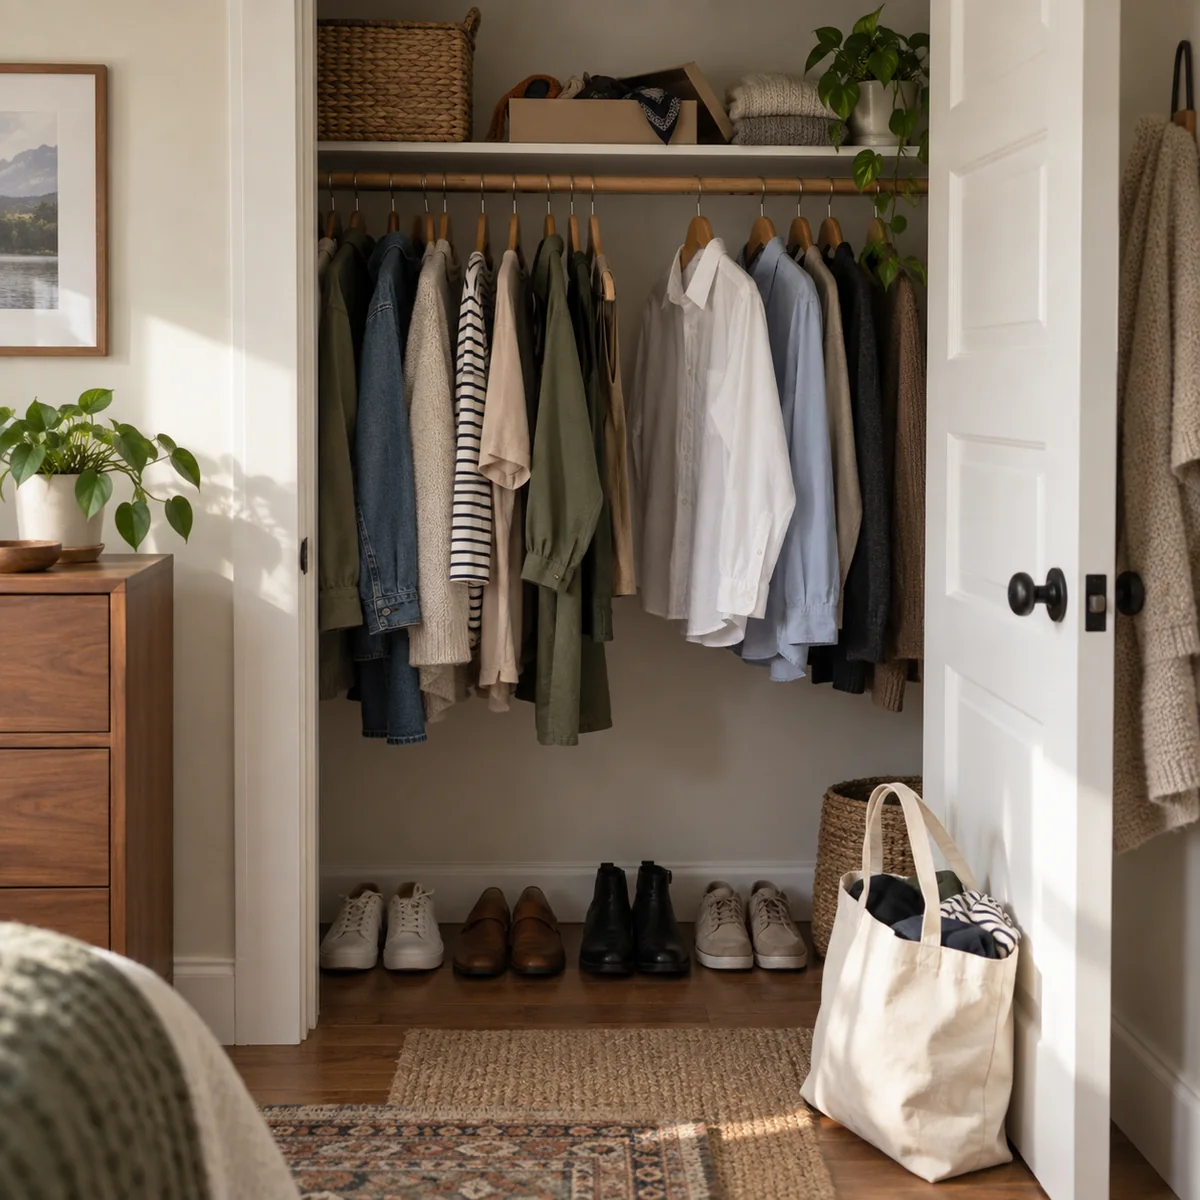
Be cautious about buying an organizer before you know what it must hold. Our mindful shopping reset offers a short way to pause a nonurgent purchase, check what you own, and compare the real options. If a new item still solves a measured, recurring problem, you can make that choice with clearer information.
Common small-closet mistakes
- Emptying everything at once: A one-zone reset is easier to complete and keeps the room usable.
- Buying matching bins first: Sort and measure before deciding whether a container is needed.
- Hiding daily clothes behind occasional items: Arrange by frequency of use and access.
- Keeping a permanent repair pile: Name the fix, date, and next action.
- Sending anything to a donation center: Check local acceptance and give only suitable items.
- Filling every inch: Leave room to see and remove what you own.
Download the small closet reset plan
The one-page printable gives you space to measure a section, map the top shelf, rod, and floor, and record the repair and handoff actions that finish the job. Download the US Letter PDF (8.5 × 11 inches) or the A4 PDF (210 × 297 mm). Print at 100% or Actual Size.
Start with the section that causes the most friction tomorrow morning. Make that one section easier to use, then decide whether the next section needs any attention at all.
Sources
- U.S. Environmental Protection Agency, What You Can Do About Climate Change: Waste
- U.S. Environmental Protection Agency, Think Green Before You Shop
- Goodwill Industries International, Donate Goods
- U.S. Consumer Product Safety Commission, Anchor It!