A small bathroom feels crowded when every spare bottle, damp towel, and rarely used tool competes for the same few inches of counter. Adding another organizer can create a second layer of clutter without deciding what belongs there. A better reset begins with one surface, three practical zones, and containers already in your home.
This guide shows how to organize a small bathroom without buying more storage. You will keep daily items within reach, move backup supplies out of the way, test a tray or box you own, and make the space easy to reset. Bathrooms are damp, so placement also matters: medicines and household cleaners need particular care, and a leak under the sink is a maintenance problem rather than a storage puzzle.
Free Small Bathroom Reset Map
Use the one-page worksheet to sort one surface, map the counter, cabinet, and under-sink zones, and choose one reused tray or box to test. It includes reminders for medicines, cleaners, and damp items. Choose US Letter or A4 and print at 100% or Actual Size.
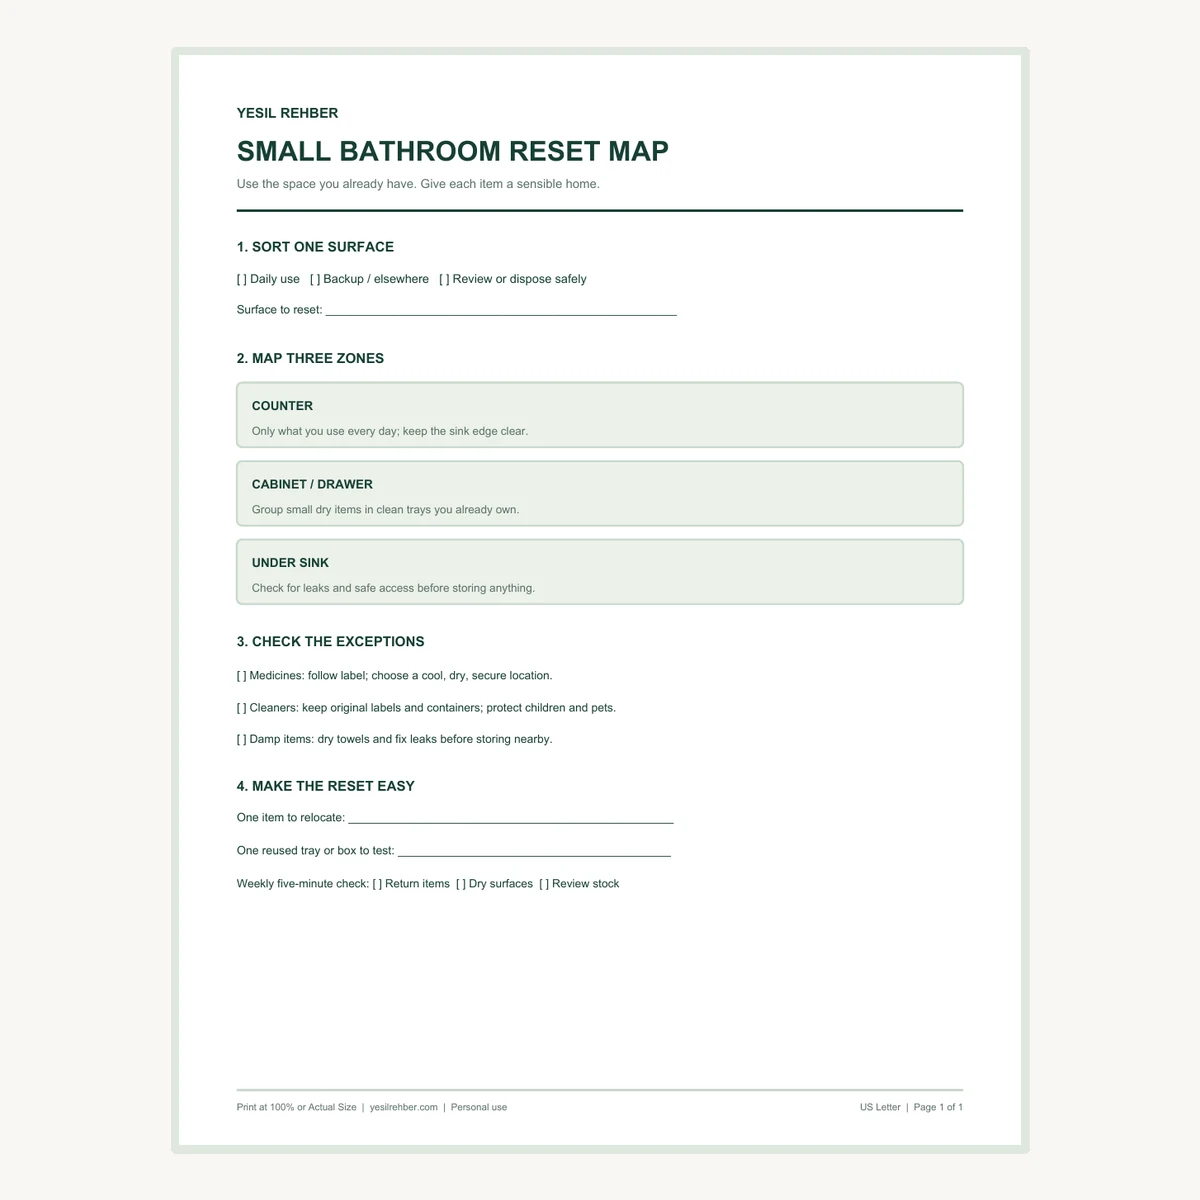
The quick method: one surface, three zones
Empty only the sink counter or one cabinet shelf. Sort items into daily use, backup or elsewhere, and review. Return a small number of daily products to the counter on a washable tray you already own. Give dry tools and backup supplies a cabinet or drawer space. Check under the sink for moisture before using it, and keep cleaning products there only if the storage is safe for everyone in the home. Do not fill every shelf; leave room to take things out and put them back.
The aim is a bathroom that works at 7 a.m., not a showroom photograph. If two people share the sink, the setup should let both find their essentials without moving a pile. If storage is extremely limited, relocating backup supplies to a suitable dry place outside the bathroom may be the most effective change.
Step 1: reset one surface and sort by use
Start where clutter interrupts the routine most: the sink counter, a single drawer, or one cabinet shelf. Take everything off that surface and wipe it dry. Put items in three temporary groups. Daily use means you reach for them most days. Backup or elsewhere means unopened extras or items that belong in another room. Review means empty packaging, duplicates, products you no longer use, or things that need a safe disposal decision.
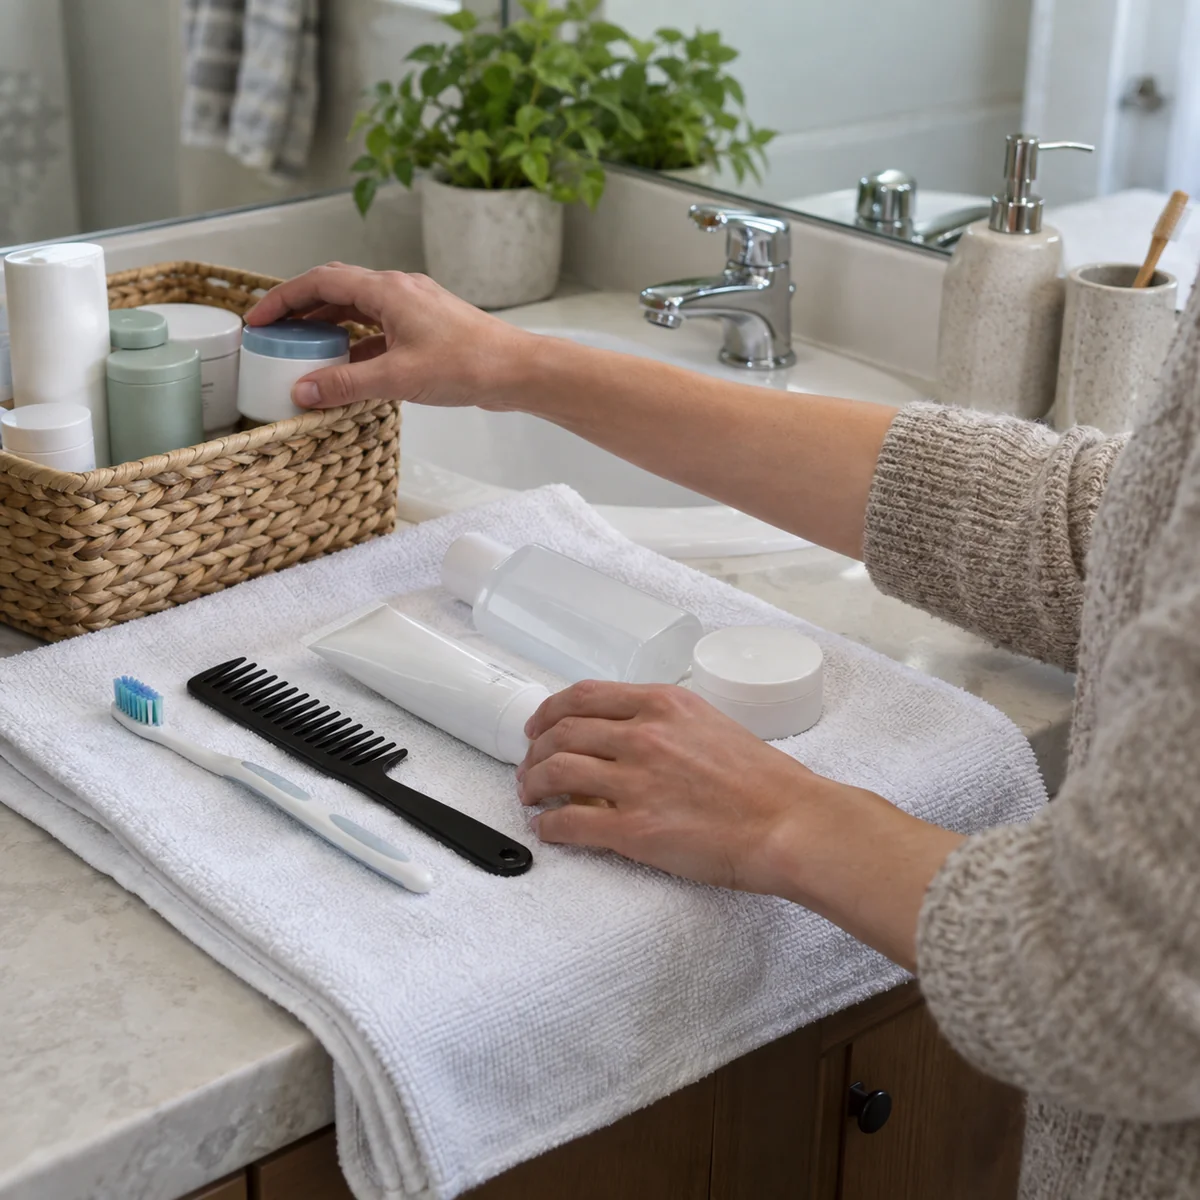
Keep the task small enough to complete. Opening every drawer and closet at once creates a second mess. If an item is useful but lives elsewhere, carry it there now. If you are unsure whether to keep a duplicate, set a specific review date rather than leaving an unlabeled box under the sink. Our decluttering guide has a fuller process for keep, repair, give, recycle, and disposal decisions.
Step 2: keep the counter for true daily essentials
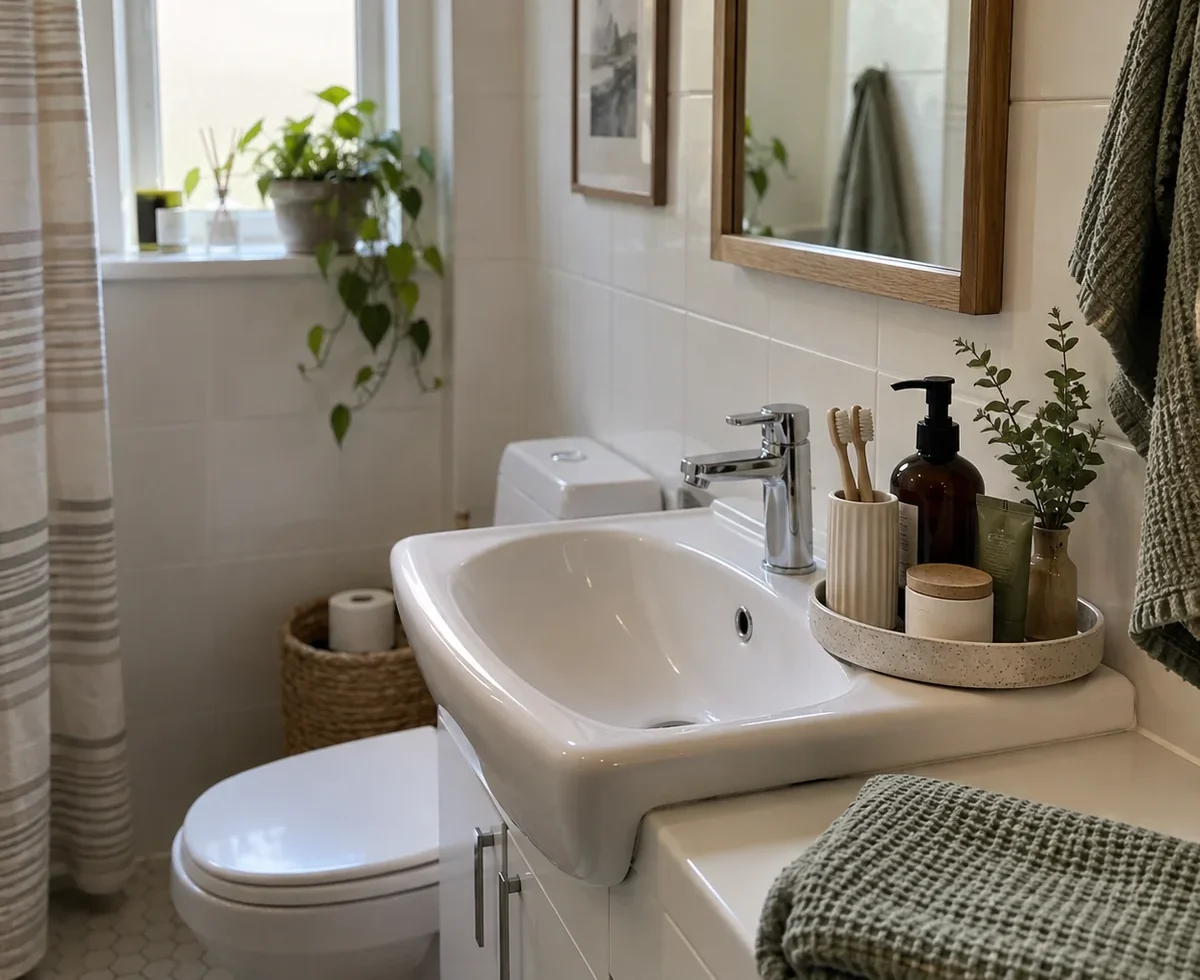
The counter is your fastest-access zone. Give it a narrow job: perhaps a toothbrush cup, hand soap, and one or two products used every morning. Choose a shallow, washable dish or tray already in your home. It should fit without blocking the sink, faucet, or any electrical outlet. Place items on it only after the counter and their bottoms are dry. A tray makes the group easy to lift when you wipe the surface.
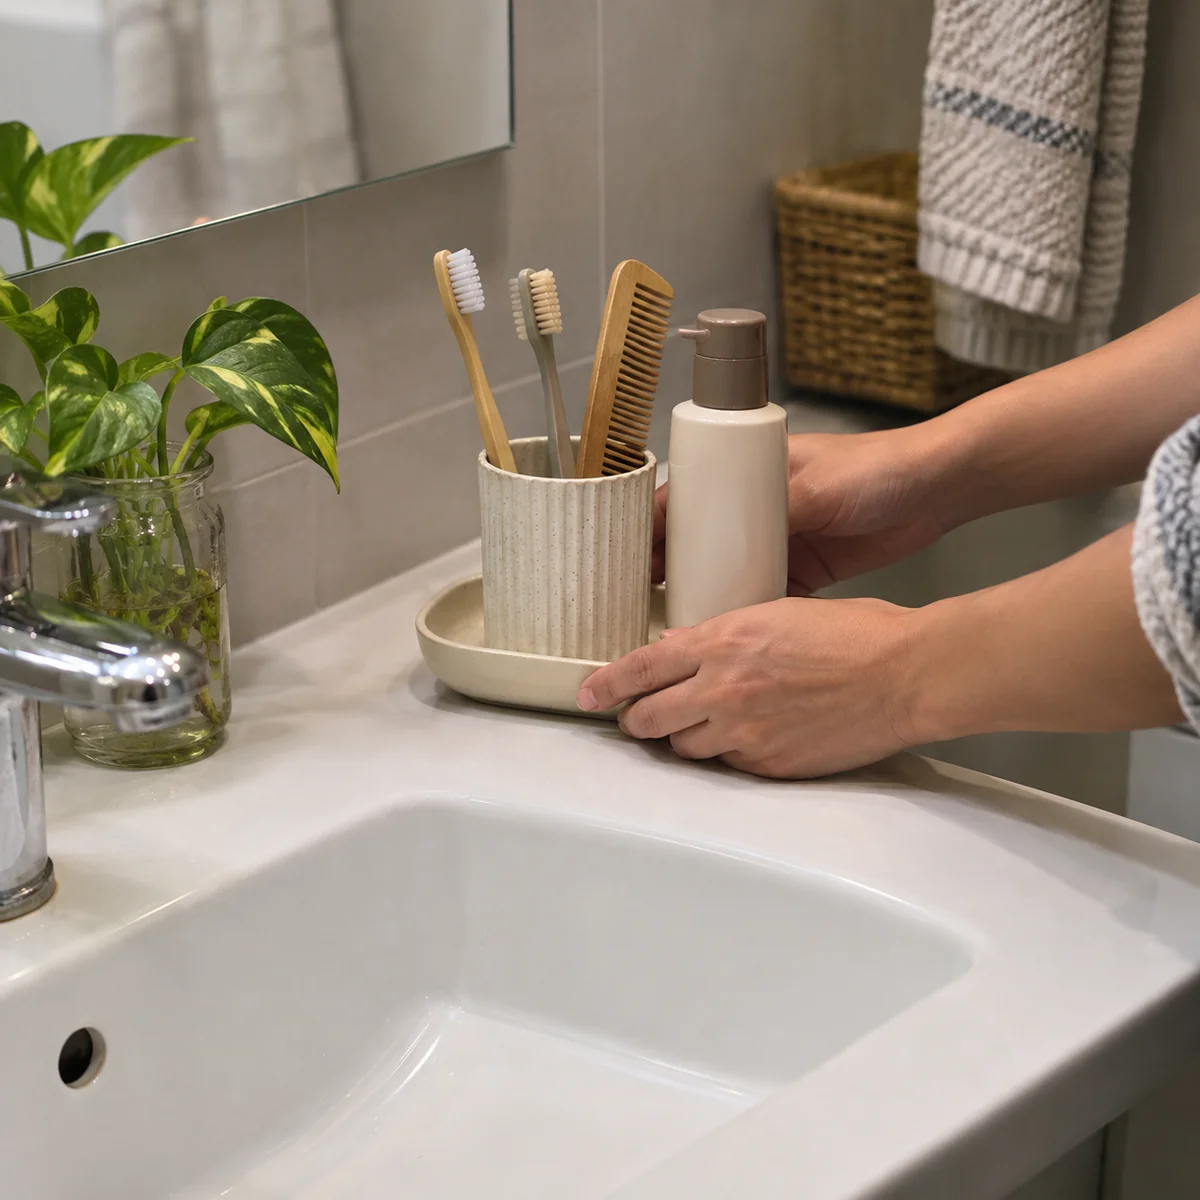
Do not use a container just because it is attractive. A tall jar can hide small items, tip near the sink, or collect water. A shallow dish may work better for a comb and lotion; an existing cup can hold toothbrushes upright. If the counter still feels crowded, remove one item you do not use every day and test the arrangement for a week. The layout should reflect the routine, not a purchase list.
Step 3: give dry items a visible cabinet or drawer home
Use the cabinet, shelf, or drawer for items that can wait a few seconds: a spare toothbrush head, clean washcloths, grooming tools, and a reasonable amount of backstock. Group small dry things in clean, sturdy boxes or trays you already have. Test them empty first so the door closes and you can lift each one out. Put frequently used items at eye or hand level and less-used stock farther back, without stacking products so high that labels disappear.
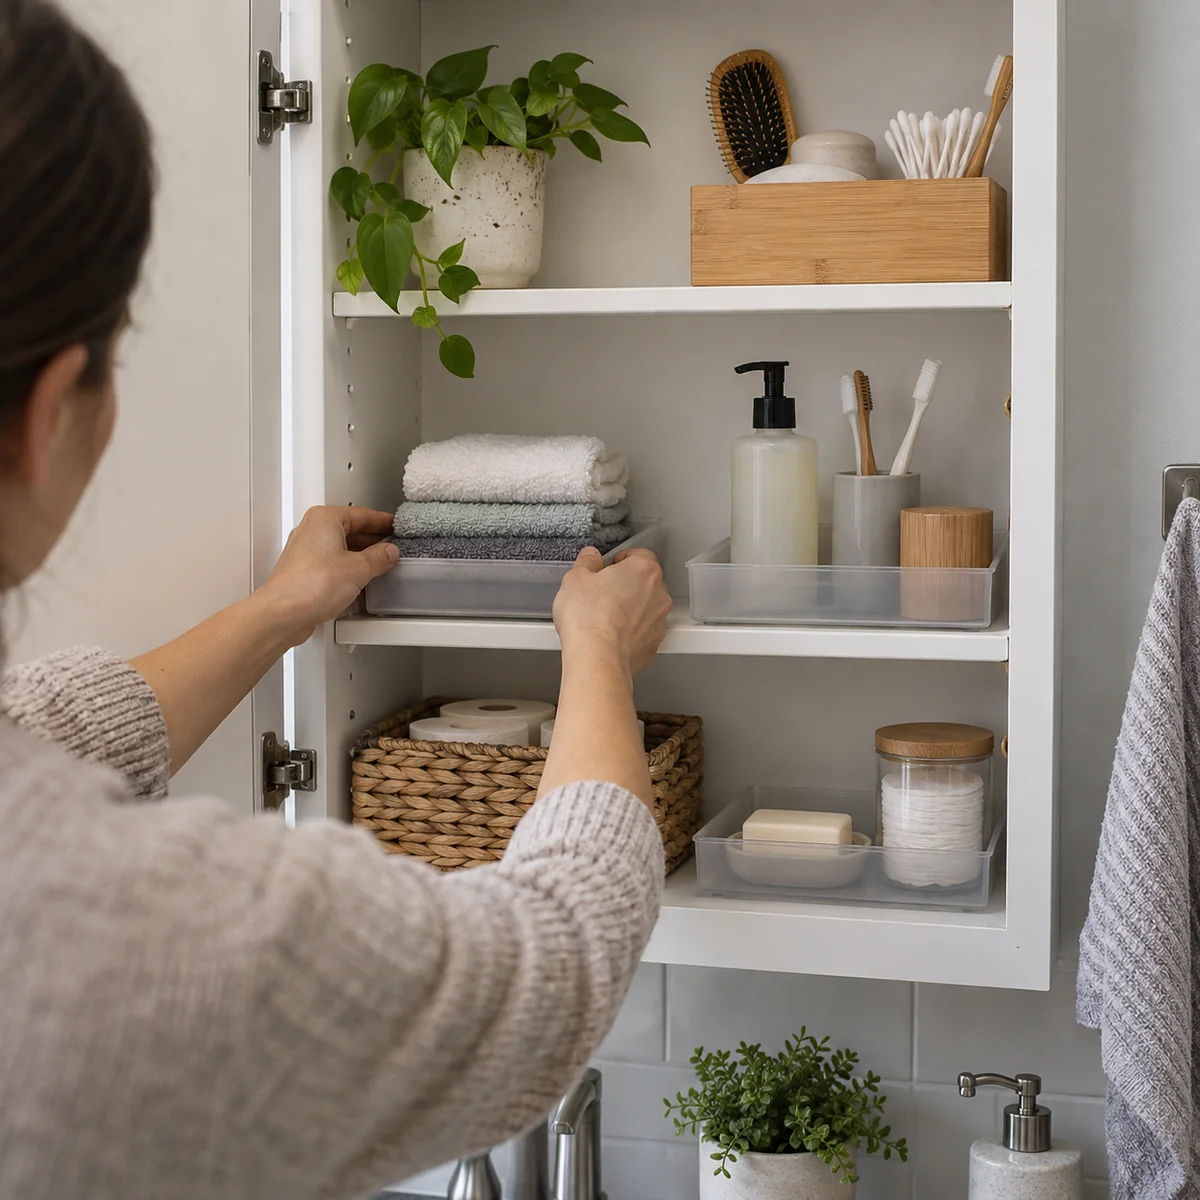
Keep clean towels where they stay dry. A towel that remains damp inside a crowded cabinet needs a place to hang and dry before it is folded away. The U.S. Environmental Protection Agency (EPA) advises reducing bathroom moisture by running a vent fan or opening a window when appropriate during showers, and fixing leaks. If a cabinet smells musty or feels damp, address that condition before adding more stored fabric or cardboard.
Step 4: treat under-sink space as a safety check
Open the under-sink cabinet and look at the floor, pipe connections, and back corners. If you see active moisture, staining, or a leak, empty the area and solve that problem before using it for storage. If it is dry, a washable tray you already own can keep a small group of suitable items upright and make inspection easier. Do not jam items against plumbing or hide a slow drip behind a full shelf.
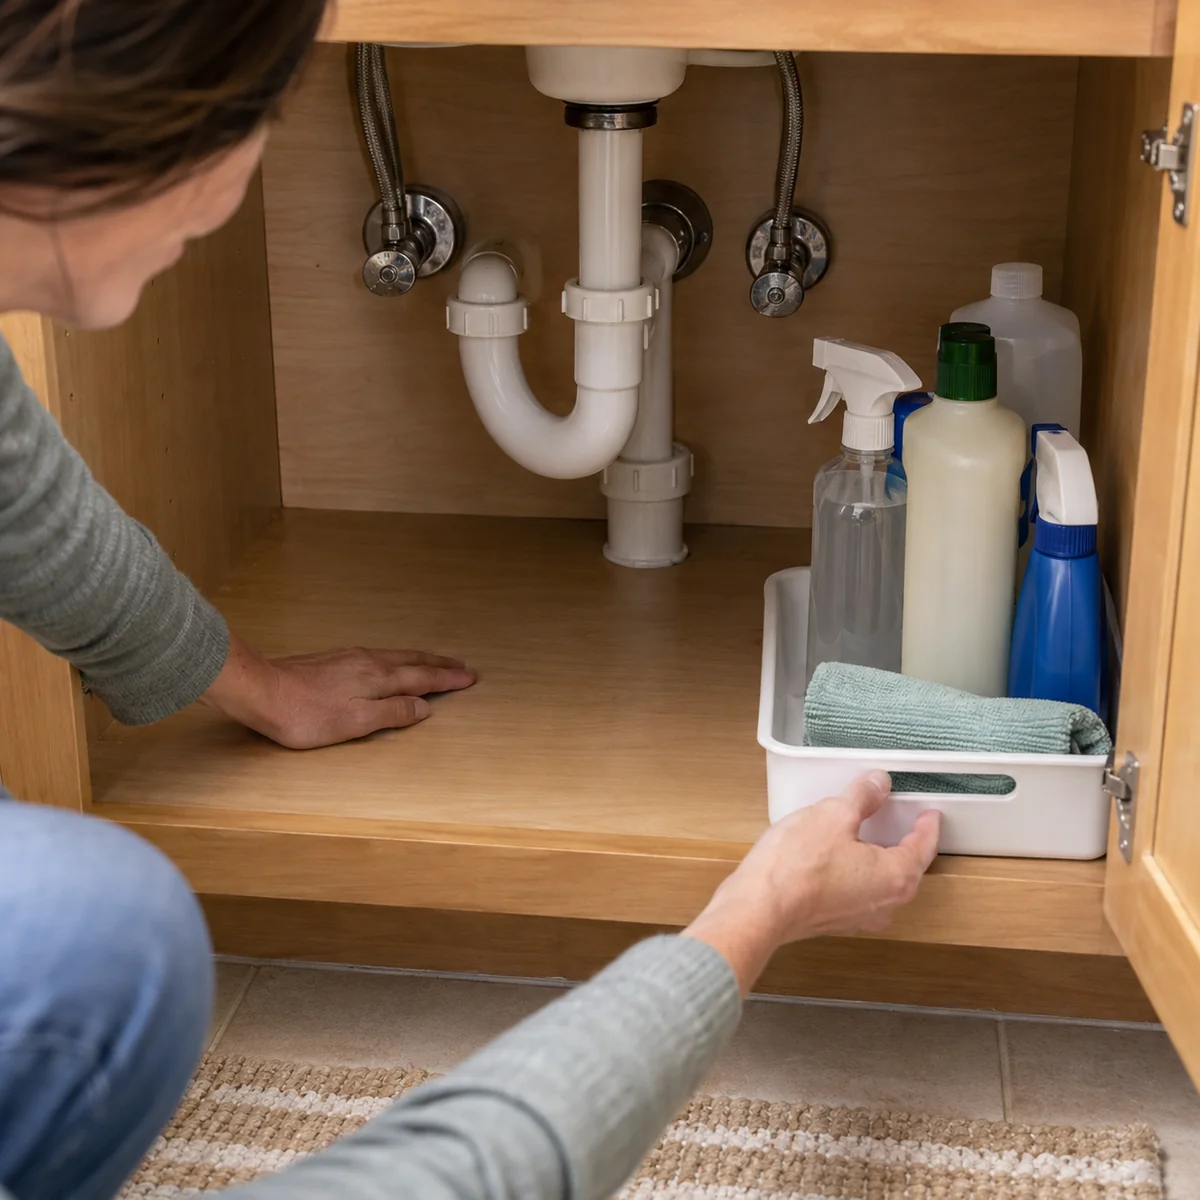
Cleaning products must stay in their original, labeled containers and be stored according to their labels. The EPA warns against putting hazardous products in food containers or mixing leftovers. If children or pets can reach the under-sink space and it is not secured, choose a safer location they cannot access. Do not decant products into matching unlabeled bottles for a tidy look. If old cleaners need disposal, check label directions and your local household-hazardous-waste program instead of pouring them together or down a drain.
Step 5: move medicines to an appropriate dry, secure place
The phrase “medicine cabinet” can be misleading in a steamy bathroom. The U.S. Food and Drug Administration (FDA) advises storing medicines in a cool, dry place or as the label directs, and keeping them in original containers. If your bathroom gets humid, choose a secure location elsewhere that meets the label’s conditions and is inaccessible to children. Do not put loose pills into a reused bathroom jar or mix different medicines to save space.
During the reset, check dates and instructions on medicines separately from ordinary toiletries. The FDA says drug take-back options are the best way to dispose of most expired or unwanted medicines. Follow its product-specific guidance when take-back is not available; do not use a generic “flush everything” rule. This is one category where a safe location matters more than keeping all bathroom-related items together.
Step 6: make the five-minute weekly reset realistic
Once a week, return stray items to their zones, wipe the counter and tray dry, and check the under-sink area for moisture. Notice whether a product is being used before opening another backup. Hang damp towels to dry. If the same object sits out every week, it may need a more convenient home; if a tray overflows, remove an item rather than immediately seeking a larger tray.
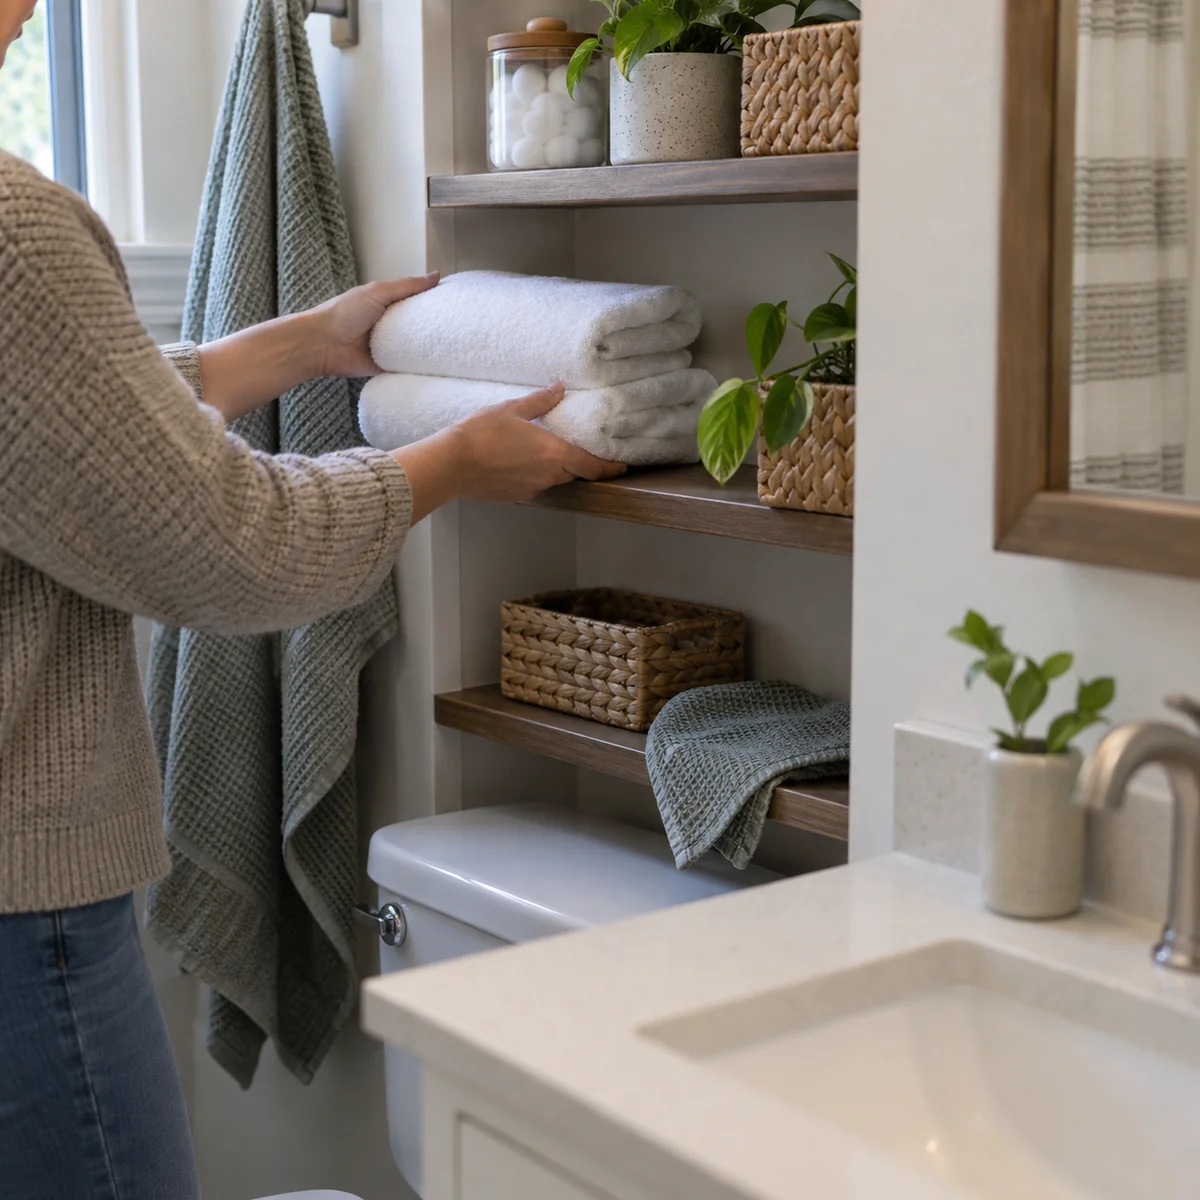
A bathroom that takes thirty minutes to maintain is too elaborate for many households. Leave space for the normal mess of use and make it easy to clear again. You can add this check to a broader weekly low-waste home reset without making it another full cleaning project.
A practical 20-minute version
- Minutes 0–4: Empty and dry one counter or shelf.
- Minutes 4–8: Sort daily use, backup or elsewhere, and review items.
- Minutes 8–12: Test one existing tray on the counter and one box on a dry shelf.
- Minutes 12–16: Check for leaks; move medicines and unsafe cleaner storage to suitable places.
- Minutes 16–20: Return relocated items, wipe the area, and name one disposal task.
The timing is a planning aid, not a promise. If you uncover a leak, damaged plumbing, unsecured hazardous products, or medicines that need disposal, handle that issue properly even if it extends the session. There is no reason to force everything back into the bathroom to finish on time.
Common mistakes that make a small bathroom feel smaller
- Keeping all backups on the counter: visible stock uses the easiest workspace.
- Buying bins before sorting: containers can preserve clutter instead of reducing it.
- Stacking items behind one another: make frequent products visible and easy to return.
- Storing damp fabric in closed spaces: dry towels and address moisture first.
- Using attractive unlabeled bottles for cleaners or medicines: keep original identification and follow safe storage directions.
- Ignoring the under-sink floor: a slow leak can damage supplies and the cabinet.
Download the small bathroom reset map
The printable gives you a simple counter, cabinet, and under-sink map plus space to name one item to relocate. Download the US Letter PDF (8.5 × 11 inches) or the A4 PDF (210 × 297 mm). Print at 100% or Actual Size. Begin with the surface that bothers you most; a small finished reset gives you more usable space than another unfinished basket system.
Sources
- U.S. Food and Drug Administration, Over-the-Counter Medicines: What’s Right for You? and Where and How to Dispose of Unused Medicines.
- U.S. Environmental Protection Agency, Household Hazardous Waste and A Brief Guide to Mold, Moisture and Your Home.