A junk drawer becomes difficult to use when it has no clear job. Pens disappear under spare cords, tape gets buried under paper, and every small object without another home lands in the same place. Buying a matching divider set may make a good photo, but it will not decide which items belong there.
This guide shows how to organize a junk drawer without buying organizers. You will define the drawer’s purpose, sort one drawer rather than the whole room, test boxes you already have, and leave enough open space to find what you use. The result should be easy to keep working on a busy day.
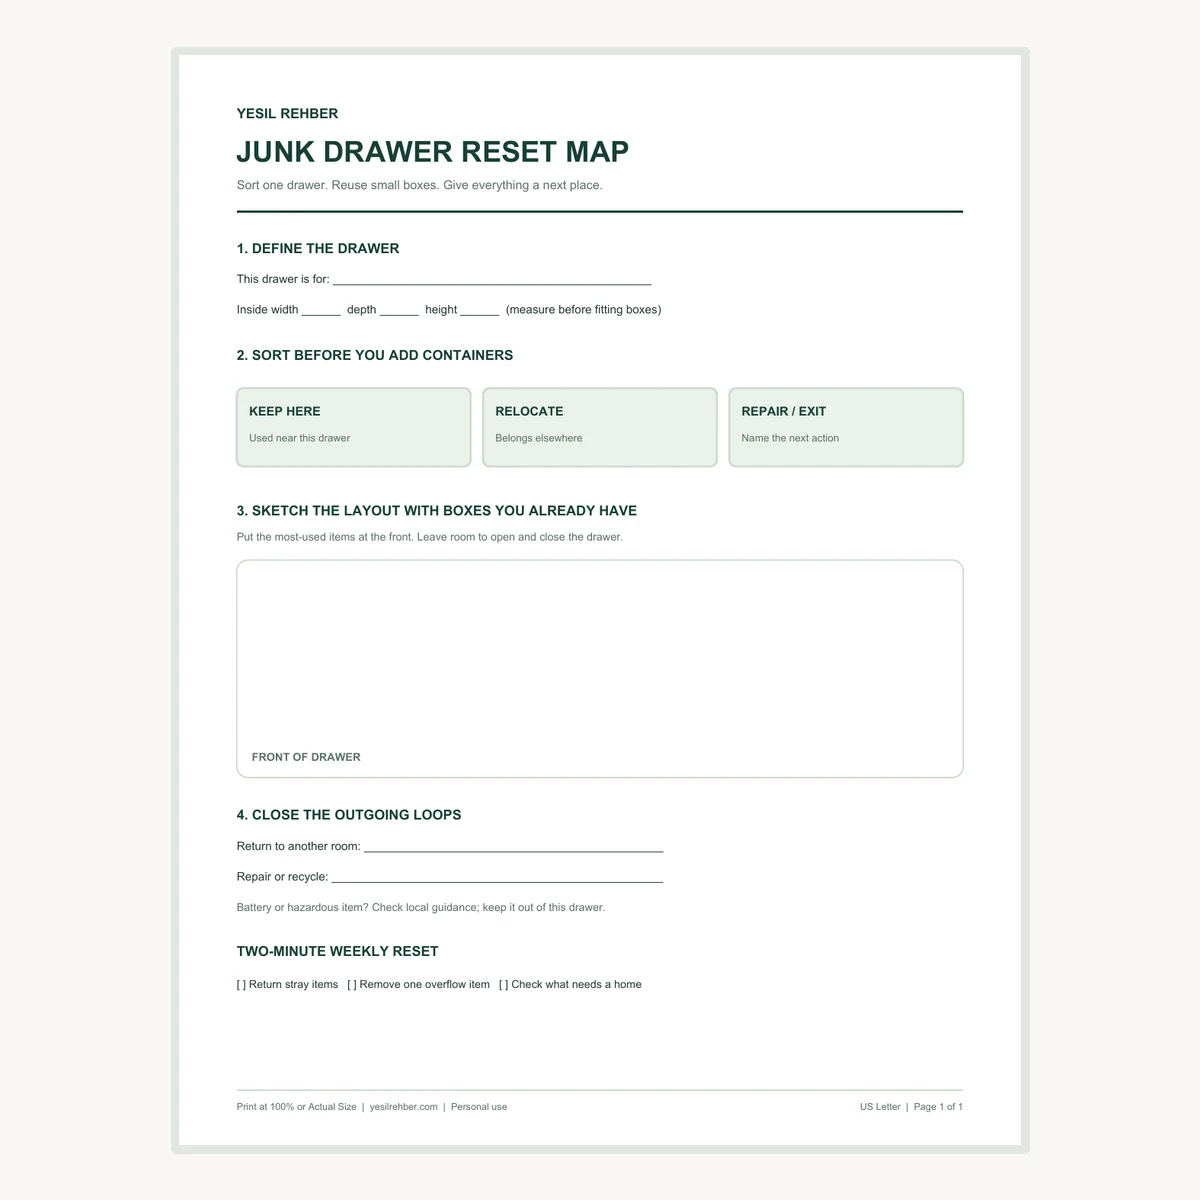
Free Junk Drawer Reset Map Printable
The one-page worksheet helps you measure the drawer, decide what stays, sketch a layout with existing boxes, and finish the items that need another home. Choose your paper size and print at 100% or Actual Size.
The quick method: one purpose, a few groups, open space
Decide what the drawer is for, remove everything, and put back only items used near that spot. Group related small items in shallow boxes or trays you already own. Keep the things you reach for most at the front. Move items that belong elsewhere out of the room, and give repair or disposal items a specific next step. If the drawer still opens and the contents are visible, the reset has done its job.
There is no ideal number of compartments. A drawer for writing and mail may need a pen box, a spot for tape, and one open area. A kitchen utility drawer may need different groups. The layout should follow what the drawer needs to do, not a picture of someone else’s supplies.
Step 1: give the drawer one practical job
Ask what you want to find there without searching: scissors and tape near the kitchen table, perhaps, or pens and a notepad near a desk. Write one sentence: “This drawer holds small tools I use at this counter.” That sentence becomes your test for each item. A key to a rarely used suitcase may be important, but it does not necessarily belong beside daily writing supplies.
Choose a job broad enough to be useful and narrow enough to make decisions. “Everything small” is too broad. “Only black pens” is probably too narrow for a household drawer. If more than one person uses it, name the few items everyone expects to find. You can change the purpose later if the routine shows a different need.
Step 2: empty and measure only this drawer
Take a photo if it helps you remember what was inside, then empty the drawer onto a clear surface. Wipe the bottom and check for crumbs, broken packaging, or leaked ink. Measure the inside width, depth, and height. The height matters: a box may fit the footprint but stop the drawer from closing. Check the drawer’s runners and any obstruction before deciding where containers will go.
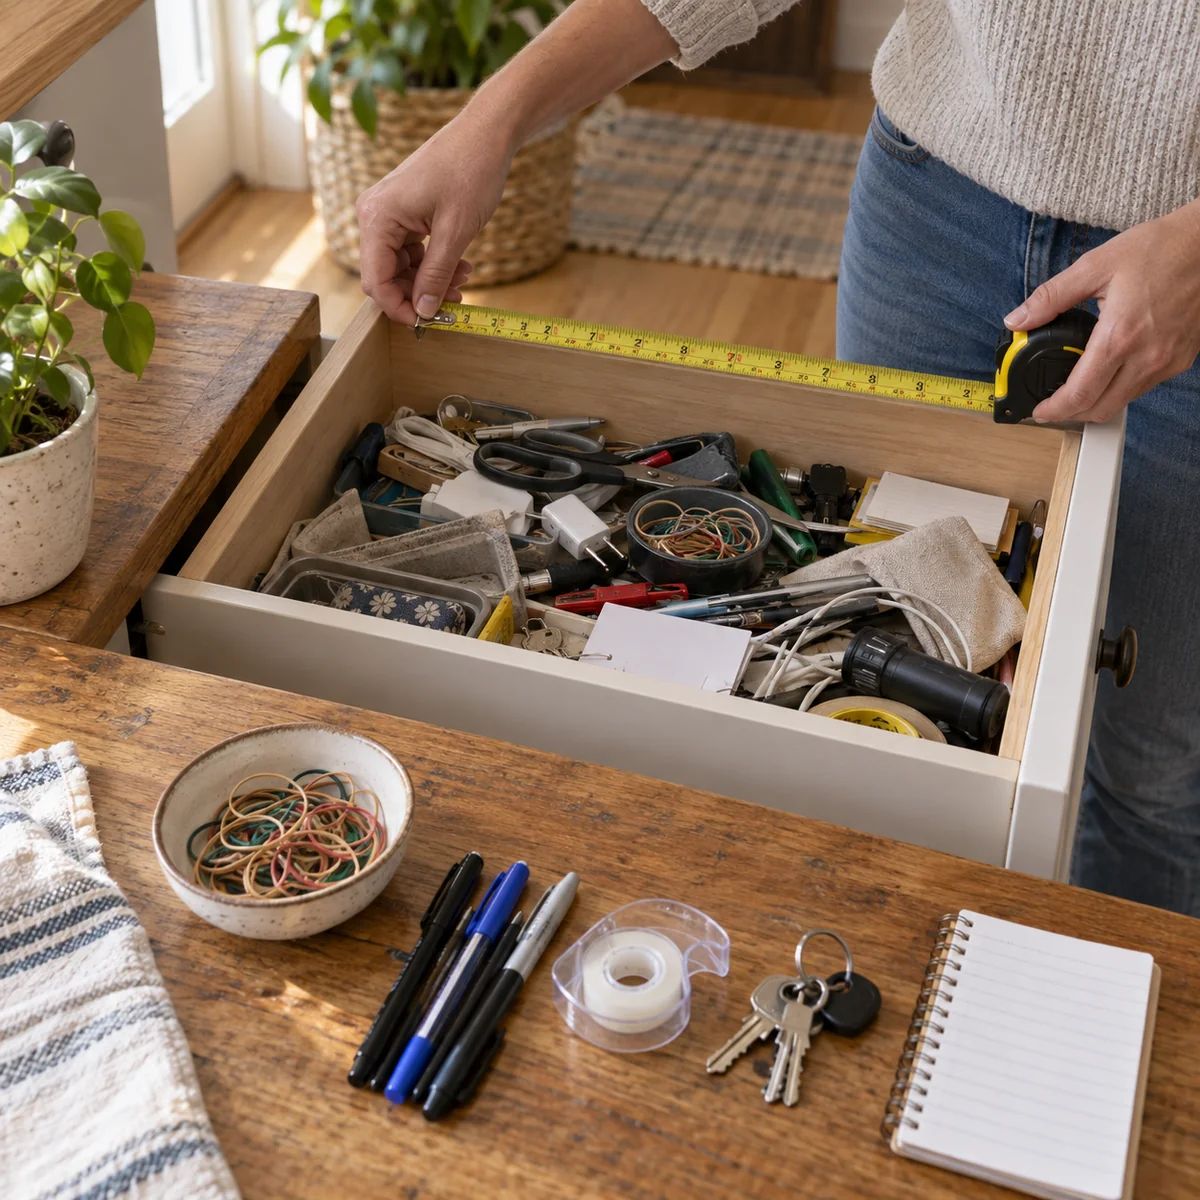
Keep the task limited to one drawer. Opening every cabinet and desk at the same time may create a larger project than you can finish. A single completed drawer is more useful than five half-sorted surfaces. Set aside a small space for items that need to go to another room, then plan to carry them there before the session ends.
Step 3: sort by next action, not by how an item looks
Make three working groups. Keep here means the item is useful at this location and works. Relocate means it has a more logical home, even if you want to keep it. Repair or exit means it needs a named repair, recycling check, or disposal decision. Keep the groups small and temporary; none should become a permanent pile beside the drawer.
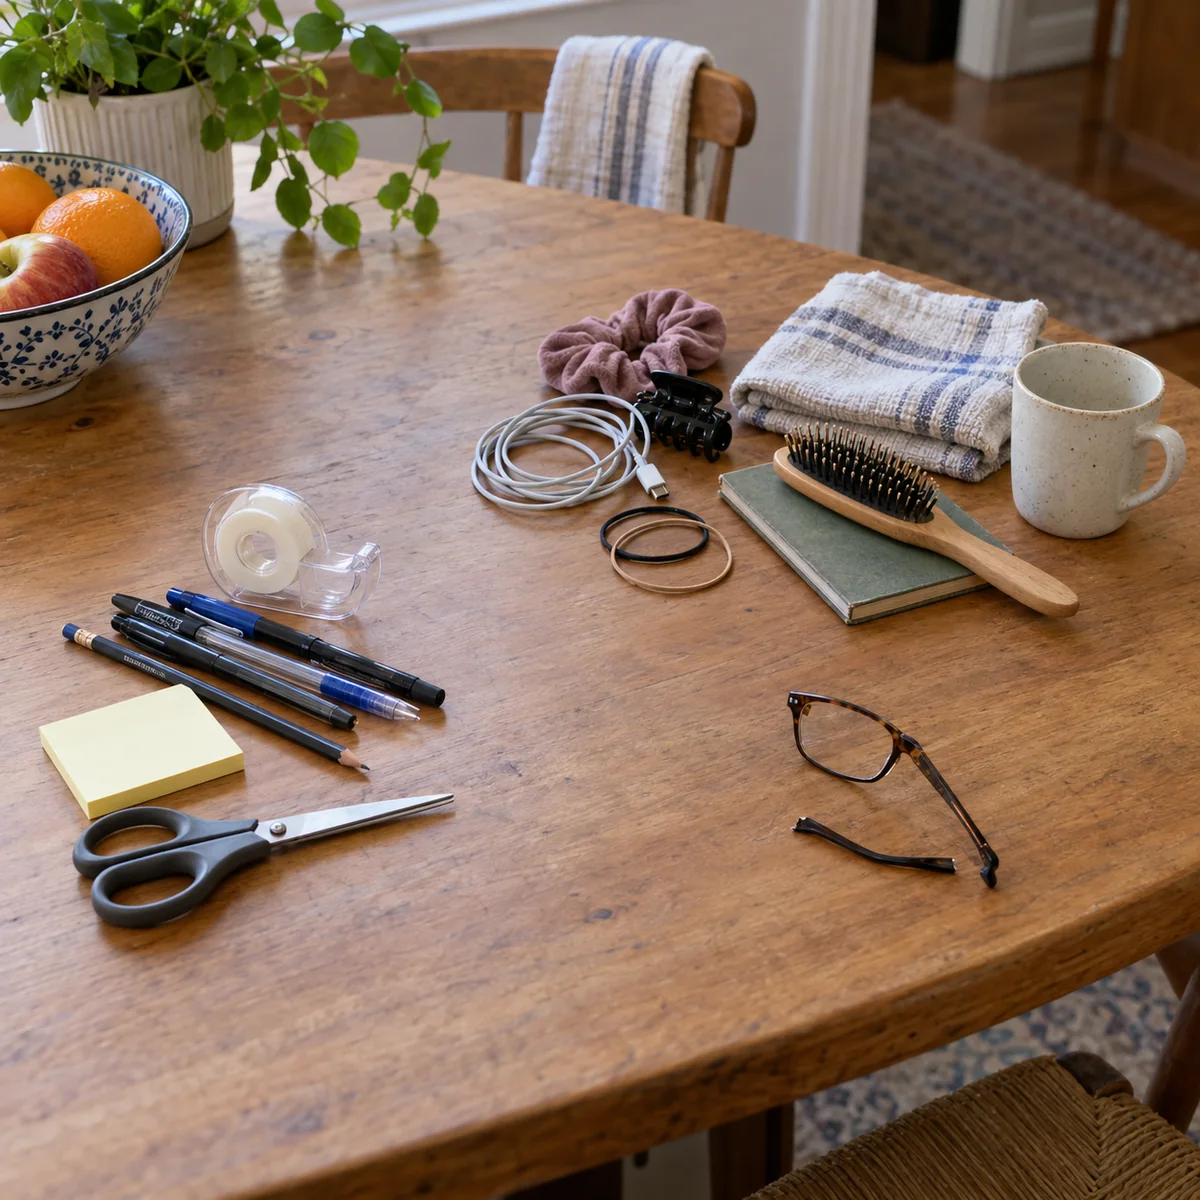
Test duplicates by usefulness. You may need two working pens in a drawer shared by several people; you may not need a fistful of dry ones. Check whether tape still sticks and scissors still cut. Keep a spare only if you can say when it will be used and where it will live. For broader decisions about keeping, repairing, giving, or recycling, see our low-waste decluttering guide.
Step 4: test existing boxes before filling them
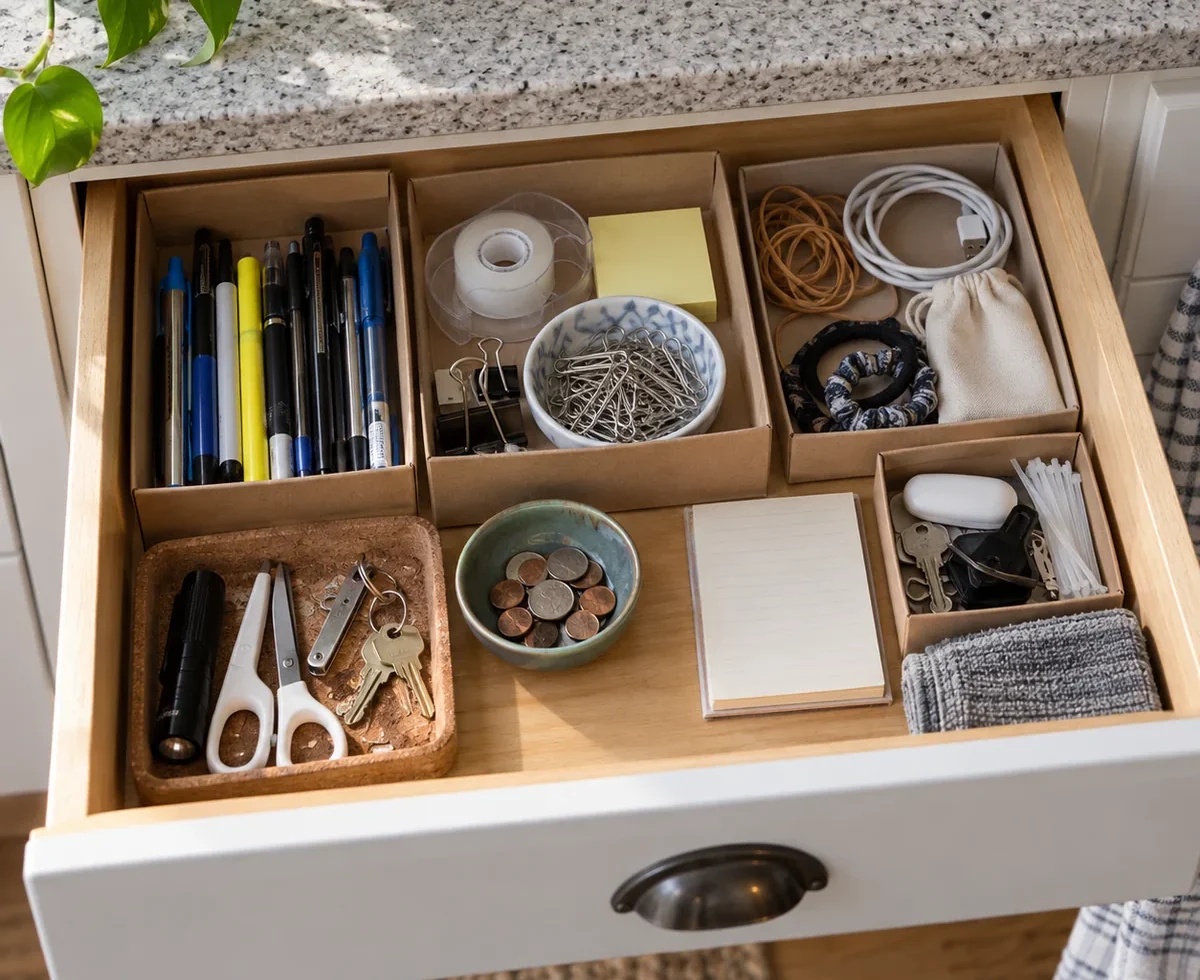
Look around your home for shallow, sturdy containers: a clean gift box, a small cardboard package, a spare tray, or a dish you no longer use for food. Place them empty inside the drawer first. Open and close it fully. Can you lift a box out without scraping the sides? Can you see inside it? If a container is tall, flimsy, or leaves awkward gaps, try another one or use fewer dividers.
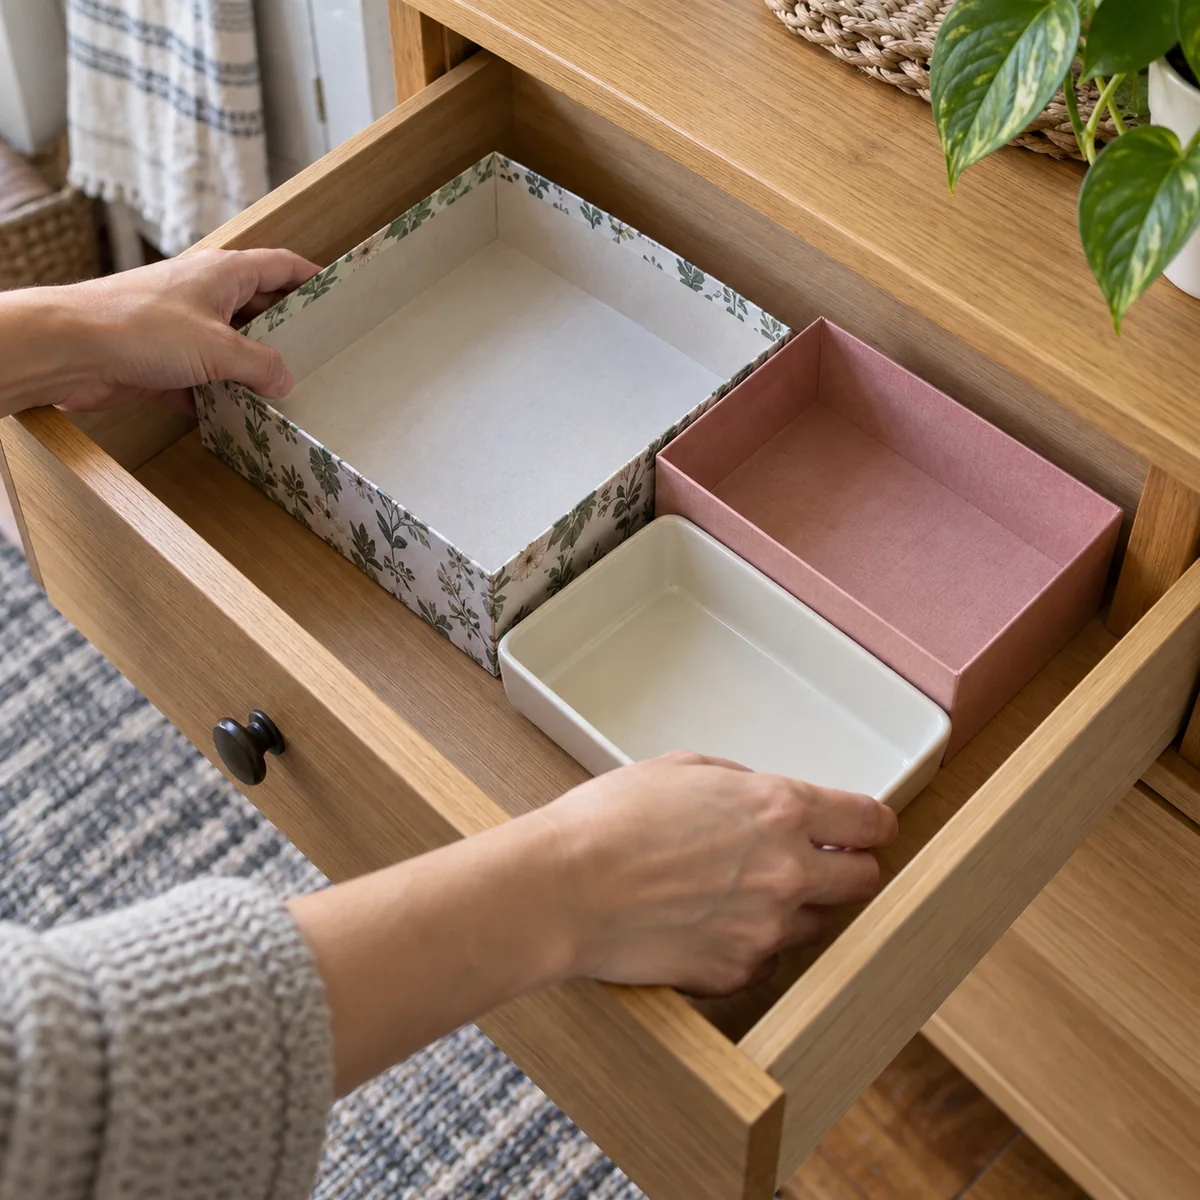
You do not need to fill every inch with containers. One box for pens and one for tiny supplies may be enough. A shallow open area can hold scissors or a small notepad better than a third box. The U.S. Environmental Protection Agency recommends reusing containers when practical to reduce waste; this is a simple place to try it. Use containers that are clean and stable, and avoid sharp edges that could catch your hand.
Step 5: return the most-used items first
Place frequent items at the front or center, where your hand reaches naturally. Put pens and pencils together; keep tape close to scissors if you usually use them together. Give small clips or rubber bands one shallow container rather than letting them scatter across the bottom. Less-used items can sit toward the back, but they should still be visible without emptying the drawer.
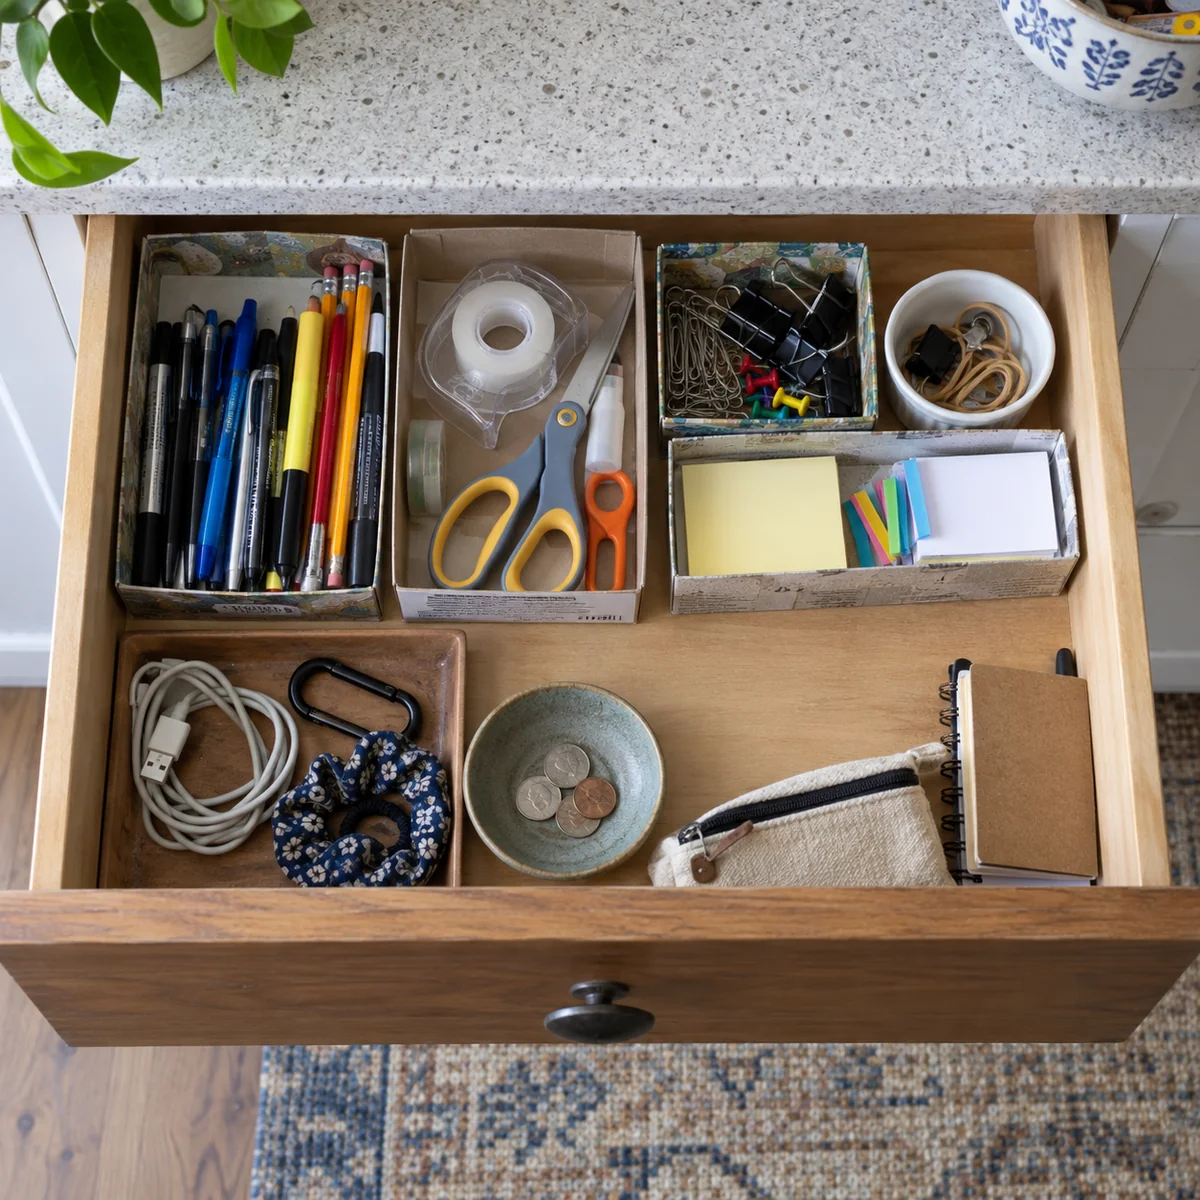
Close and reopen the drawer three times. This small test reveals boxes that slide, tall items that snag, or a crowded front edge. If something shifts, simplify the layout. A tidy drawer that jams is not an improvement. You can put a clean, already-owned nonslip liner underneath a container if you have one, but buying an accessory is not required for the reset to work.
Step 6: finish the items that should leave
Carry the relocate group to its actual rooms before declaring the drawer finished. For a repair item, name the fix and a date, or decide that repair is not practical. For something you may give away, identify a real recipient or place that accepts it. A vague “donate later” box can become a second junk drawer with handles.
Pay special attention to batteries or other hazardous items found in the drawer. Do not leave loose used batteries mixed with metal clips, keys, or coins. The EPA advises checking battery type and local collection options; some batteries, including lithium and rechargeable types, should not go in household trash or curbside recycling. Follow the EPA’s terminal-protection guidance and your local program’s instructions. Keep button cells away from young children. This is a safety decision, not an organizing category.
Step 7: give the drawer a two-minute weekly reset
Once a week, return stray items to their groups and remove anything that landed there only because you did not know where else to put it. If the same object returns every week, it may need a more convenient home nearby. If a container is always overflowing, ask whether you need all of its contents or whether the category belongs somewhere larger.
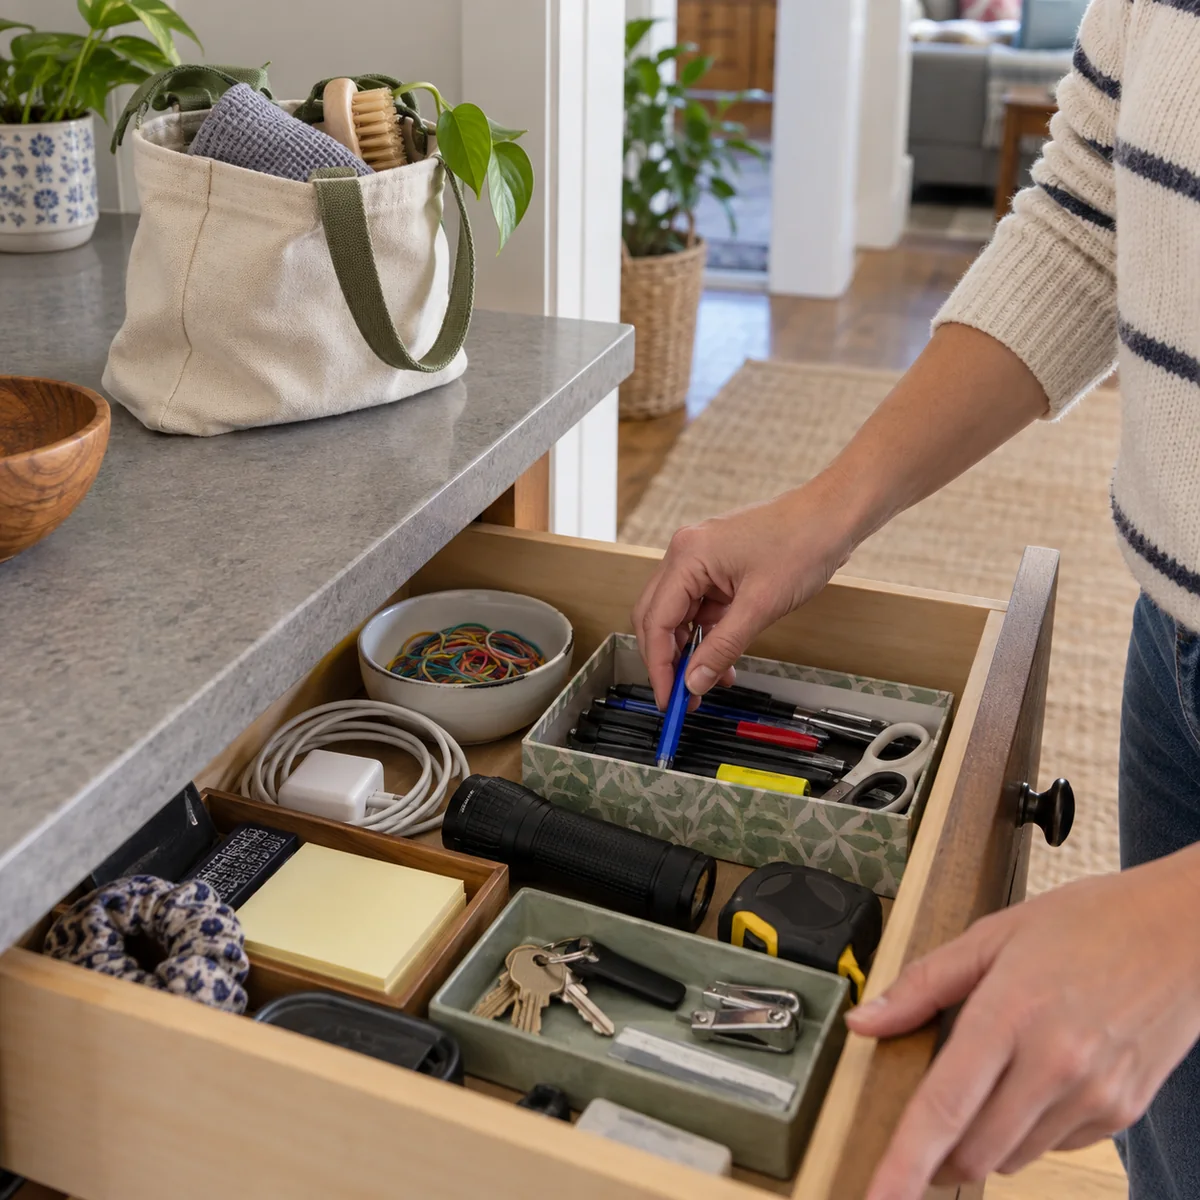
Do not aim for a showroom drawer. A little wear and an unmatched collection of useful boxes are normal. The test is whether someone can find the tape, use the scissors, and put them back without having to rearrange everything. If the arrangement fails, change the location of one category and try it for another week.
A realistic 20-minute version
- Minutes 0–3: Name the drawer’s purpose, empty it, and wipe the bottom.
- Minutes 3–8: Sort keep-here, relocate, and repair-or-exit items.
- Minutes 8–11: Measure and test-fit two or three boxes you already have.
- Minutes 11–16: Put frequent items back first and check that the drawer closes freely.
- Minutes 16–20: Return relocated items and write down any repair or collection task.
The minutes are a planning aid, not a promise that every drawer takes exactly that long. If your drawer contains many unrelated objects, finish the keep-here group first and schedule another session for the outgoing decisions. Do not leave loose batteries or hazardous items in an unsorted pile.
Common mistakes that make the clutter return
- Buying dividers before sorting: You may buy space for items that should not stay.
- Making a box for every tiny category: Too many compartments slow down putting things away.
- Hiding frequent items in the back: Let use determine placement.
- Keeping dead supplies as spares: Check whether pens, tape, and tools still work.
- Leaving relocation items on the counter: Carry them to their real homes before stopping.
- Using every inch: Leave enough space to see, lift, and replace items.
Download the junk drawer reset map
The printable gives you space to measure the drawer, define its job, sketch your reuse-box layout, and record the items that need another destination. Download the US Letter PDF (8.5 × 11 inches) or the A4 PDF (210 × 297 mm). Print at 100% or Actual Size. If you need a wider weekly habit after this one-drawer reset, see our weekly low-waste home reset.
Begin with the drawer you open most often. Give it one job, put back the useful items, and let the rest go to places where they can actually be used.
Sources
- U.S. Environmental Protection Agency, What You Can Do About Climate Change: Waste
- U.S. Environmental Protection Agency, Used Household Batteries
- U.S. Environmental Protection Agency, Household Hazardous Waste and Demolition