A crowded freezer can look like a food-saving tool while hiding meals you forgot you made. The fix is a simple system: keep the freezer at the right temperature, freeze food in portions you will use, label each package, and choose from an inventory before you shop. You do not need matching bins or a new appliance to begin.
This guide shows how to organize a freezer to reduce food waste in one short reset, then keep it useful with a weekly two-minute check. It also separates food safety from quality: storage times in freezer charts describe when food is likely to taste its best, while continuous storage at 0°F (-18°C) or below keeps frozen food safe indefinitely according to FoodSafety.gov. Food that was mishandled before freezing is a different matter; freezing is not a way to rescue unsafe food.
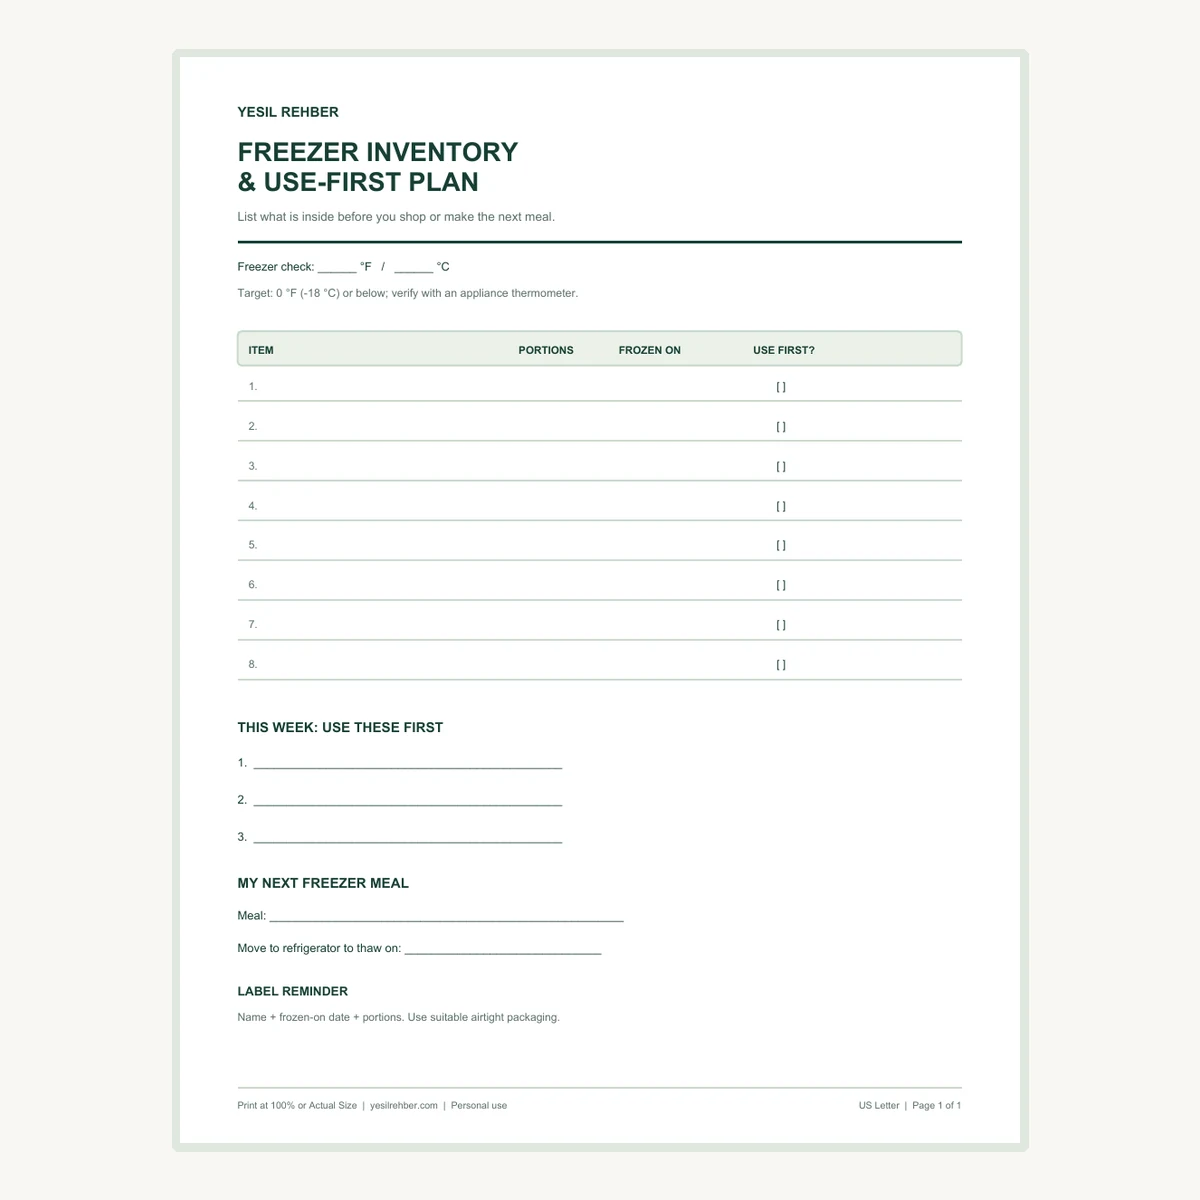
Free Freezer Inventory & Use-First Plan
The one-page printable has room for eight items, portions, frozen-on dates, a use-first list, and your next freezer meal. Choose US Letter or A4 and print at 100% or Actual Size.
Start with a ten-minute freezer reset
- Check that the freezer is at 0°F (-18°C) or below using an appliance thermometer.
- Work one shelf or drawer at a time so food stays cold.
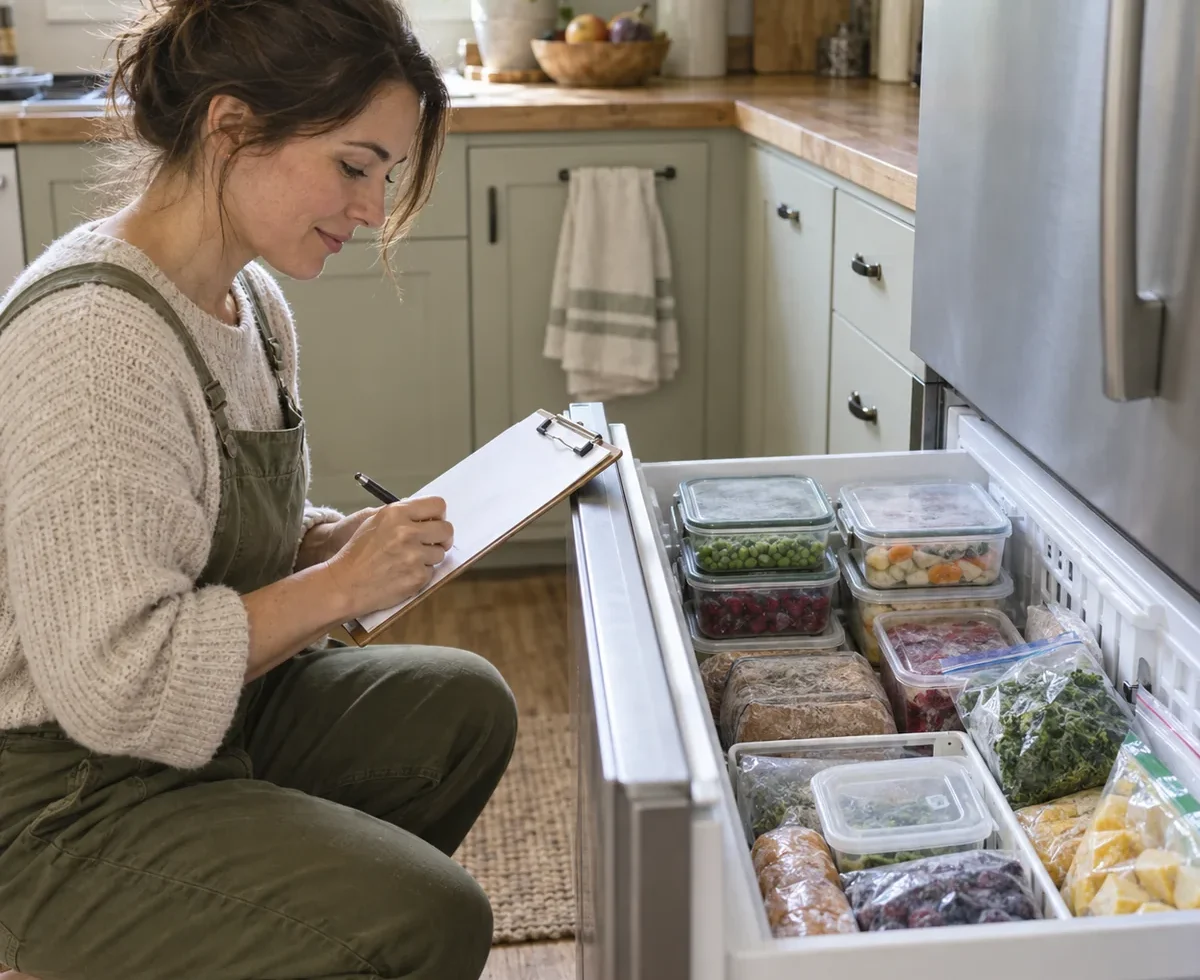
- Group similar items and note their names, portions, and dates.
- Put the items you want to use soon where you can see them.
- Write one meal using something you already have.
Keep the door open only as long as needed. If there has been a power outage or you find thawed food, pause the organizing task and follow official food-safety guidance for that situation. Do not use a smell test to decide whether temperature-abused food is safe.
1. Check the temperature before rearranging anything
The U.S. Food and Drug Administration recommends a freezer temperature of 0°F (-18°C) and an appliance thermometer because the control dial may not show the actual temperature. Put the thermometer where its instructions say, let it settle, and record the reading on the printable. If it is warmer than the target, adjust the appliance according to its manual and recheck it.
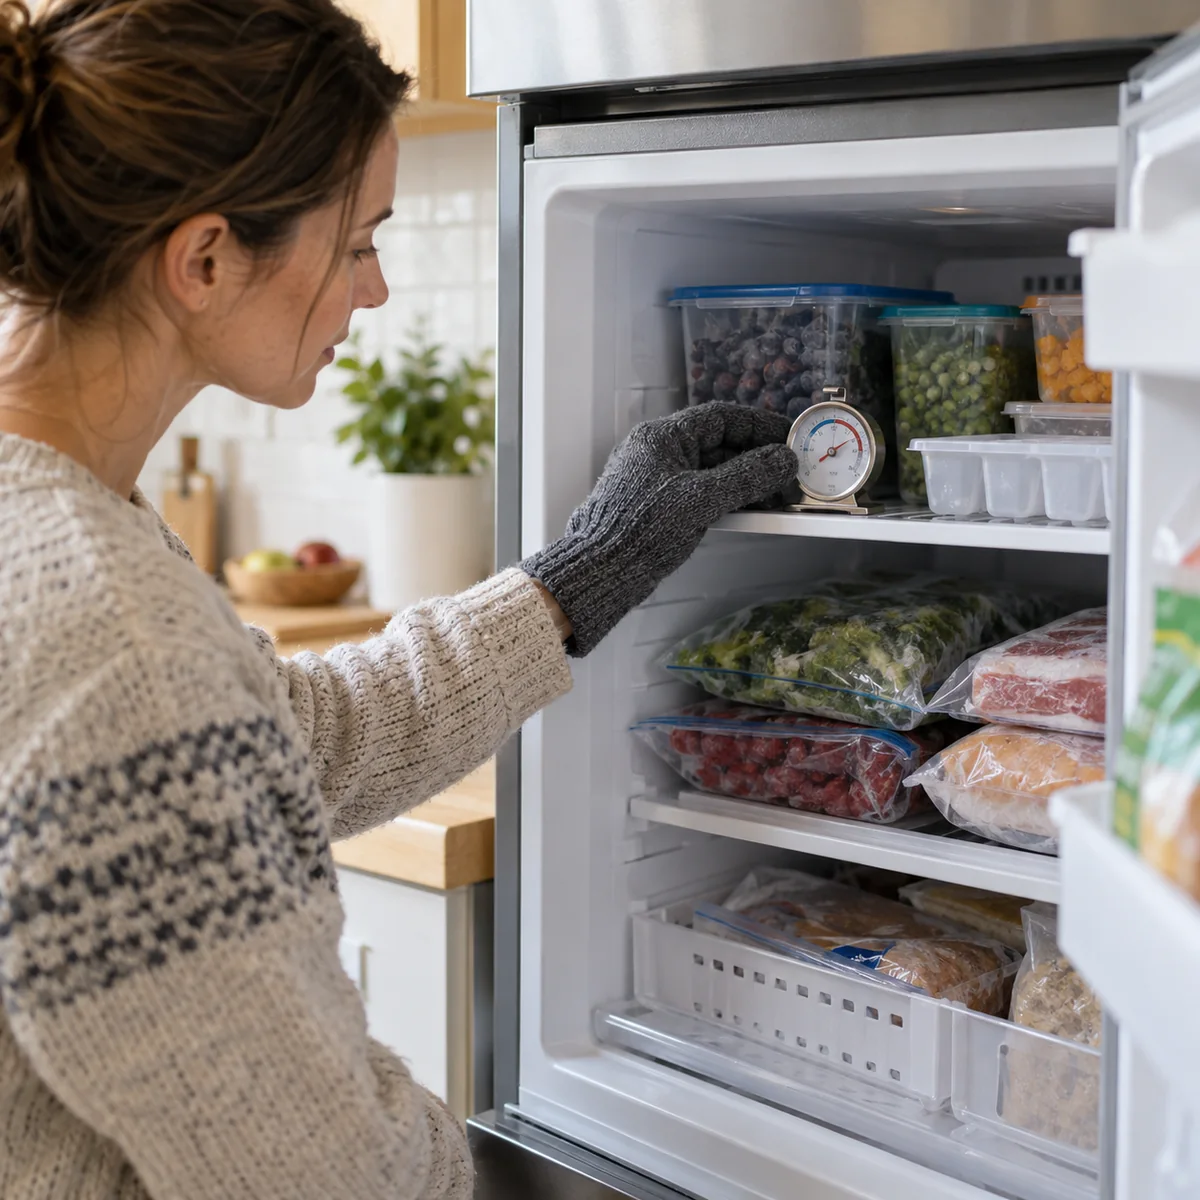
Do not pack packages so tightly that you cannot find or remove them. The aim is a stable, cold freezer with enough visibility to use its contents. If the door seal is damaged, ice buildup is unusual, or temperatures remain high, address the appliance problem rather than relying on a better basket arrangement.
2. Freeze useful portions, not one large mystery block
Before freezing leftovers, decide how you will use them. Divide soup, stew, cooked grains, or sauce into portions that match one meal. Use clean, freezer-suitable containers with room for liquid expansion where needed. Shallow containers help hot food cool more quickly in the refrigerator; follow USDA guidance to refrigerate or freeze perishable leftovers promptly, within two hours of cooking or serving, or one hour when the temperature is above 90°F.
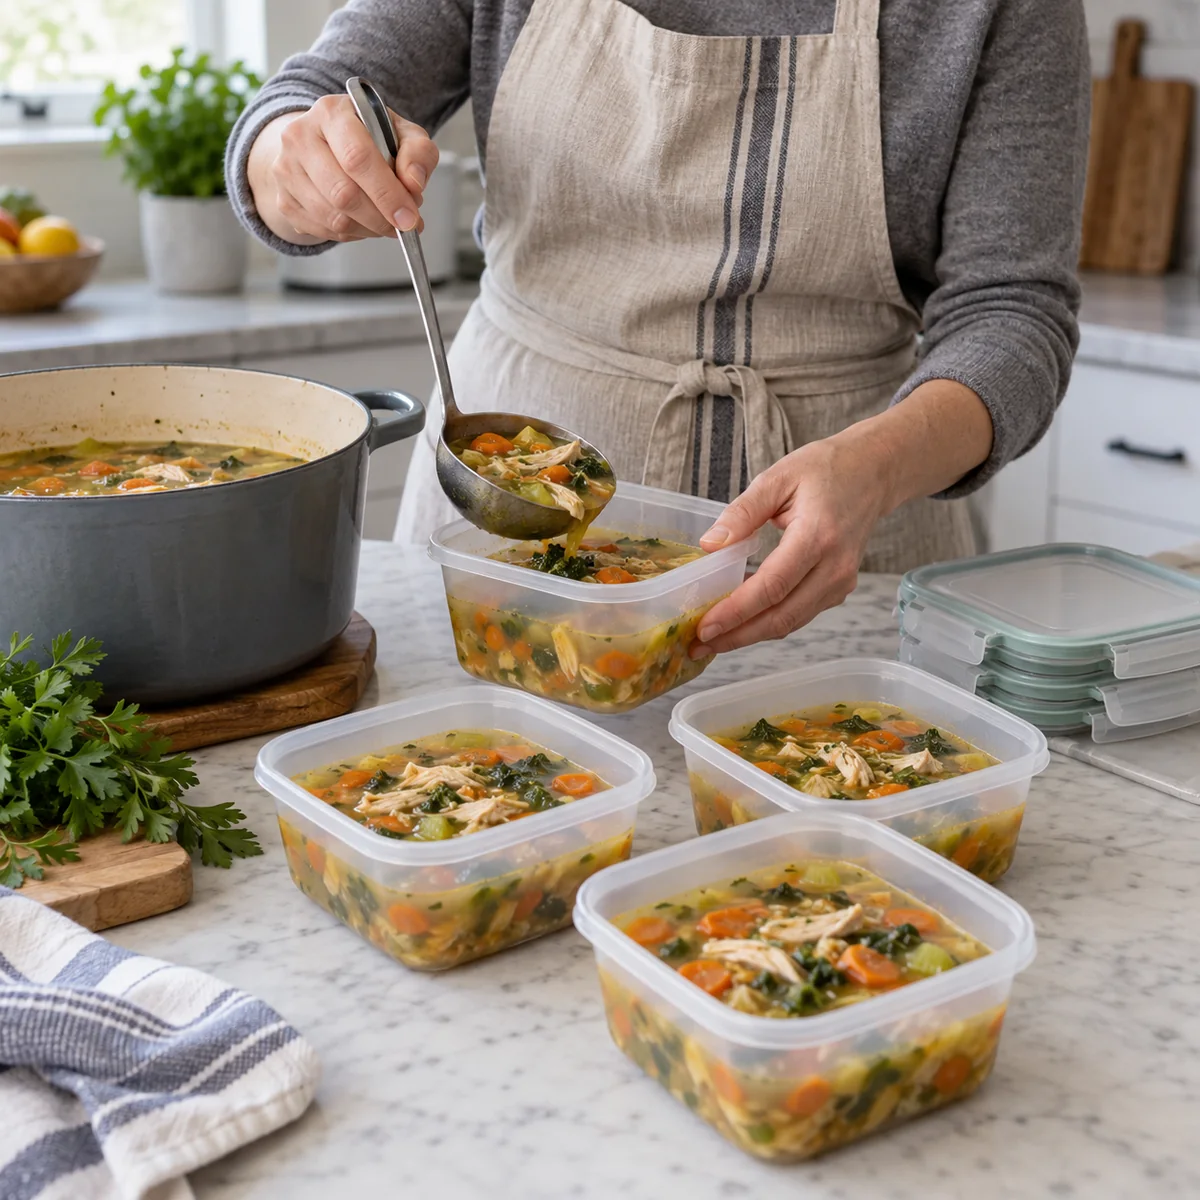
Freeze food while it is still good quality. USDA notes that freezing pauses microbial growth but does not make poor-quality food fresh again. Choose a container or wrap that limits air exposure. Freezer burn is a quality problem caused by air reaching the food; it does not by itself make food unsafe, but it can leave dry spots and disappointing texture.
Not every food freezes well. Lettuce, mayonnaise, and some cream sauces may lose appealing texture. FoodSafety.gov says raw eggs in shells should not be frozen. Check the Cold Food Storage Chart or FoodKeeper for a specific item instead of guessing from a general rule.
3. Label the package so future you knows what it is
Write the food name, the date it went into the freezer, and the number of portions. If a dish needs a particular reheating step or contains an ingredient someone in your household avoids, add that too. Label the lid and the container when lids are likely to be swapped. A washable container can be reused; the simple label is what makes it useful.
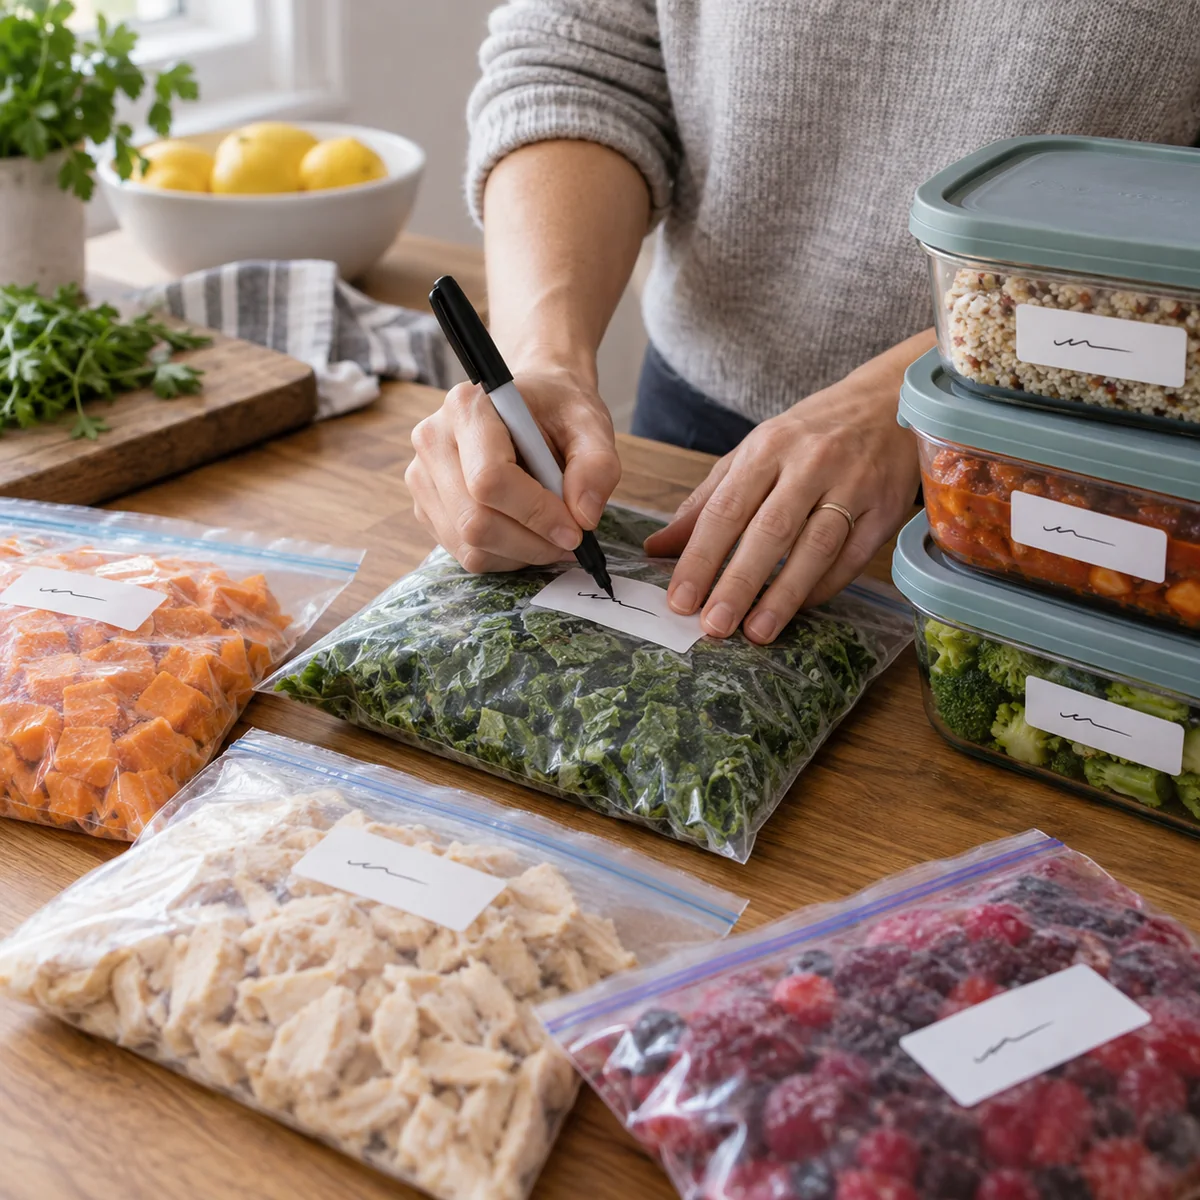
A date is a reminder for meal planning, not a universal safety deadline. FoodSafety.gov explains that its freezer time ranges are for quality when food stays continuously at 0°F or below. For example, it lists soups and stews at two to three months for best quality, while cooked meat or poultry leftovers have a two-to-six-month quality range. Use the correct category and package directions for your food. If you are unsure whether a food was kept cold enough, its date alone cannot answer the safety question.
4. Make three visible zones using what you have
Choose a place for use first, another for ingredients, and a third for ready meals. A shelf, a drawer section, or a container you already own can mark each area. Put older, clearly labeled items in the easy-to-reach spot and new food behind them. Keep raw foods contained so leaks cannot contact ready-to-eat foods during handling or thawing.
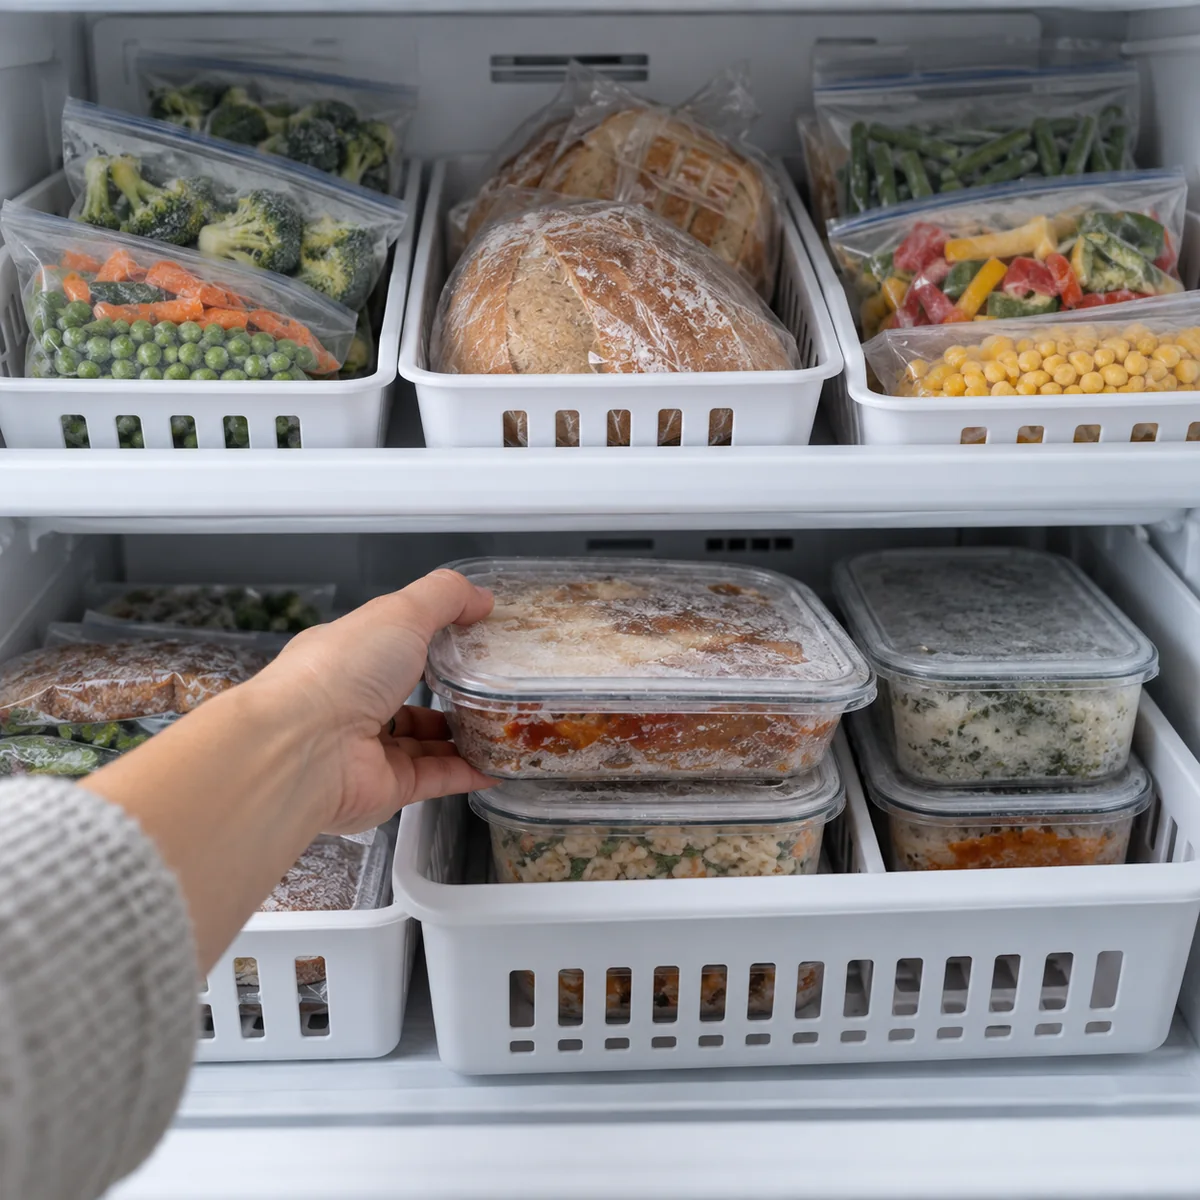
Do not reorganize by making every item fit a perfect photo. First, remove empty packaging and consolidate only when labels and food identity remain clear. Keep manufacturer instructions with any food that needs them. If your freezer is small, just reserve the front row for use-first items. The system should survive a busy week and a family member putting groceries away.
5. Turn the inventory into a weekly meal
Look at the freezer before you write a grocery list. The EPA recommends checking the refrigerator, freezer, and pantry first, planning meals around food on hand, and labeling frozen food with contents and dates. Pick one item from the use-first zone and give it a role: soup for lunch, bread with a meal, berries for breakfast, or a cooked component for dinner. This is more effective than maintaining a beautiful inventory that no one consults.
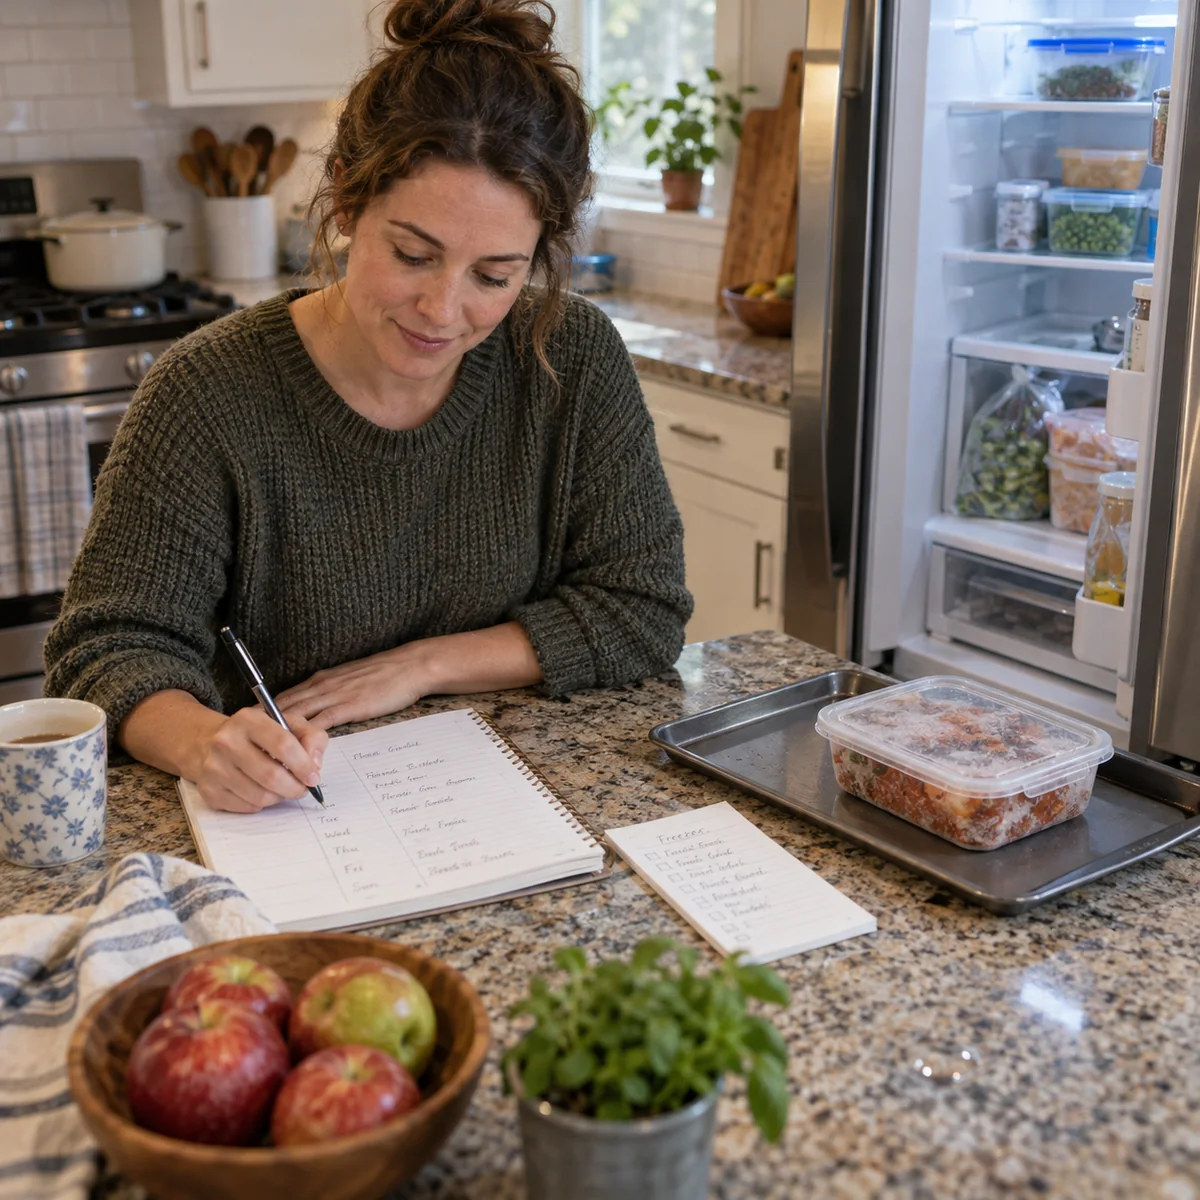
Plan thawing as part of the meal. The FDA lists the refrigerator, cold water, and microwave as safe thawing methods. Refrigerator thawing is easy to plan ahead; put the sealed food in a dish or tray to catch drips. If you use cold water or a microwave, follow the relevant directions and cook promptly. Do not thaw perishable food on the counter overnight.
If bread is the item you keep losing, see our guide to storing bread so it lasts longer. For food that is still in the pantry, use the pantry inventory method alongside this freezer sheet.
What if you find an old or freezer-burned package?
Start with what you know about its handling. If it has remained continuously frozen at 0°F or below, the published freezer time is a quality guide. Freezer burn alone does not mean the food is unsafe; USDA says affected areas may be trimmed, though severe freezer burn can make food unappealing. A torn or unsealed package may have lost quality and should be rewrapped if you keep it.
If the package is unlabeled, you cannot tell what it is, or you do not know whether it stayed properly frozen during a power outage, do not invent a reassuring date. Follow the USDA’s power-outage guidance and discard food that does not meet its safety criteria. The goal of a low-waste kitchen is to prevent this uncertainty next time, not to take a food-safety risk now.
A routine you can keep
- When adding food: portion, seal, label, and add a line to the inventory.
- Once a week: glance at the use-first area and choose one meal from it.
- Before shopping: check the inventory and cross off what you used.
- Once a month: check the thermometer, wipe accessible spills, and update unclear labels.
Download the US Letter freezer inventory PDF (8.5 × 11 inches) or the A4 freezer inventory PDF (210 × 297 mm). Print at 100% or Actual Size. Start with eight items, then plan one meal from what you already own.
Sources
- FoodSafety.gov, Cold Food Storage Chart.
- USDA Food Safety and Inspection Service, Freezing and Food Safety and Leftovers and Food Safety.
- U.S. Food and Drug Administration, Refrigerator Thermometers: Cold Facts about Food Safety.
- U.S. Environmental Protection Agency, Preventing Wasted Food at Home.