Dust returns even after a careful clean, and a disposable duster is not required each time you see it. A soft washable cloth, lightly dampened for suitable surfaces, can collect settled dust instead of flicking it back into the room. Work on one room from higher surfaces to lower ones, then vacuum upholstery and floors if you have a suitable vacuum.
This guide shows how to dust a home without disposable dusters or a shelf of special sprays. It focuses on an ordinary maintenance routine rather than promising a dust-free home. The U.S. Environmental Protection Agency (EPA) notes that dust can be stirred into the air during cleaning and recommends frequent damp-cloth dusting and vacuuming. Check the care instructions for delicate finishes and electronics before any damp wiping.
Free Reusable-Cloth Dusting Reset
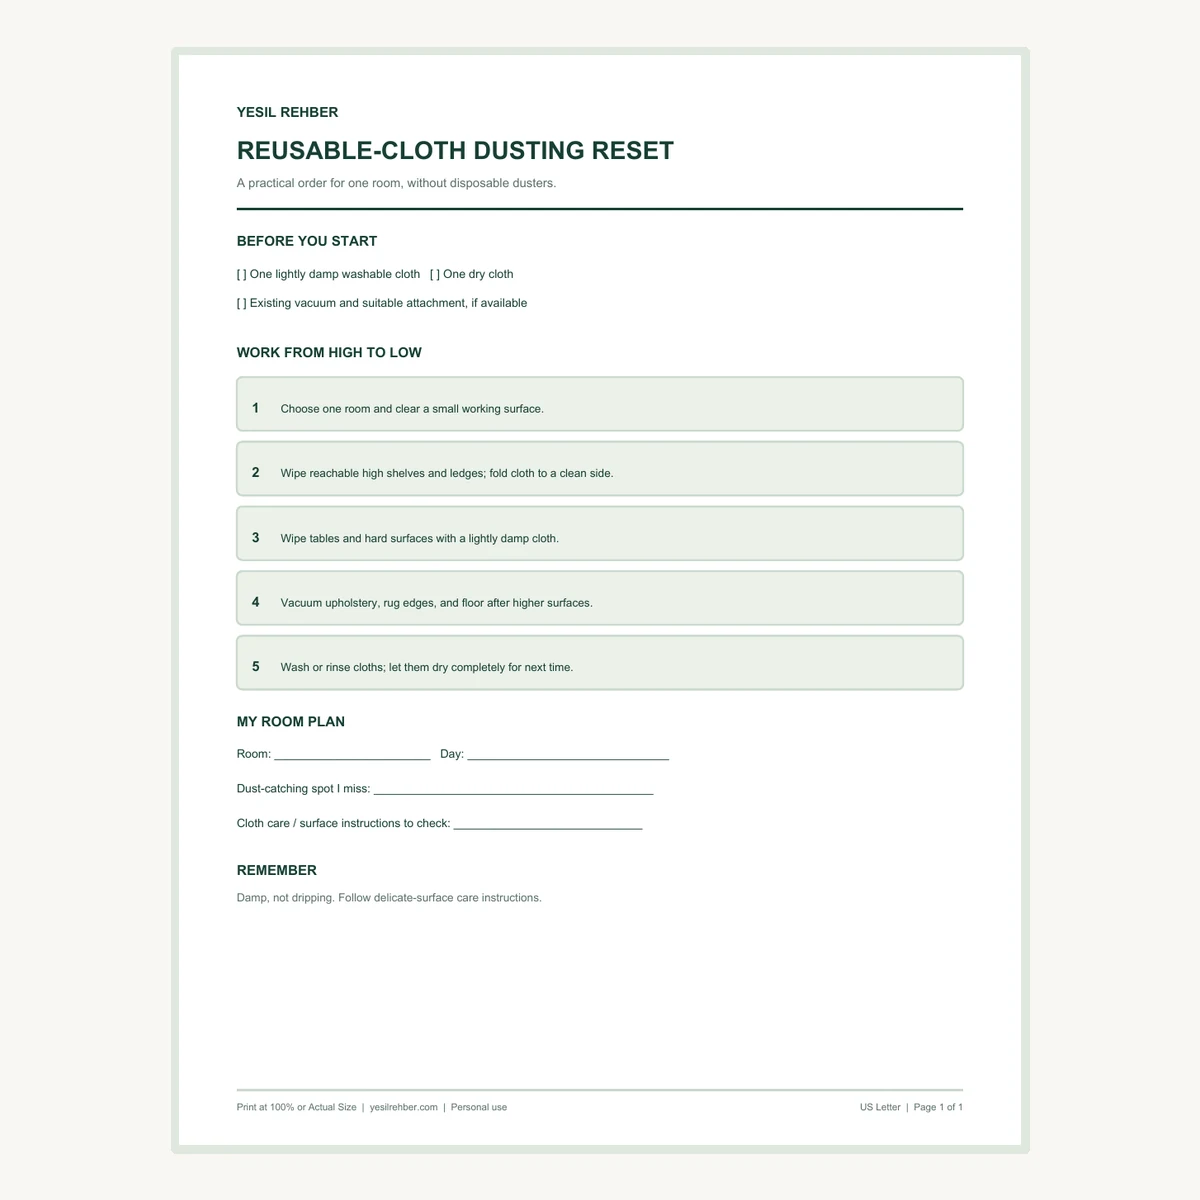
The one-page printable gives you a simple high-to-low order for one room, with space to note your dustiest spot and any surface-care instructions. Choose US Letter or A4 and print at 100% or Actual Size.
The quick method: damp cloth, high to low, then vacuum
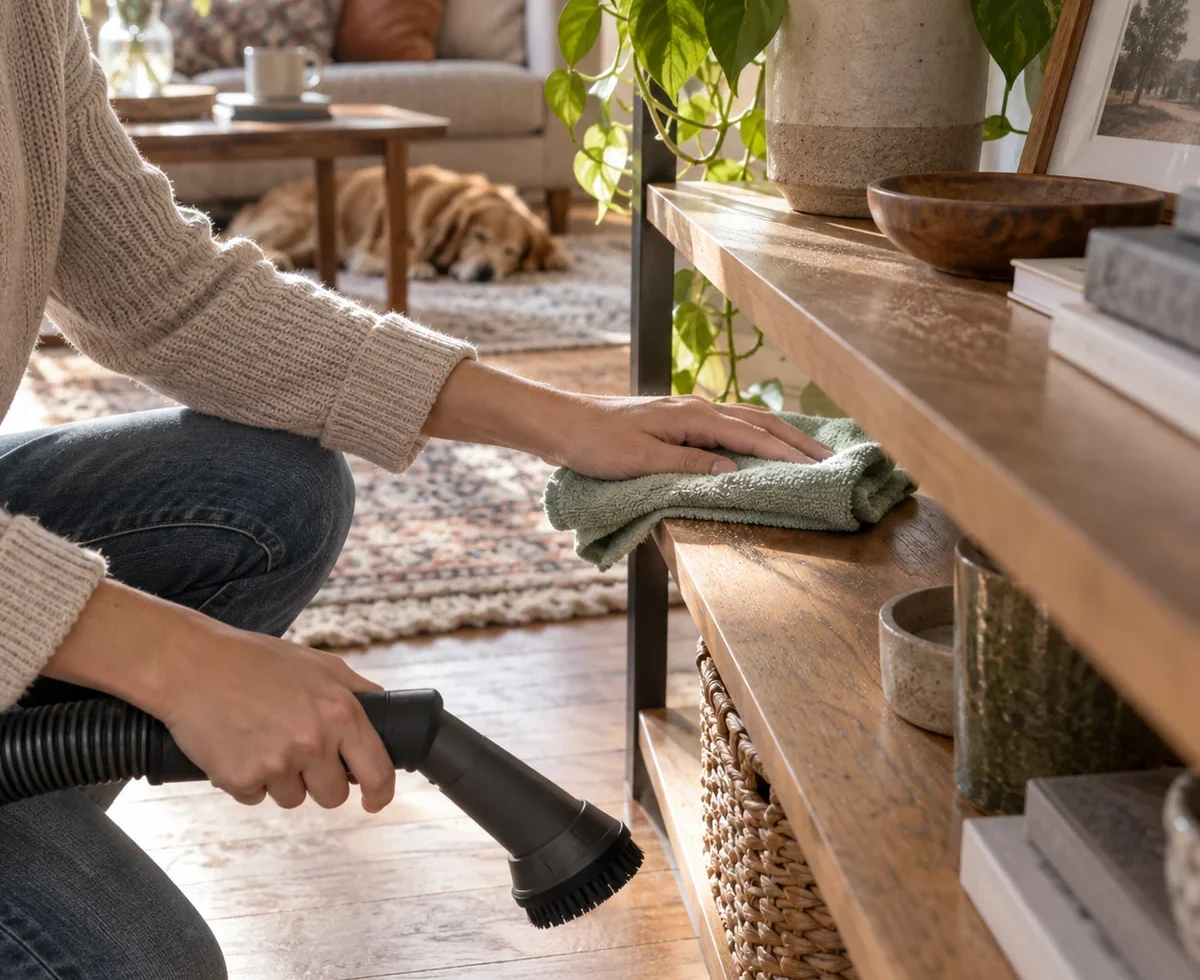
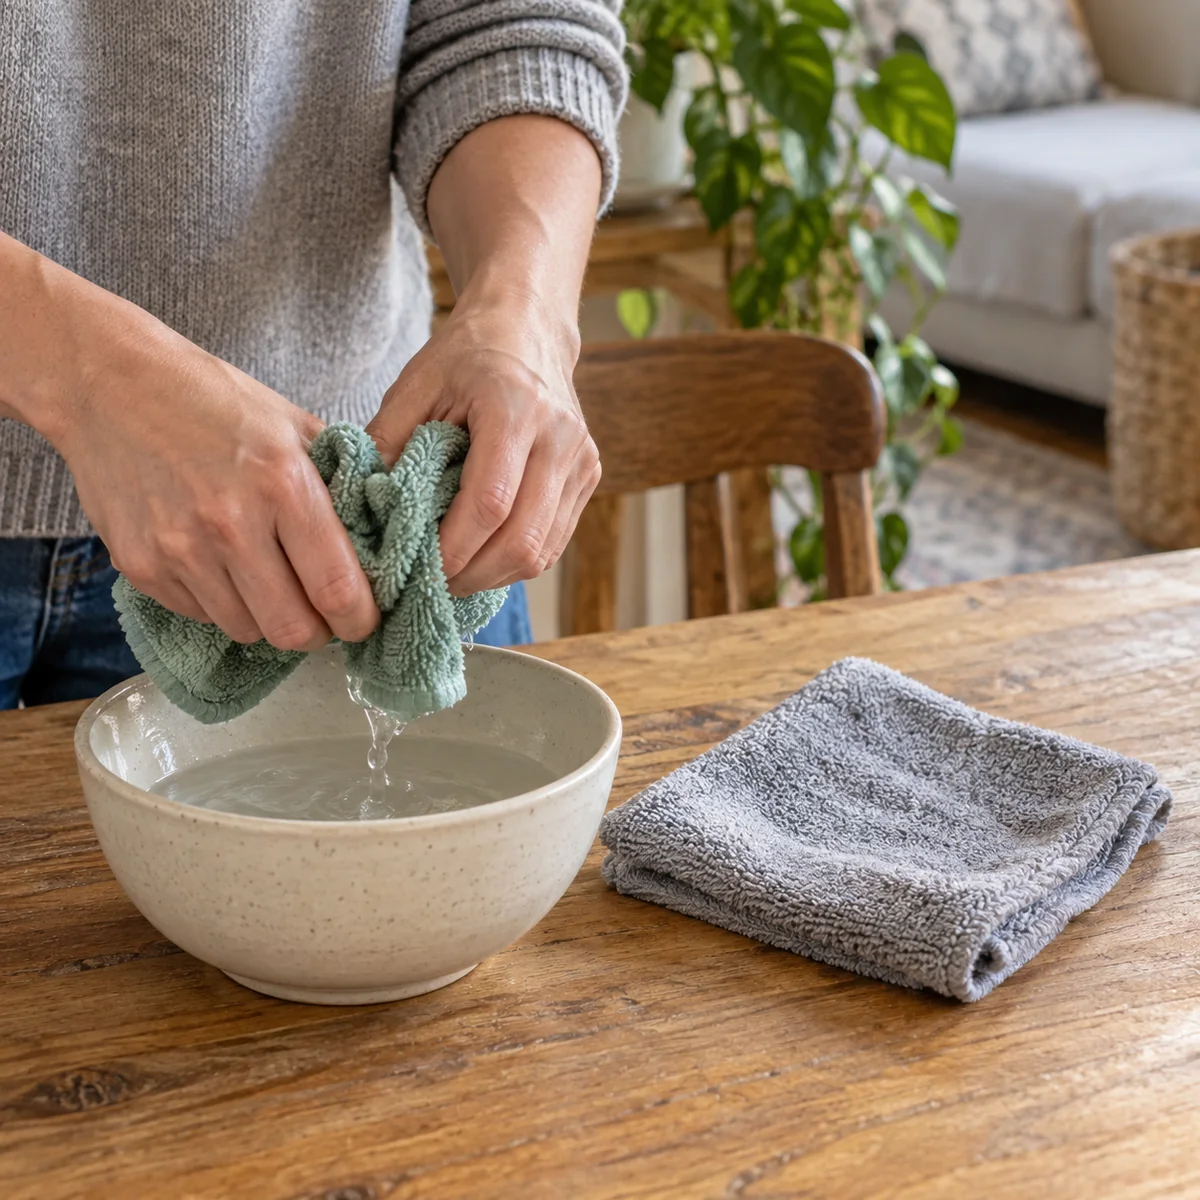
Choose one room. Set out a clean, soft washable cloth, a second dry cloth, and your existing vacuum if you have one. Lightly dampen the first cloth with water and wring it out well. Move a few objects at a time, wipe reachable upper shelves and ledges, fold the cloth to a clean side as it collects dust, then work down to tables. Vacuum suitable upholstered furniture, rug edges, and floors after the higher surfaces. Clean the cloths and let them dry completely before storing them.
Use only a dry method where the manufacturer says water may harm the surface. Avoid dripping moisture into electrical devices, outlets, unfinished wood, or delicate finishes. If a surface needs a specific cleaner, follow its care directions instead of assuming one cloth suits everything.
What you need from what you already own
- One soft washable cloth: a clean lint-free household cloth works for many hard surfaces.
- One dry cloth: useful for following a damp pass on an appropriate finish or handling a dry-only surface.
- Clean water: dampen the cloth rather than spraying cleaner into the air.
- An existing vacuum with the right attachment, if available: use it for upholstery and floors according to its manual.
There is no need to buy a new vacuum or a branded dusting cloth to begin. If your existing vacuum has a high-efficiency particulate air (HEPA) filter, maintain it according to the manual; the EPA says such a filter can help keep some vacuumed dust from escaping back into the air. That is a useful feature, not a promise that a device will remove every particle. A reusable cloth also avoids a disposable pad for each quick pass.
Step 1: start with one room and clear a small working area
Pick the room where visible dust bothers you most and choose one reachable surface. Move books, a lamp, or a plant a few items at a time rather than emptying every shelf. Put fragile objects somewhere stable. If you find moisture, mold, or a leak, deal with the water problem separately; covering a damp spot with a clean arrangement will not fix it. Dusting should not become a whole-house decluttering day.
Look for a realistic starting point: the top of a reachable bookcase, an entry table, or the window ledge. Write down the surface that gets dusty first. You can focus future quick resets there instead of repeating every step in every room on the same day. For a broader weekly rhythm, see our weekly low-waste home reset.
Step 2: wipe reachable high surfaces before lower ones
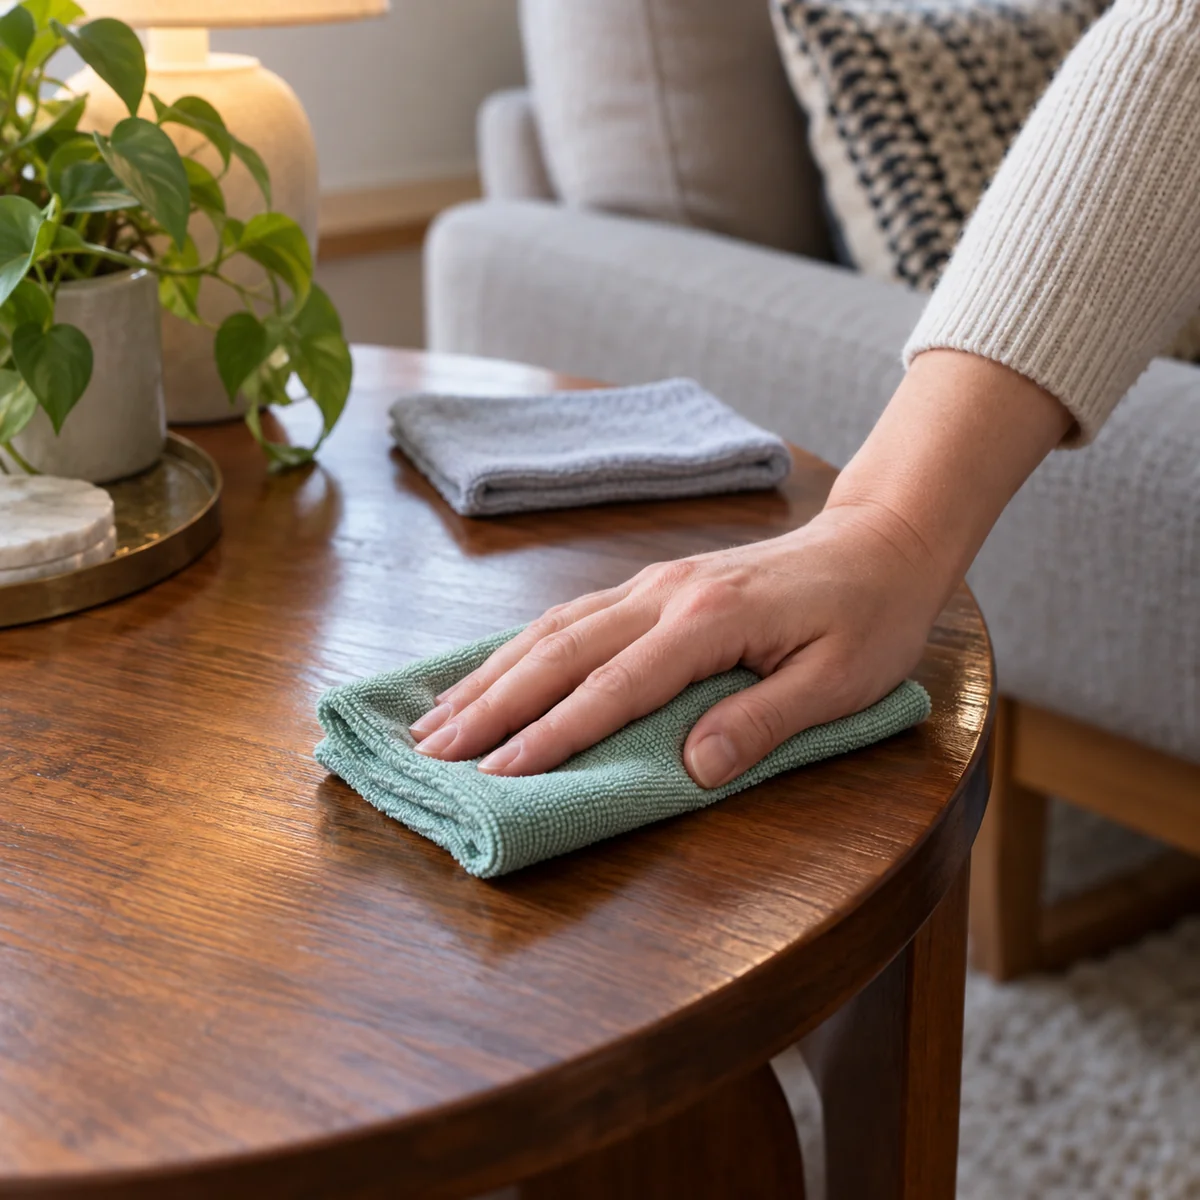
Work from a safely reachable upper shelf or ledge toward lower furniture. Fold the lightly damp cloth into sections; use a clean face as a section becomes dusty. Move objects instead of wiping around them, then return them only when the surface is dry. This order means any dust disturbed above can be picked up from the lower surface later. Stay on the floor or another stable working position. Do not lean over a railing or climb on furniture to reach a high spot.

Skip electrical openings, exposed wiring, and devices that require a special cleaning method. Use the manufacturer’s instructions for screens, electronics, painted antiques, and other delicate finishes. For most routine dust on compatible hard surfaces, you do not need a perfume-heavy spray. The goal is to capture settled dust, not make the room smell like a cleaning product.
Step 3: wipe tables and other compatible hard surfaces
Use the cloth while it is just damp enough to hold dust, not wet enough to leave standing water. Wipe in controlled passes, checking the cloth as you go. Turn or rinse it when dirty so you are not dragging grit across a finish. Dry a surface afterward if its care instructions call for it. A side table, shelf front, and baseboard are all easier when you clear only the section you are working on.
Do not scrub a stubborn spot blindly. Dust, sticky residue, and a damaged finish need different responses. If residue does not lift with a gentle method allowed for that surface, check its care guidance before using a cleaner or abrasive. A routine dusting pass should not turn into refinishing furniture.
Step 4: vacuum soft surfaces and the floor
After higher surfaces, use an appropriate vacuum attachment on fabric upholstery, rug edges, and floor areas where dust collects. Follow your vacuum’s instructions for the surface. Move slowly enough to cover the area without grinding the nozzle into fabric. Empty or maintain the vacuum as the manufacturer directs; a full container or neglected filter can make the next cleaning less effective.
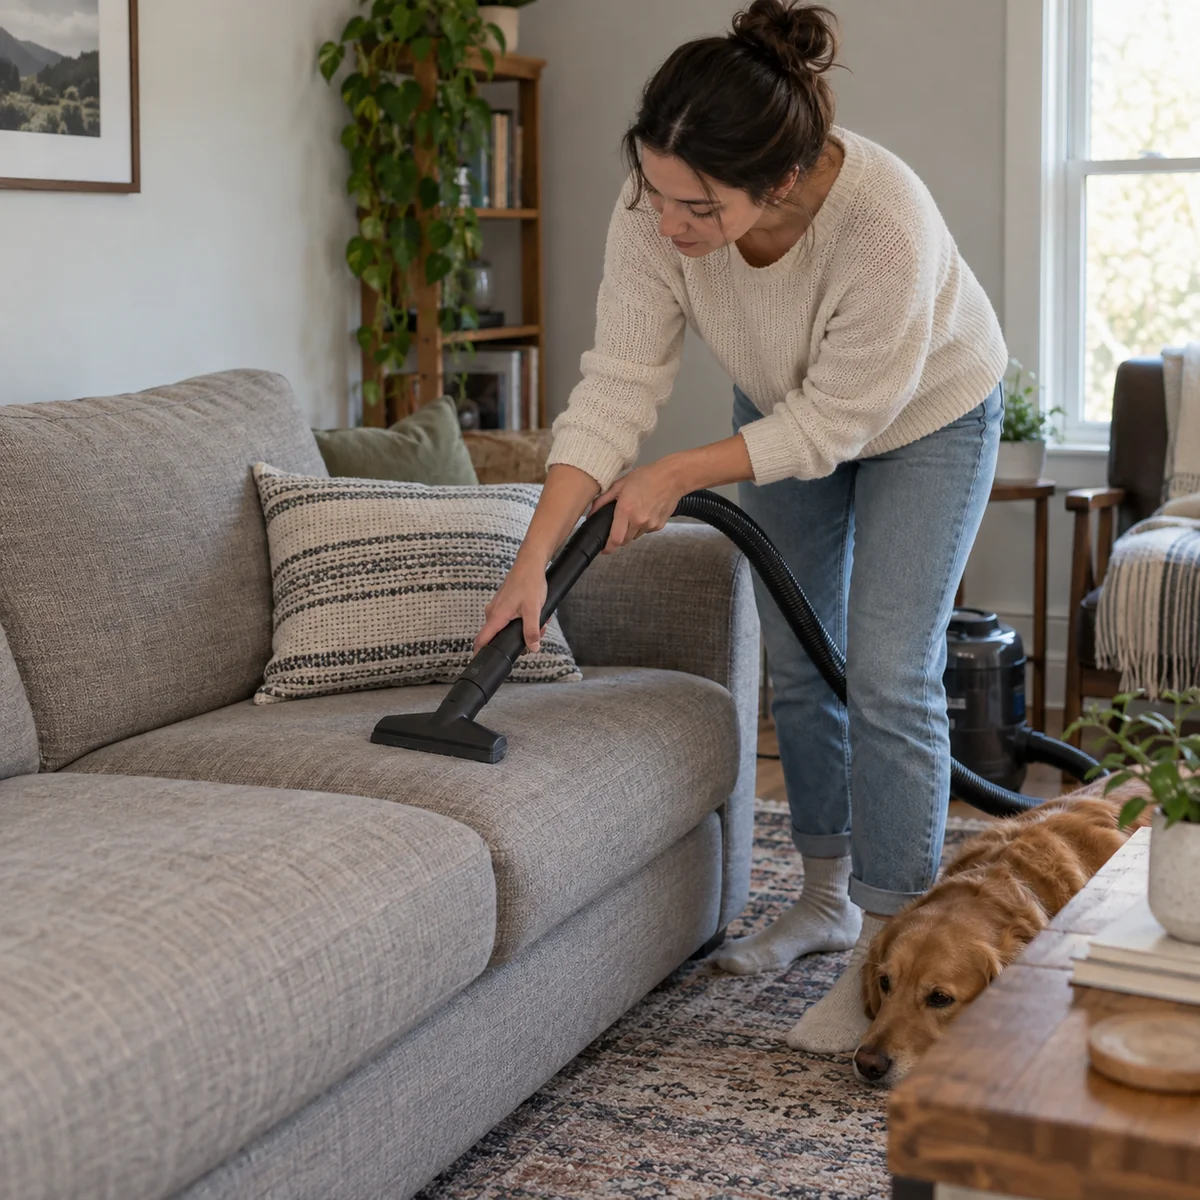
The EPA notes that vacuuming can stir some dust into the air. People with asthma or allergies may prefer to stay out of the area while someone else vacuums, and a HEPA-filtered vacuum may help reduce released particles. Follow personal medical advice for symptoms and triggers; this cleaning routine is not a treatment. If you have no vacuum, use the floor-cleaning method suitable for your flooring and keep the task limited to what you can clean effectively with the tools you own.
Step 5: rinse, launder, and fully dry your cloths
Once a cloth has collected visible dust, rinse it or wash it according to its care label. Keep it separate from a clean cloth until laundered. Let reusable cloths dry completely before storing them so the next reset starts with a clean tool. If a cloth becomes worn, shedding, or abrasive, move it to a task that suits it or retire it rather than using it on a delicate surface.
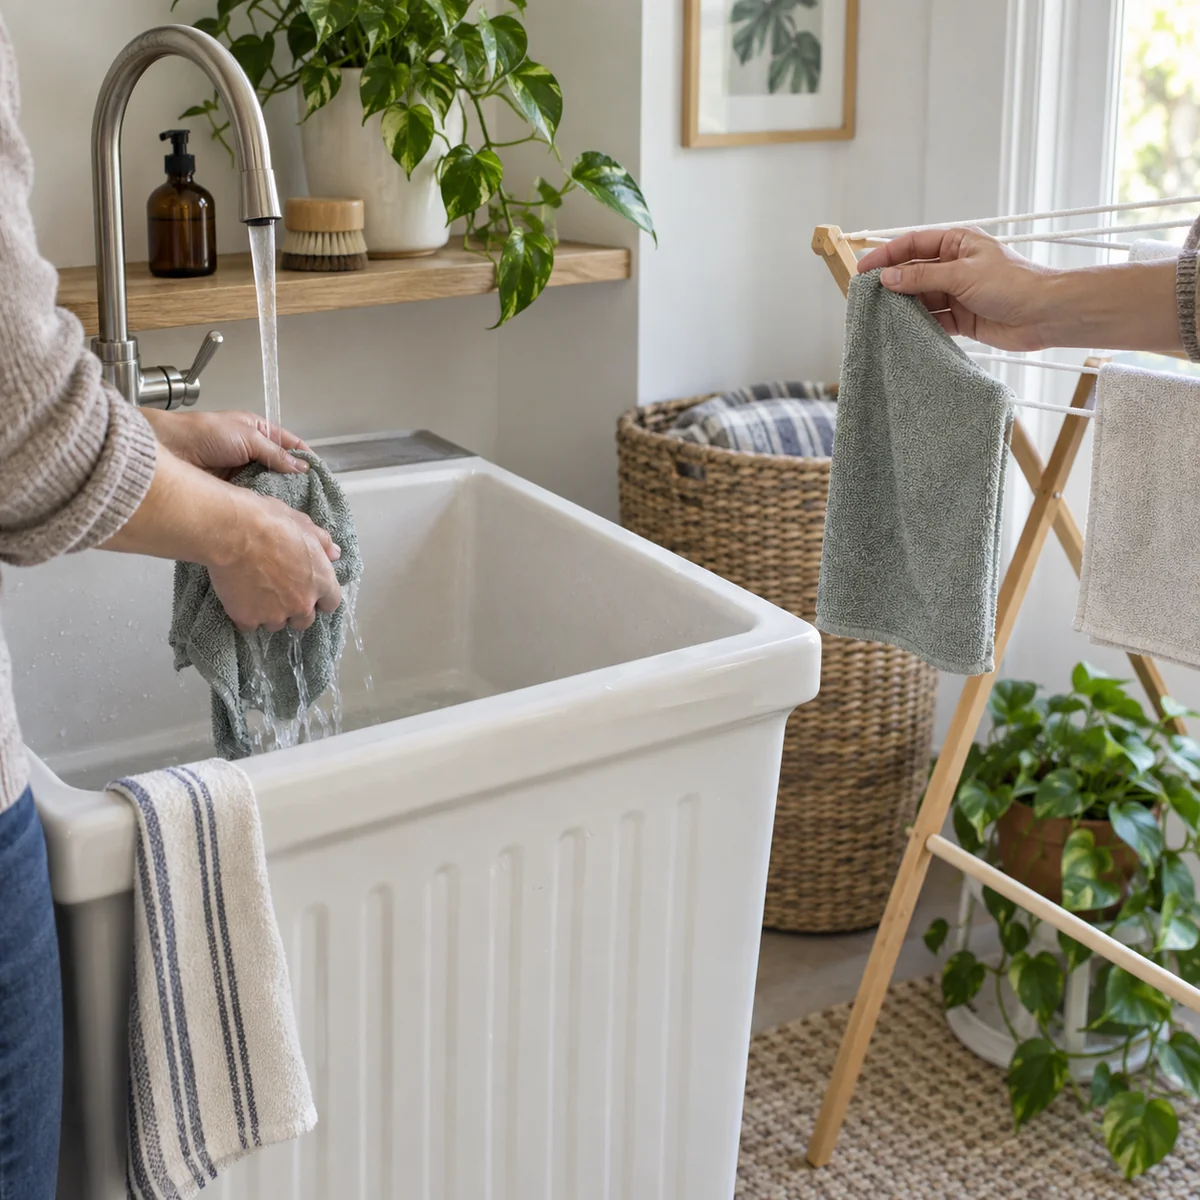
Store the dry cloths somewhere you can find them. A simple, consistent place matters more than a new storage caddy. If one area collects dust quickly, keep the printable plan nearby and write down that location. Over a few weeks, you can adjust the routine to the rooms and surfaces that actually need attention.
What if dust returns quickly?
Some dust is normal. Before buying another tool, check a few possible sources: open windows on high-pollen days, tracked-in soil, fabric and pet hair, or an air filter that needs routine maintenance. The EPA recommends regular cleaning and changing HVAC filters according to the manufacturer’s directions. When outdoor air quality and weather permit, ventilation can help, but opening windows is not automatically better during smoke or high-pollen conditions.
If you are renovating, have known lead paint or asbestos, or see unusual dust after a building disturbance, use the relevant safety guidance rather than ordinary household dusting. The EPA specifically cautions that lead and asbestos require extra care. A normal damp-cloth routine is for ordinary settled household dust, not hazardous material cleanup.
A realistic 15-minute one-room reset
- Minutes 0–2: Prepare two cloths and choose a reachable starting surface.
- Minutes 2–6: Move a few objects and wipe high shelves or ledges.
- Minutes 6–10: Wipe compatible tables and hard surfaces, folding the cloth as you go.
- Minutes 10–13: Vacuum a sofa, rug edge, or floor area if you have the right tool.
- Minutes 13–15: Return items, rinse the cloth, and note the first place to check next week.
These minutes are a planning aid, not a promise that every room takes the same time. Stop after one completed area if that is what your day allows. A repeatable small routine is more useful than an occasional marathon followed by a cupboard full of single-use pads.
Common mistakes
- Using a dry feather-style duster everywhere: it can move dust around rather than hold it.
- Soaking a cloth: damp wiping should not leave water on sensitive finishes or near electronics.
- Cleaning the floor first: dust disturbed above can settle on it afterward.
- Using one dirty cloth for the entire room: fold, rinse, or switch cloths as needed.
- Ignoring soft furnishings: fabric and rug edges can hold dust after the shelves look clean.
- Putting cloths away wet: dry them completely before storage.
Download the reusable-cloth dusting reset
The printable gives you the high-to-low sequence and space for one room’s dust-catching spots. Download the US Letter PDF (8.5 × 11 inches) or the A4 PDF (210 × 297 mm). Print at 100% or Actual Size. Try it in the room you use most, then note the one surface that needs the next short pass.
Sources
- U.S. Environmental Protection Agency, Sources of Indoor Particulate Matter.
- U.S. Environmental Protection Agency, Improving Your Indoor Environment.
- U.S. Environmental Protection Agency, Air Cleaners and Air Filters in the Home.