Paper towels can vanish quickly when you clean a whole window. They may also leave lint behind. If you already have two clean, lint-free cloths, a little mild soap, and water, you can clean most ordinary household windows without opening another roll. The order matters more than a special recipe: remove grit first, clean the frame, wash the glass, and dry the edges.
This guide covers reachable interior windows and glass that can be cleaned according to its manufacturer’s instructions. Some coatings and specialty windows need particular products or methods, so check your window’s care guidance before you begin. Never lean out of a window or climb somewhere unstable to reach the outside.
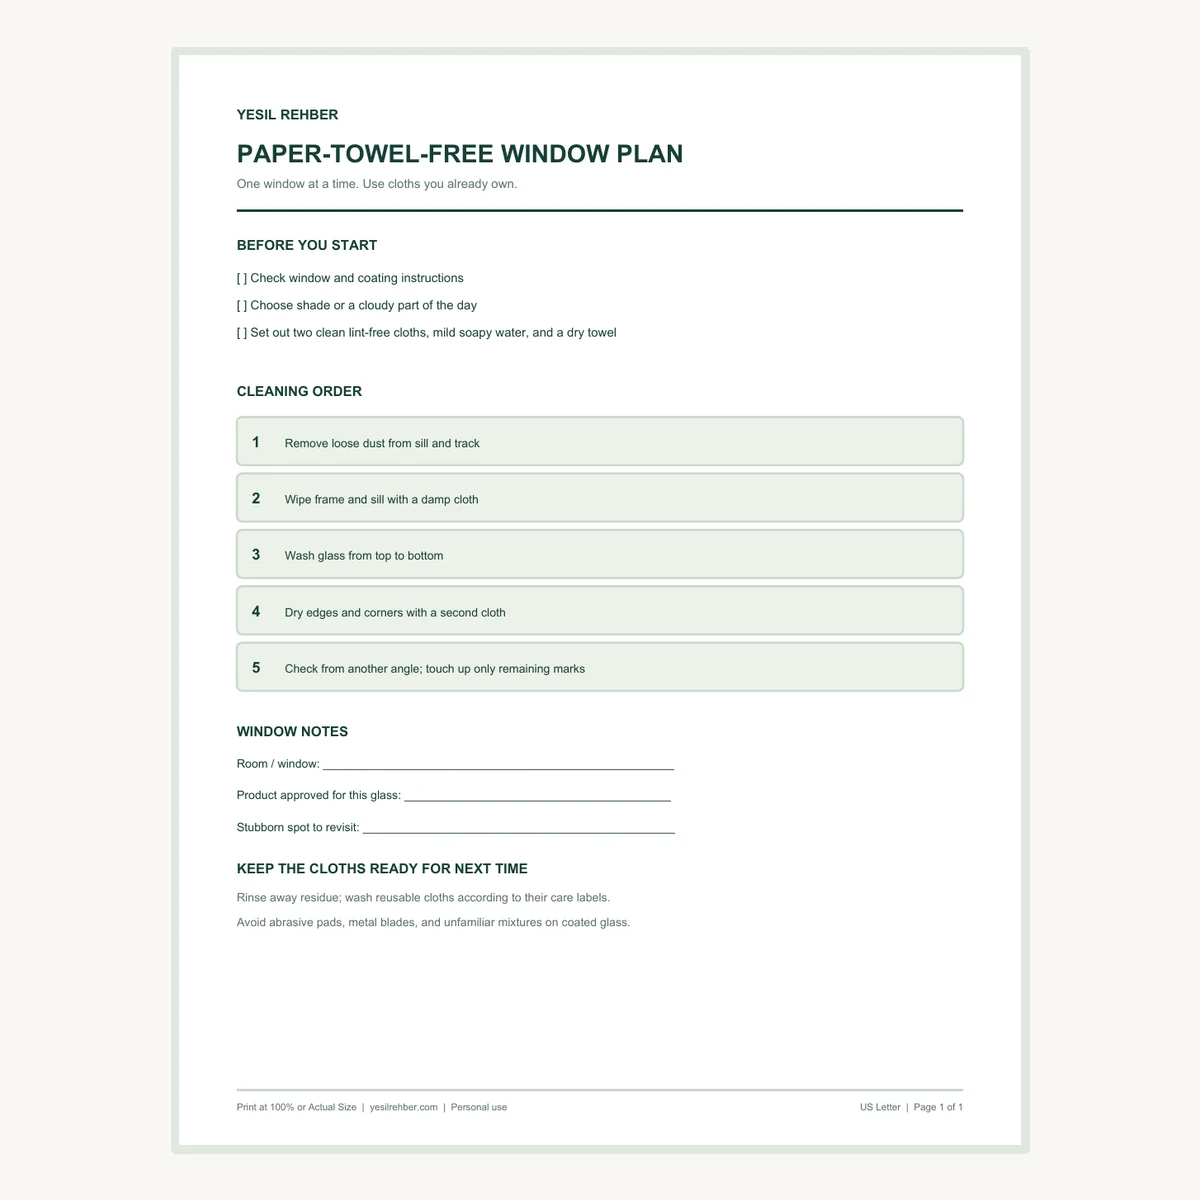
Free Paper-Towel-Free Window Plan
Keep the five-step order beside you while you work. The one-page printable has a supply check, a cleaning sequence, and room to note what your windows need. Choose US Letter or A4 and print at 100% or Actual Size.
The quick answer
Work on one reachable window at a time, preferably when the glass is not in direct sun. Brush or vacuum loose dirt from the track, wipe the frame and sill, then wash the glass from top to bottom with a clean lint-free cloth and a mild solution approved for your window. If you already own a suitable squeegee, you can use it instead. Finish the perimeter with a separate dry cloth. Look at the pane from another angle before you pack up; a small targeted touch-up is easier than washing the whole window again.
What you need—and what you can skip
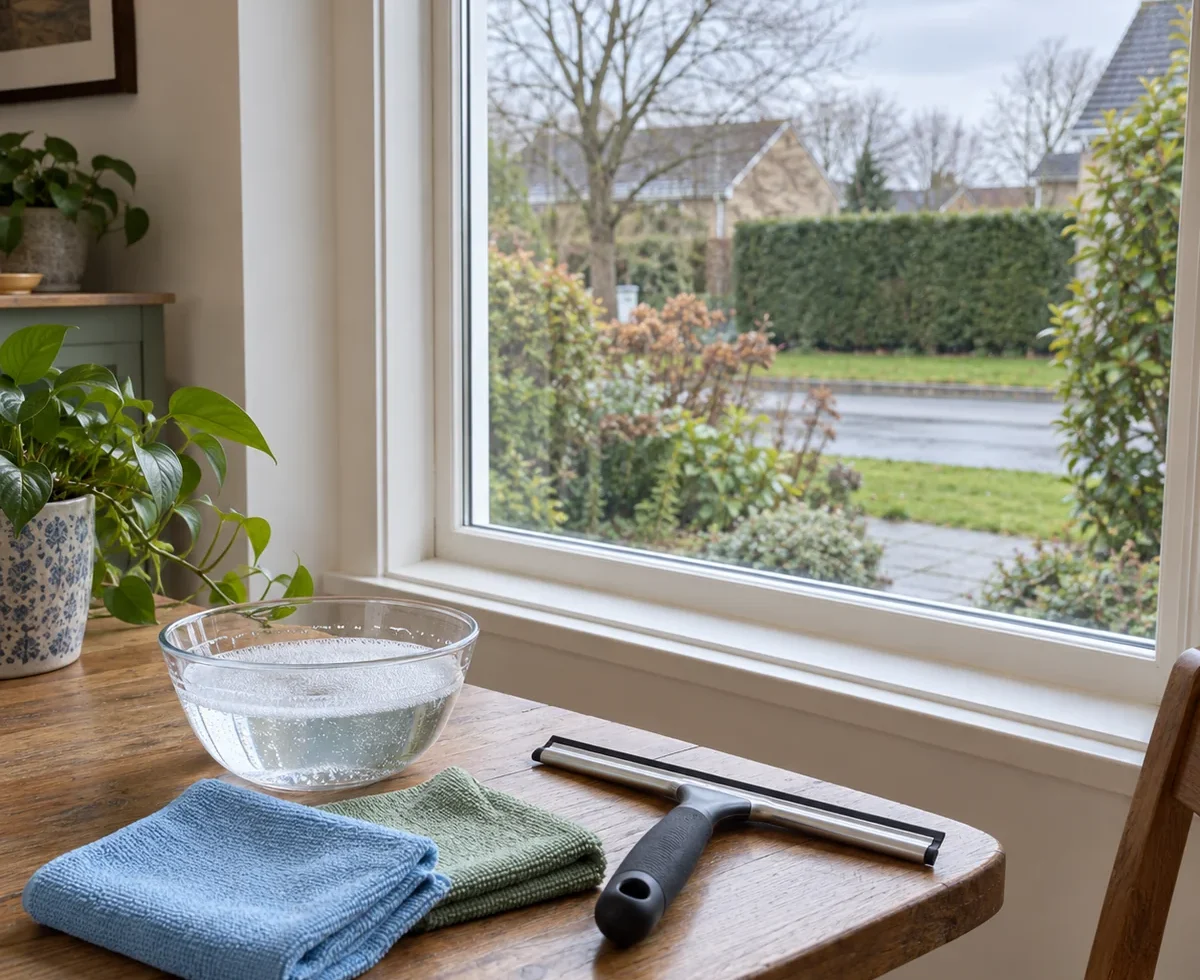
- Two clean lint-free cloths: one for washing and another for final drying. A clean reusable microfiber cloth or other soft, lint-free cloth can work.
- A bowl or bucket of water and a little mild soap: follow your window maker’s cleaning advice, especially for coated or specialty glass.
- A soft brush or vacuum brush attachment: useful for dry grit in the sill and track.
- An existing squeegee, if you have one: helpful on larger panes, but optional.
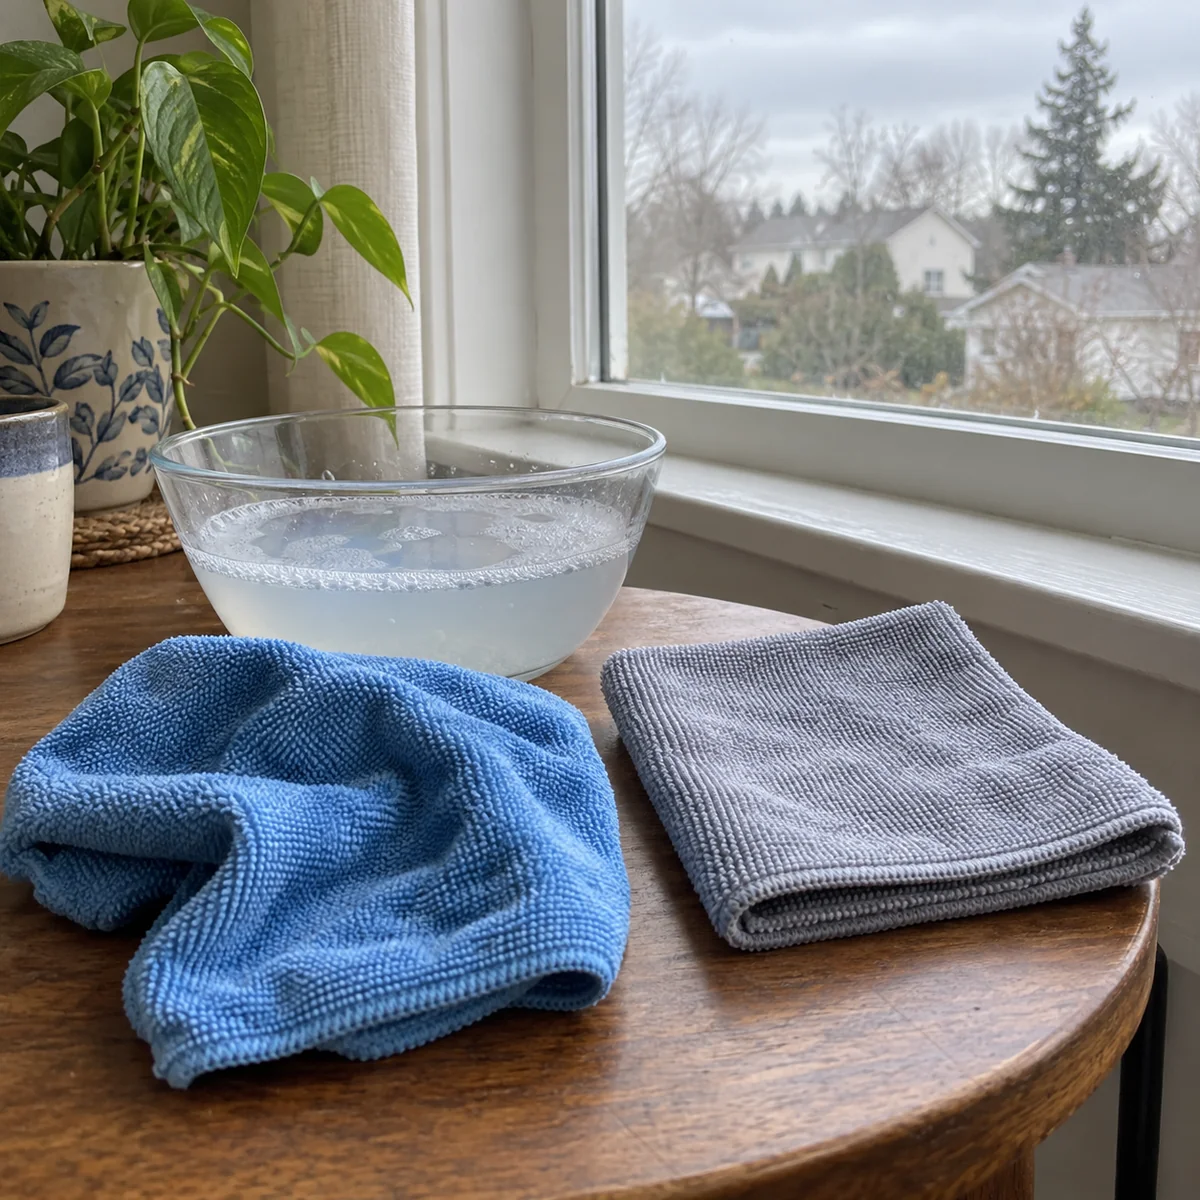
You do not need a homemade chemical blend. Andersen advises mild detergent and water for routine glass cleaning, and Pella recommends checking the window’s instructions. A product with the EPA Safer Choice label can be an option when you prefer a ready-made cleaner, but the label does not replace the care instructions for your particular glass. Never mix cleaning products unless their labels specifically direct you to do so.
Step 1: choose a sensible window and time
Start with a ground-floor or otherwise safely reachable interior pane. Move anything fragile from the sill, lay a reusable towel below drips, and open curtains or blinds enough to work without soaking them. Choose a cloudy day or a time when that pane is shaded. Sun can dry cleaner before you have time to wipe it away, which makes streaks more likely.
Check for a film, coating, etched finish, or manufacturer label. If you are unsure what covers the glass, test the maker-approved method in a small inconspicuous area. Do not use a metal razor, abrasive pad, or hard scraping tool on the pane or frame. If the outside face requires leaning out, a ladder, or access near an edge, leave that part for someone with the proper equipment.
Step 2: lift loose dirt from the sill and track
Before adding water, gently brush or vacuum dry dust, grit, and crumbs from the sill and track. Work into corners with a soft brush, then collect what comes loose. This keeps the first wet cloth from turning dry grit into muddy streaks and helps prevent rough particles from dragging across the finish.
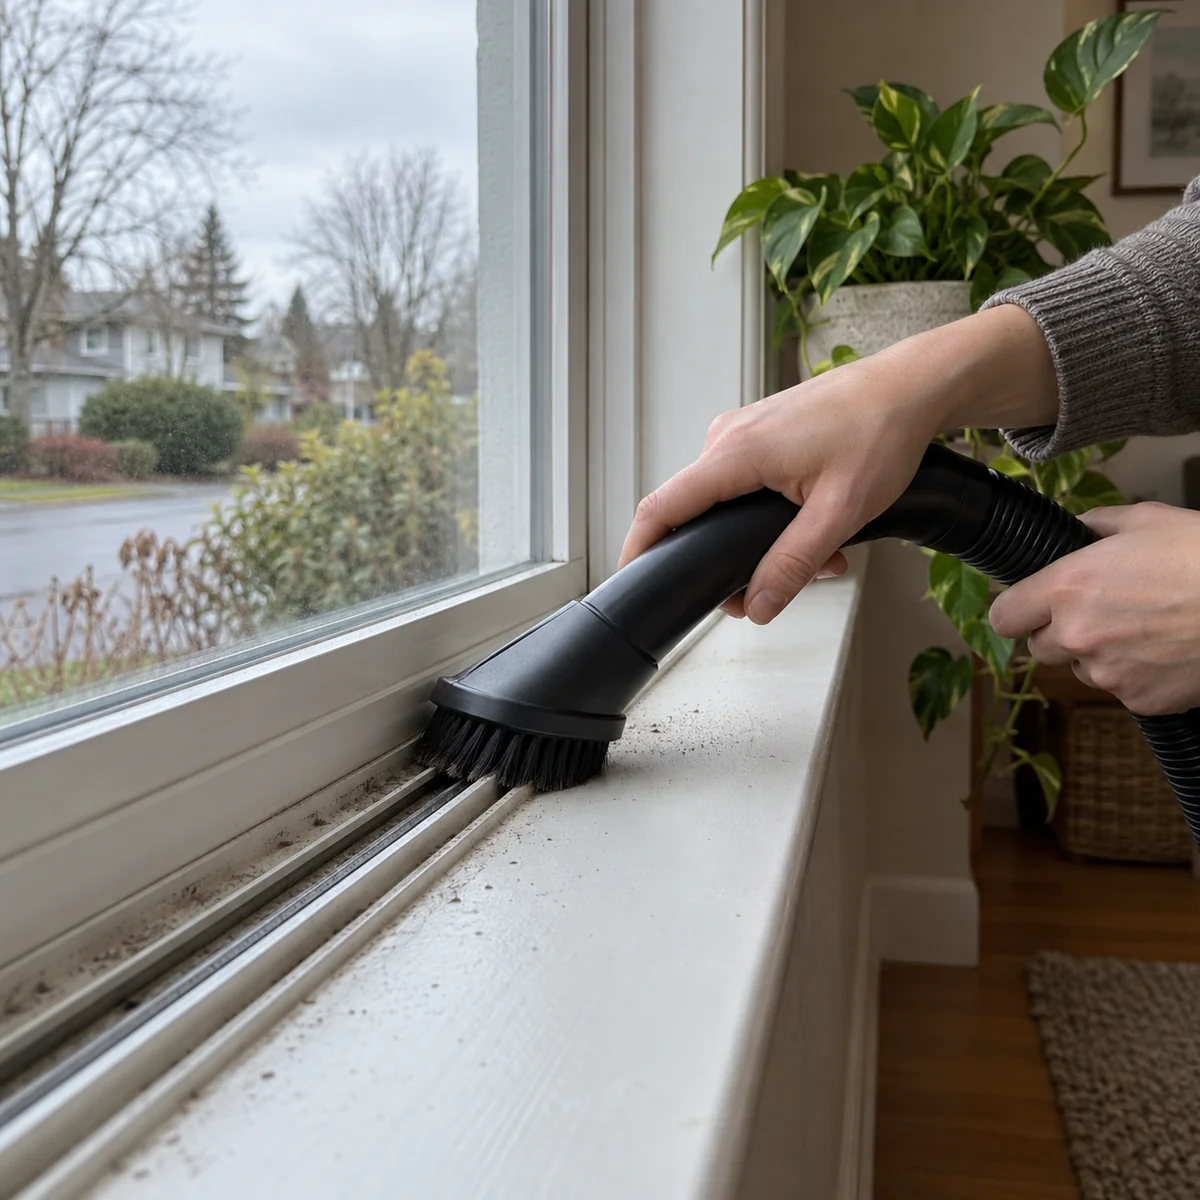
A dirty screen can make a freshly cleaned window look dusty again. If the screen is designed to be removed and you can do that safely, follow its instructions and use a vacuum upholstery brush or other method the maker recommends. Let a washed screen dry before replacing it. Do not force clips or a screen that will not release easily.
Step 3: clean the frame and sill first
Dampen a soft cloth with the approved cleaning solution and wipe the frame, handles, and sill. Use enough moisture to lift dirt without flooding the track or nearby wall. For a grimy corner, pause and loosen the dirt with the damp cloth rather than reaching for an abrasive scrubber. Rinse or change the cloth when it becomes visibly dirty.
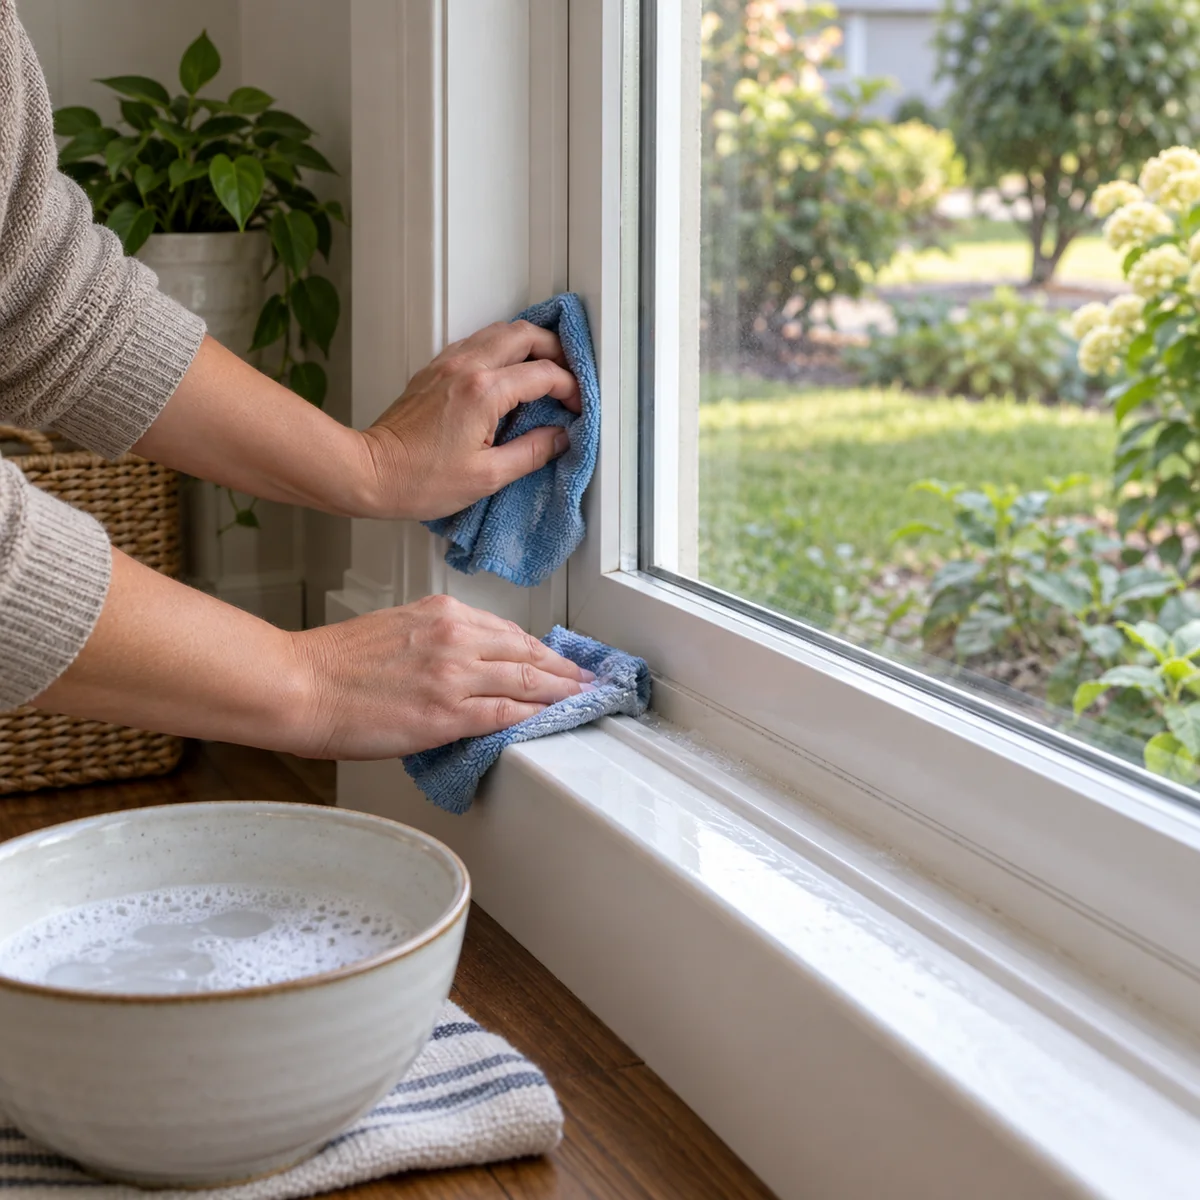
Different frame materials have different care needs. The safest general rule is to follow the window manufacturer’s directions, avoid harsh tools, and keep excess water away from wood, paint, and interior trim. If you see damaged caulk, rot, or water entering around the frame, cleaning alone will not solve that maintenance problem.
Step 4: wash the glass from top to bottom
Use a clean lint-free cloth lightly dampened with the approved solution. Start at the upper edge and work downward in overlapping passes. Turn to a clean section of cloth as it picks up dirt. On a large pane, split the job into manageable sections so the cleaner does not dry before you remove it. If you already own a suitable squeegee, keep its edge clean and use it according to the glass manufacturer’s guidance.

More soap is not necessarily better. If the pane feels slick after wiping or dries with a film, the solution may be too strong or your cloth may need rinsing. Use only the amount suggested by the product or manufacturer. Avoid mixing vinegar, ammonia, bleach, or other products into the same container. Keep children and pets clear of the work area and store any cleaner according to its label.
Step 5: dry the edges and check your work
Use your second, dry lint-free cloth along the upper edge, side edges, and corners where water gathers. Wipe the sill again so drips do not dry into marks. Then step back and look through the glass from a different angle. A fingerprint or one cloudy patch needs a small damp-cloth touch-up followed by a dry pass; it does not require starting over.
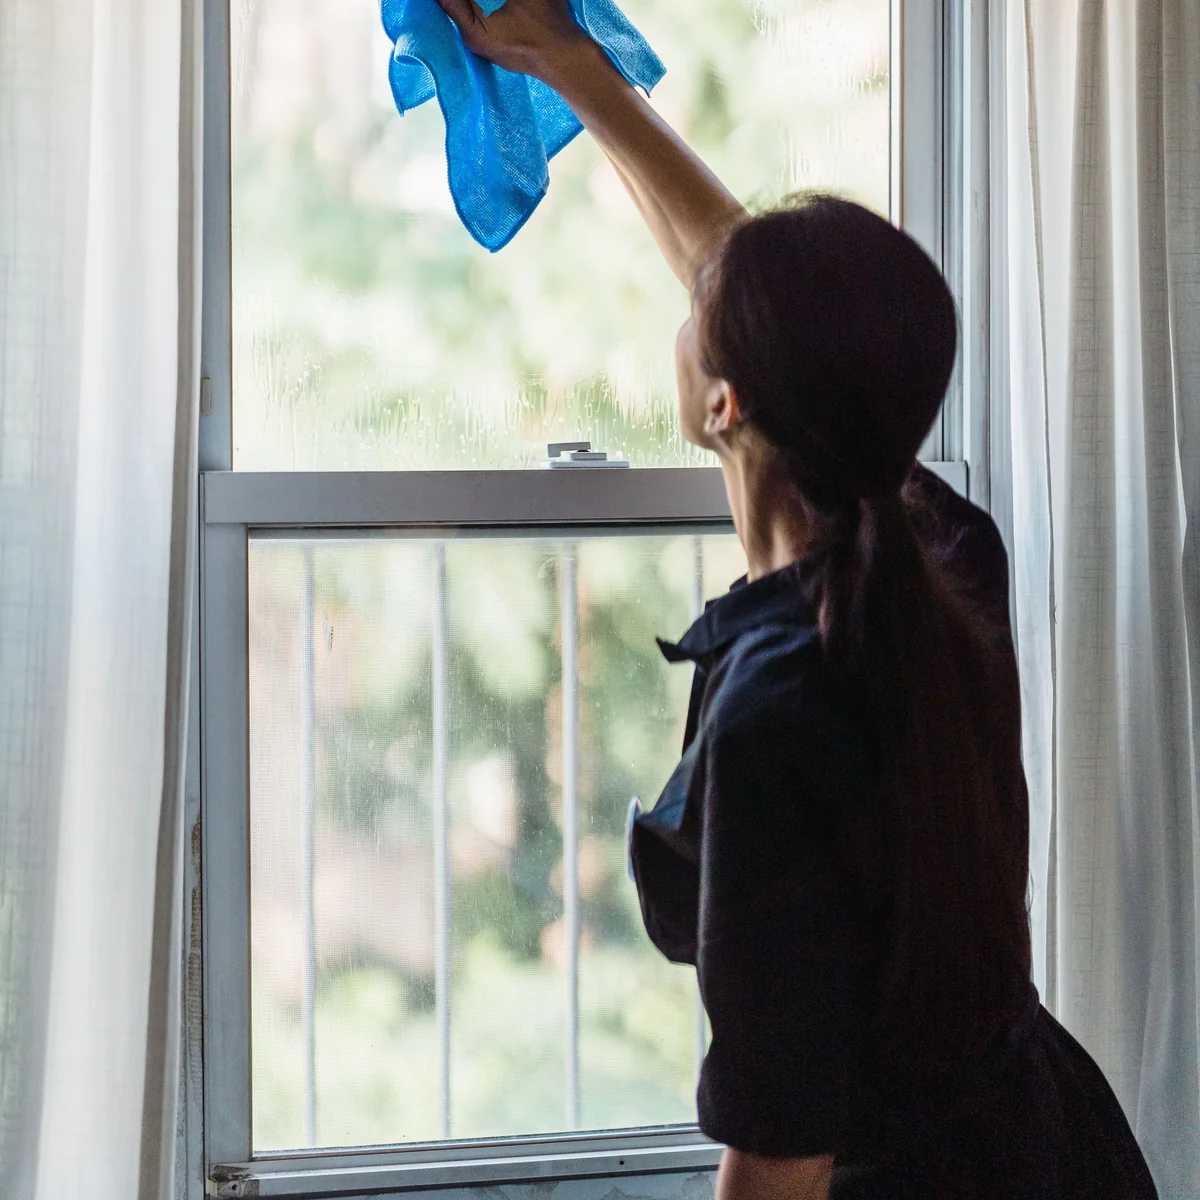
Rinse away cleaner residue and launder reusable cloths according to their care labels before the next job. If the cloths shed lint or carry fabric-softener residue, reserve different clean cloths for glass. Keep the washing cloth and finishing cloth separate so dirt does not return to the pane during the final pass.
Why are there still streaks?
- The pane dried too fast: move to a shaded time and clean a smaller section.
- The cloth was dirty or linty: rinse it, switch to a clean side, or use a different lint-free cloth.
- Too much product remained: follow the label’s dilution guidance and make a careful final pass.
- Dirty water ran from the frame: wash the frame first and dry the top edge.
- Marks are between panes: if fogging is inside an insulated glass unit, surface cleaning cannot reach it; consult the window maker or installer.
Test one change before trying another. Repeatedly rubbing a stubborn mark with an abrasive tool can damage glass or a coating. If the mark does not respond to the approved routine, check the care instructions or ask the manufacturer for guidance.
A small routine that is easier to repeat
Clean one window, or one room’s safely reachable panes, instead of turning this into a whole-house project. Keep the two cloths, soft brush, and printed plan together after they are clean and dry. During a weekly low-waste home reset, you can quickly dust the sill; save a full wash for when the glass actually needs it. Reusing cloths is also one practical way to use fewer disposable supplies.
Download the US Letter PDF (8.5 × 11 inches) or A4 PDF (210 × 297 mm). Print at 100% or Actual Size. Start with the pane you see every day and keep the method simple: dust, frame, glass, dry edges, check.
Sources
- Andersen Windows, Glass Cleaning.
- Pella, How to Clean Windows.
- U.S. Environmental Protection Agency, Safer Choice and Think Green Before You Shop.