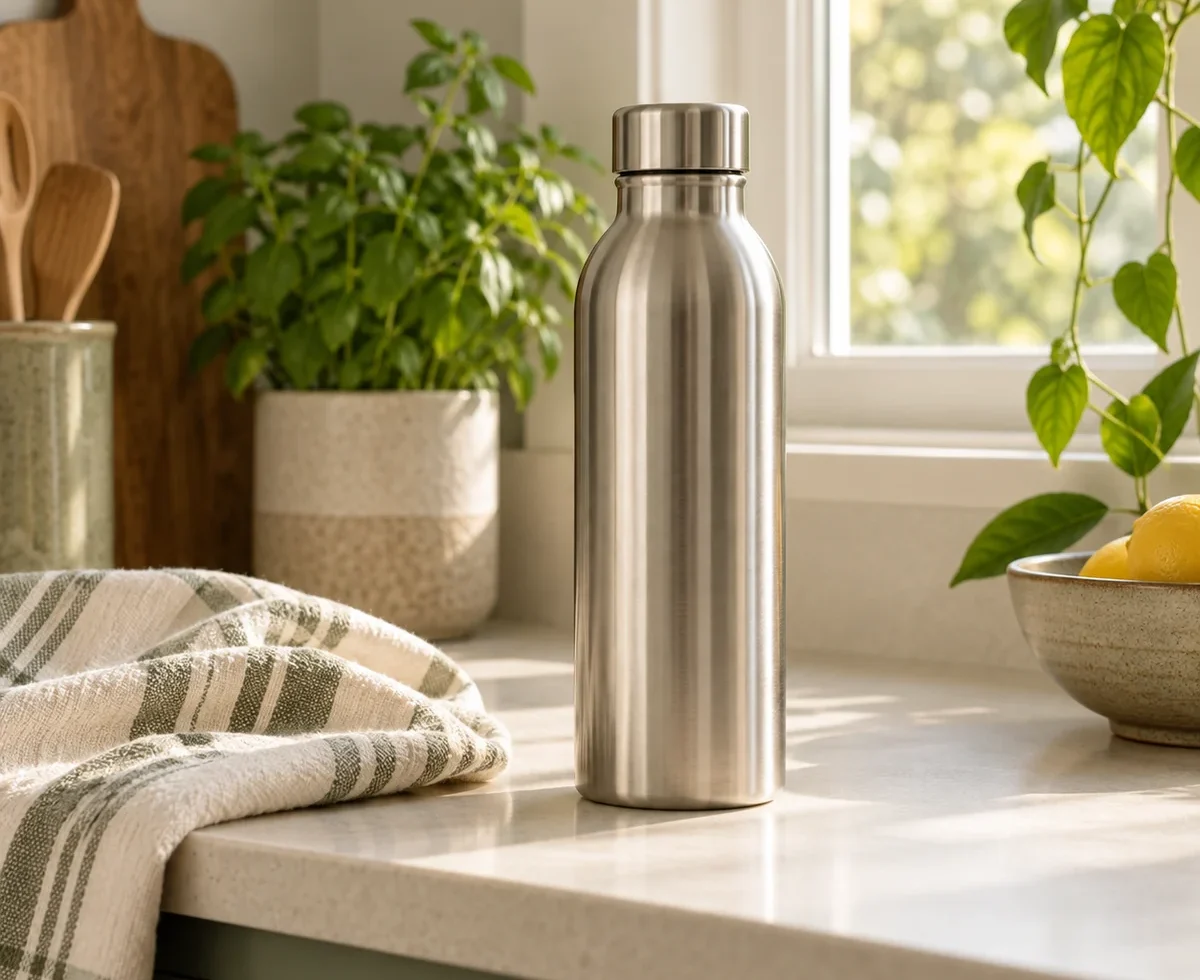
A reusable water bottle earns its place in a low-waste routine only when it is pleasant and practical to use. The bottle body is easy to notice; the lid, seal, spout, and straw are where an otherwise quick wash often stops short. You do not need a complicated cleaning recipe. You need to open the parts your bottle was designed to open, wash every drinking surface, rinse, and let the pieces dry.
This guide covers an everyday bottle used for water. Check your bottle maker’s care instructions before you begin, especially for insulated bottles, painted finishes, silicone parts, and dishwasher use. A bottle for an infant, a medical device, or emergency water storage may require different cleaning instructions.
The short answer: wash the bottle and lid every day you use them
University of New Hampshire Extension recommends ideally cleaning a frequently used reusable bottle daily, and Purdue Extension recommends washing it after each use or daily when it is refilled throughout the day. A drink containing sugar, milk, or other ingredients deserves prompt cleaning after use. Empty yesterday’s drink instead of topping it up indefinitely.
Set out mild dish soap, clean water, a cloth or sponge, and a bottle brush if your hand cannot reach the bottom. A narrow brush helps with a reusable straw or lid channel. Use brushes you already own if they reach the surfaces without scratching them; a special cleaning kit is not required for a simple wide-mouth bottle.
1. Take apart only the removable pieces
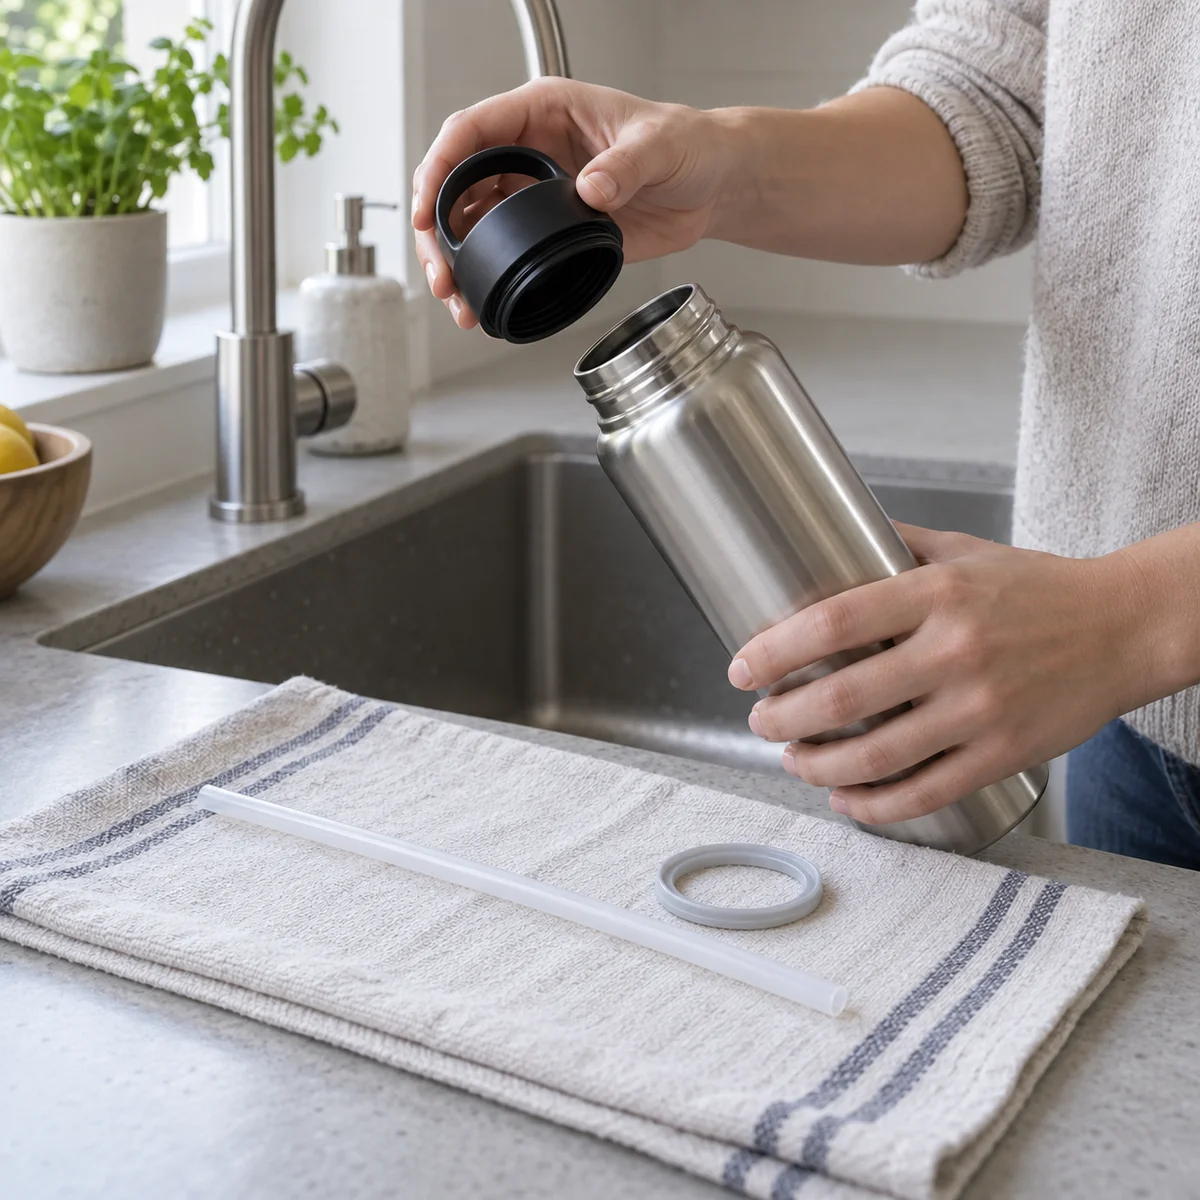
Empty the bottle. Remove the cap and any straw, mouthpiece, or gasket that the manufacturer says can be removed for cleaning. Take a quick photo before disassembly if the parts are unfamiliar. Put small pieces in a clean bowl so none vanish down the drain. Do not pry out a fixed seal or force a hinge; damage can create a leak and make cleaning harder.
If the bottle has a complex flip-top lid, find the model’s care page. Different lids have different hidden channels and different dishwasher limits. A clear view of the actual drinking path matters more than a generic trick found online.
2. Scrub the inside of the bottle
Wash the body with warm water and dish soap. Scrub the rim, threads, sides, and bottom, where residue can stay after a quick shake. A bottle brush reaches into a narrow bottle without needing to fill it with large amounts of soap or water. Wash the outside where hands touch it, too. Rinse until there is no visible soap residue.
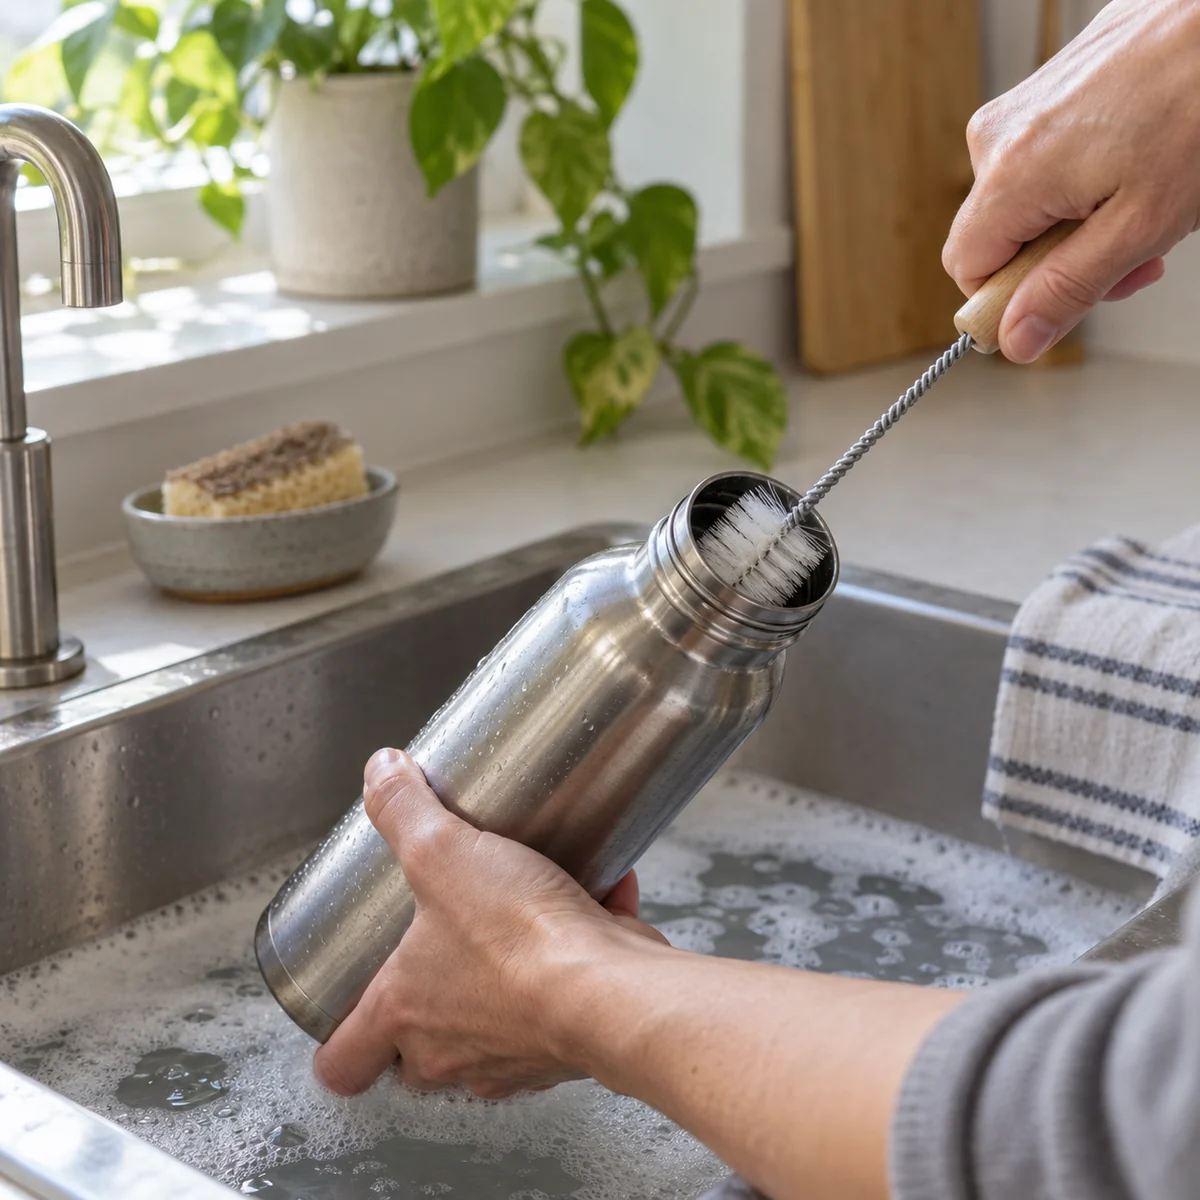
Do not assume that hot water alone replaces scrubbing. If the maker says the bottle is dishwasher safe, follow its placement and temperature instructions; check the lid and small pieces separately because they may have different care rules. Scratches, peeling coatings, or a cracked rim are reasons to check the maker’s guidance before using the bottle again.
3. Clean the lid, spout, and seal as carefully as the body
Wash the lid in warm, soapy water. Work a small brush or clean cloth into the threads, drinking opening, underside, and accessible channels. Wash a removable gasket on both sides and the groove where it sits. Rinse every piece thoroughly. Refit the gasket only after it and the lid are fully dry, following the maker’s instructions so the seal sits correctly.
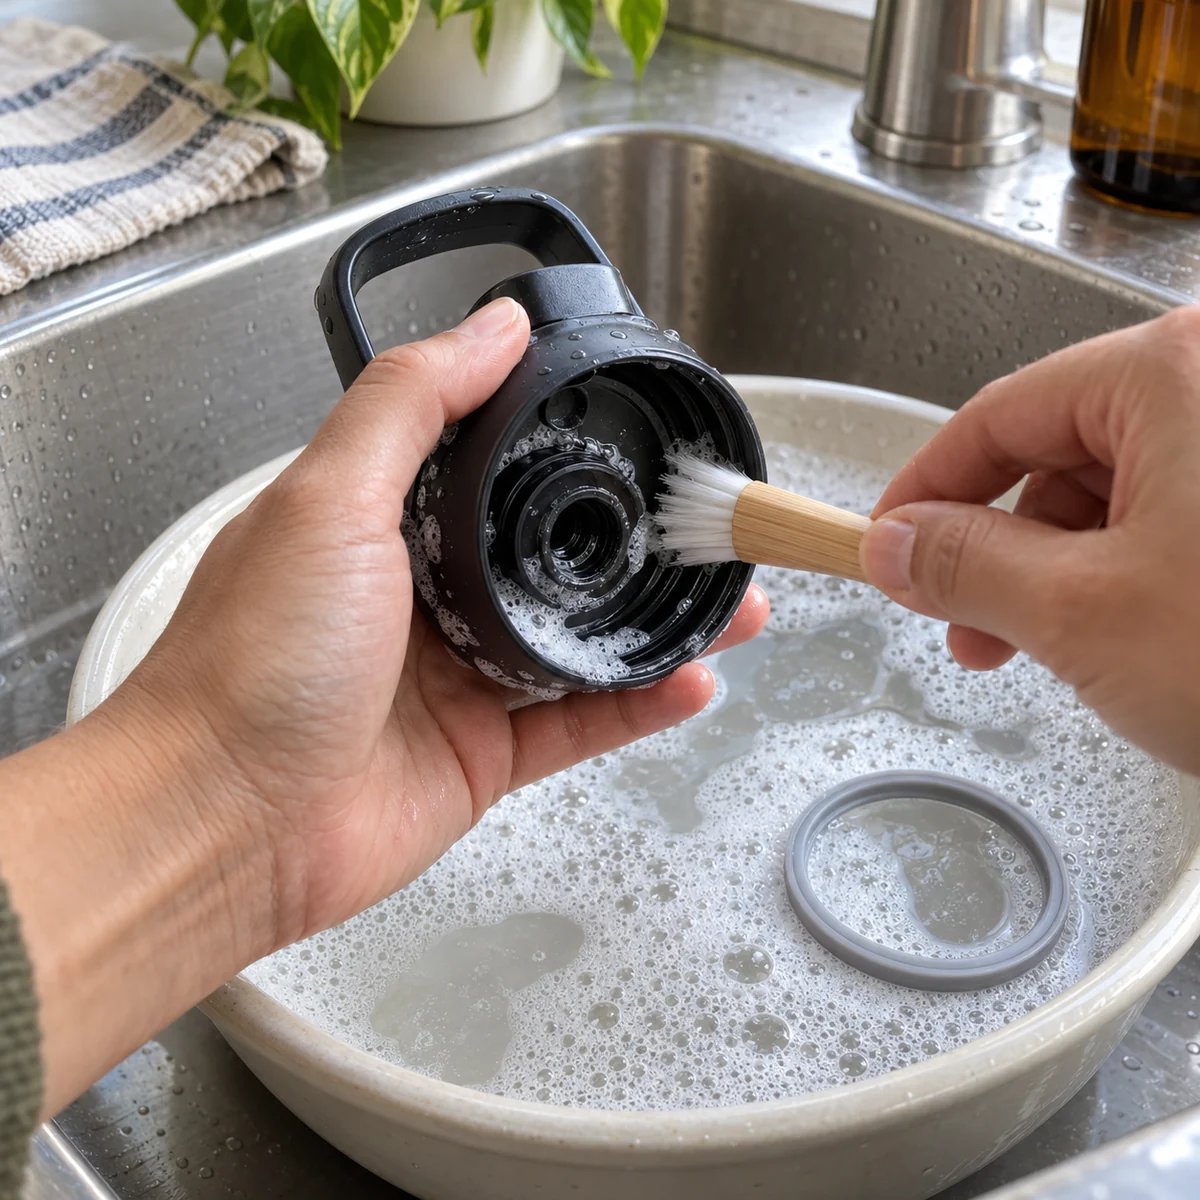
Look closely for residue, a persistent odor, a torn seal, or a part that cannot be cleaned. If a replaceable gasket is damaged, ask the maker for a compatible replacement part. If contamination remains in an inaccessible area, stop using that lid until the maker can advise on cleaning or replacement. Replacing one part can be sensible; continuing to drink through a damaged or dirty part is not.
4. Brush through a reusable straw
Remove the straw if the design permits. Run warm soapy water through it, pass a suitable thin brush along its full length, then rinse until the water runs clear. Clean the mouthpiece and any connector separately. A quick soak can loosen residue, but it does not replace brushing the inside. Purdue Extension also recommends washing reusable straws after each use.
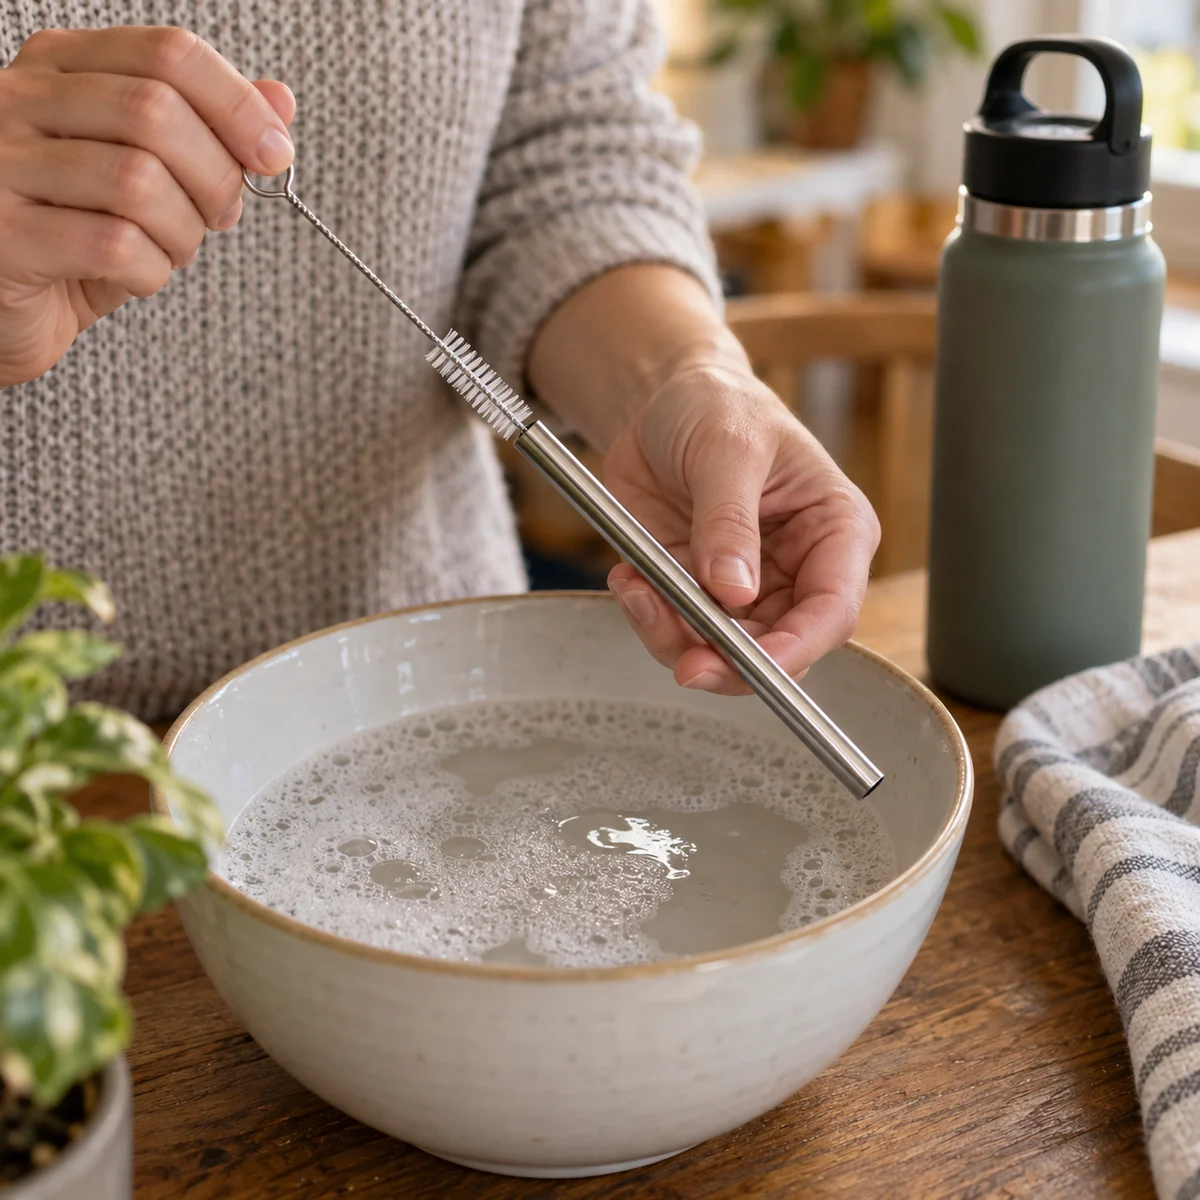
If the straw is bent, permanently discolored, or impossible to clean through, check whether its maker sells a compatible replacement. Do not substitute a random straw that changes the lid’s fit or intended use.
5. Let every piece dry before reassembly
Set the bottle open and the lid pieces separately on a clean drying rack or cloth where air can reach them. Keep the straw angled or upright so water can drain. Closing a still-wet lid over a damp bottle can leave moisture trapped in the very places you just cleaned. Purdue Extension advises letting bottle pieces dry completely before reassembly to prevent a musty bottle.
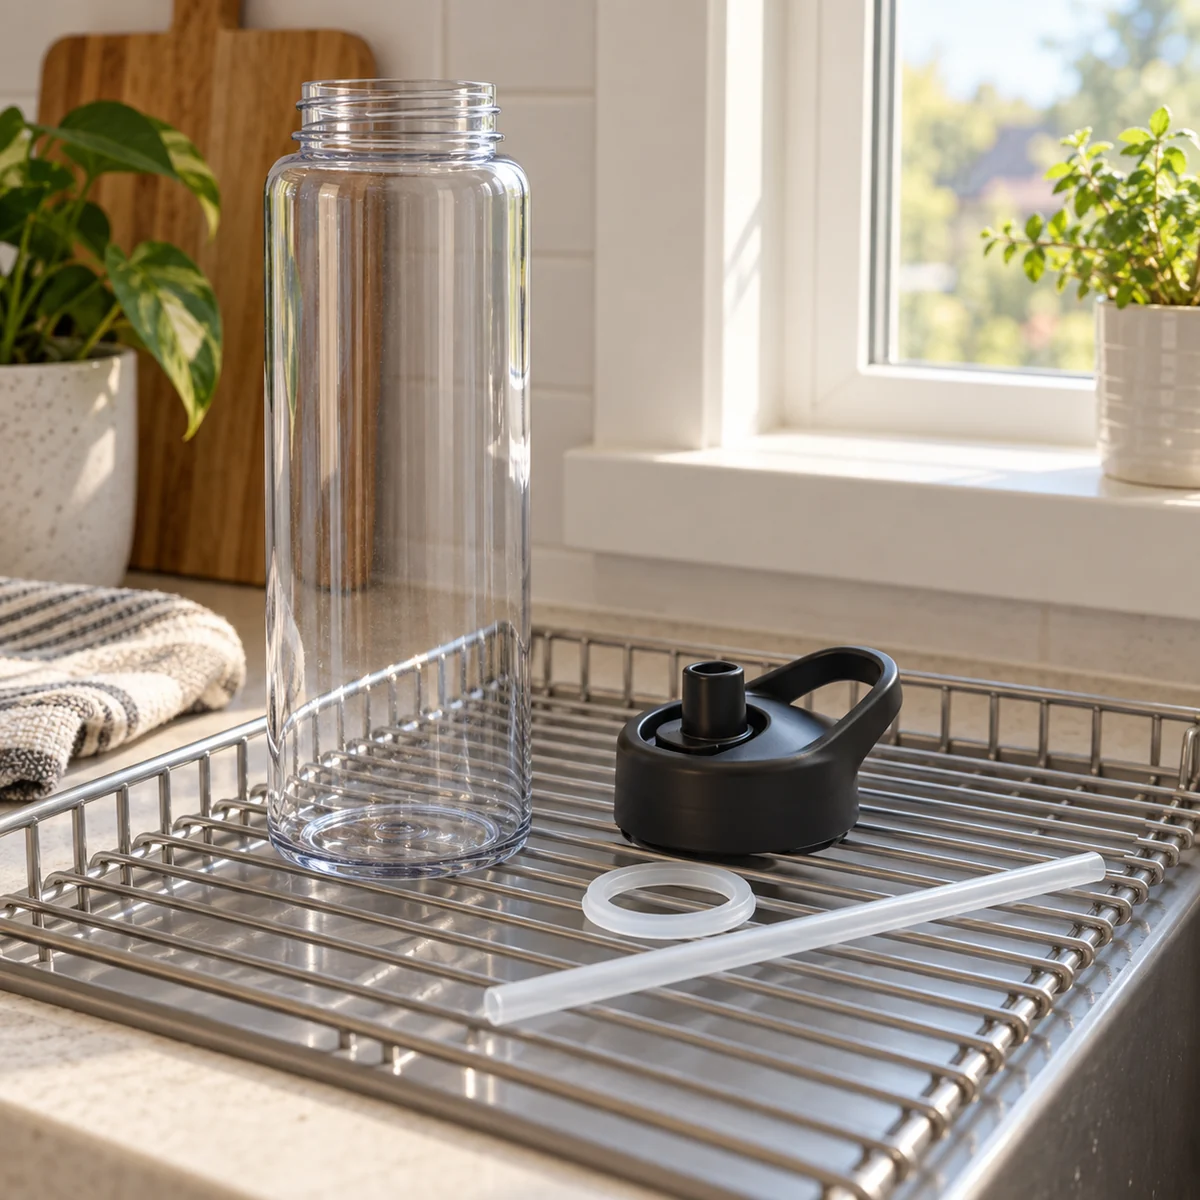
If you need the bottle again before every crevice has dried, use a clean, dry bottle or lid if available. For longer storage, make sure all parts are dry and store the bottle with the cap loose or off if the maker permits.
What if the bottle smells or has visible buildup?
First, repeat a careful wash of the body, lid, gasket groove, and straw. Odor often comes from an overlooked part, and a rinse-only habit will not remove residue. If buildup persists, consult the manufacturer’s care instructions before trying a soak or specialized product. Materials and coatings differ, and mixing household cleaners can be dangerous. Never mix cleaning chemicals.
If you see mold-like growth or cannot reach a contaminated area, do not simply cover the smell with a flavored drink. Stop using the bottle until you can clean it according to its maker’s instructions or replace the affected part. When the bottle itself is cracked or its interior finish is failing, check the maker’s guidance on whether continued use is appropriate.
A routine that actually sticks
- When you finish drinking for the day, empty the bottle and open the lid.
- Wash the body and every drinking-contact part with soap, water, and an appropriate brush.
- Rinse and leave all pieces exposed to air on a clean rack.
- Reassemble only when dry, and check the seal before the next refill.
That routine is easier if the brush can reach the whole bottle and the lid has replaceable parts. When it is eventually time to choose a bottle, look at how it opens and cleans as closely as its color or capacity. For more small household habits, see our weekly low-waste home reset.
Frequently asked questions
Can I put my reusable bottle in the dishwasher?
Only if the maker says the specific bottle and each lid component are dishwasher safe. Check where small removable parts should go and whether insulated or coated pieces are excluded.
Is rinsing a water-only bottle enough?
No. A water-only bottle still has drinking-contact surfaces. Wash it regularly with soap and water, including the lid and any straw.
Do I need vinegar or bleach?
Not for the ordinary wash described here. Start with dish soap, water, brushing, rinsing, and drying. Follow the maker’s instructions for any deeper treatment; never mix cleaning chemicals.
Sources
- University of New Hampshire Extension, What’s Living In Your Water Bottle?
- Purdue University Extension, Cleaning Reusables.
- U.S. Environmental Protection Agency, Biological Contaminants and Indoor Air Quality (household cleaner safety).